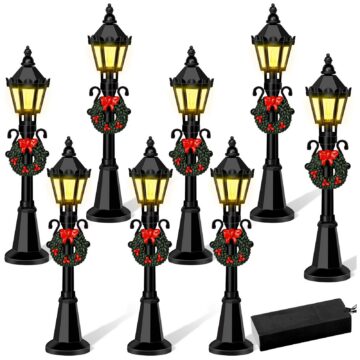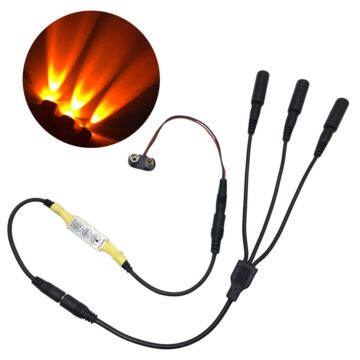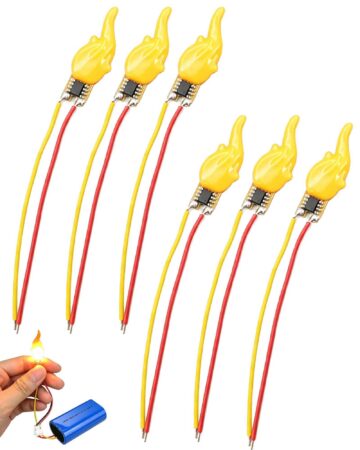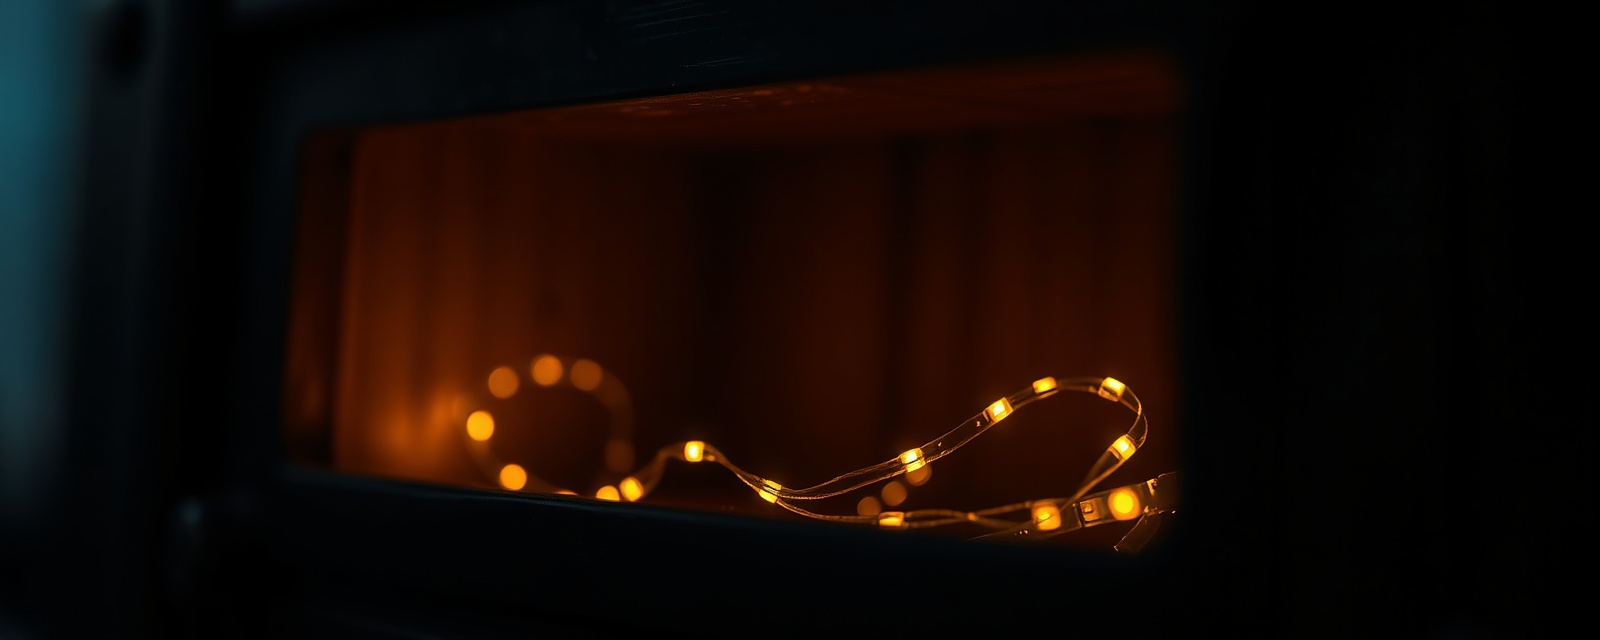
Ask anyone what makes a book nook look magic and the answer is almost always the lighting. A warm glow from a tiny window or street lamp transforms a nice model into a scene. The good news: adding light is one of the easiest parts of the build.
Choosing your lights
- Warm white suits cosy interiors and bookshops; cool white suits modern or icy scenes.
- USB or battery — USB is fuss-free on a shelf near a port; battery packs give you freedom to place it anywhere.
- Strip vs. pinpoint — strips wash a whole scene; individual LEDs let you light a single lamp or window.
Fitting them
- Plan the glow before you glue the walls — decide where light should spill from.
- Hide the strip behind a wall or under a roofline so you see light, not wire.
- Tape it in place, test it, then secure it once you are happy.
Lighting picks
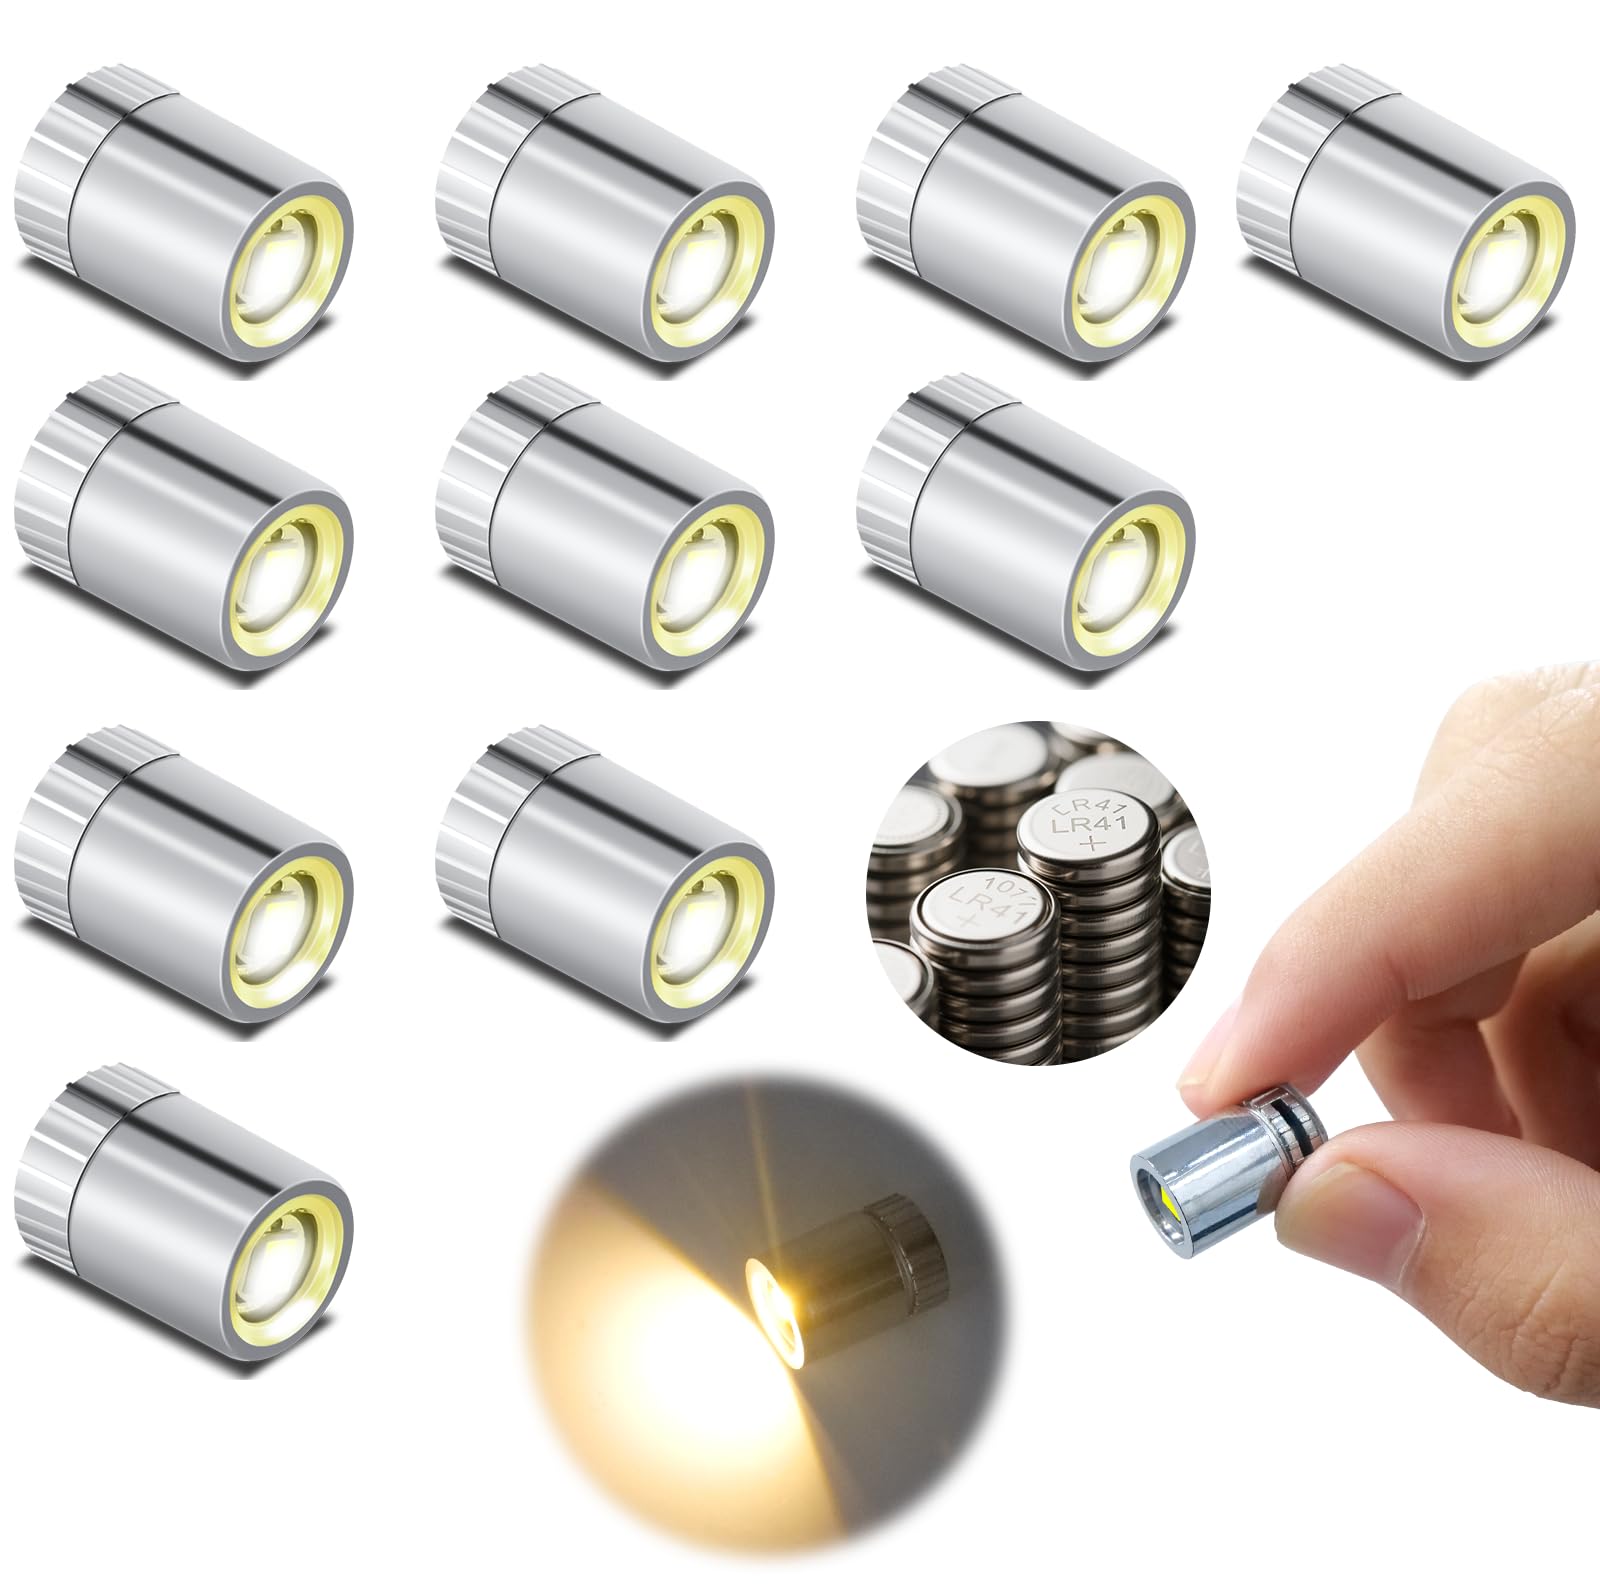
10-Pack Mini LED Spotlights, Battery Powered (Warm White)
Review the current materials, contents and finished dimensions before choosing. See the kit →
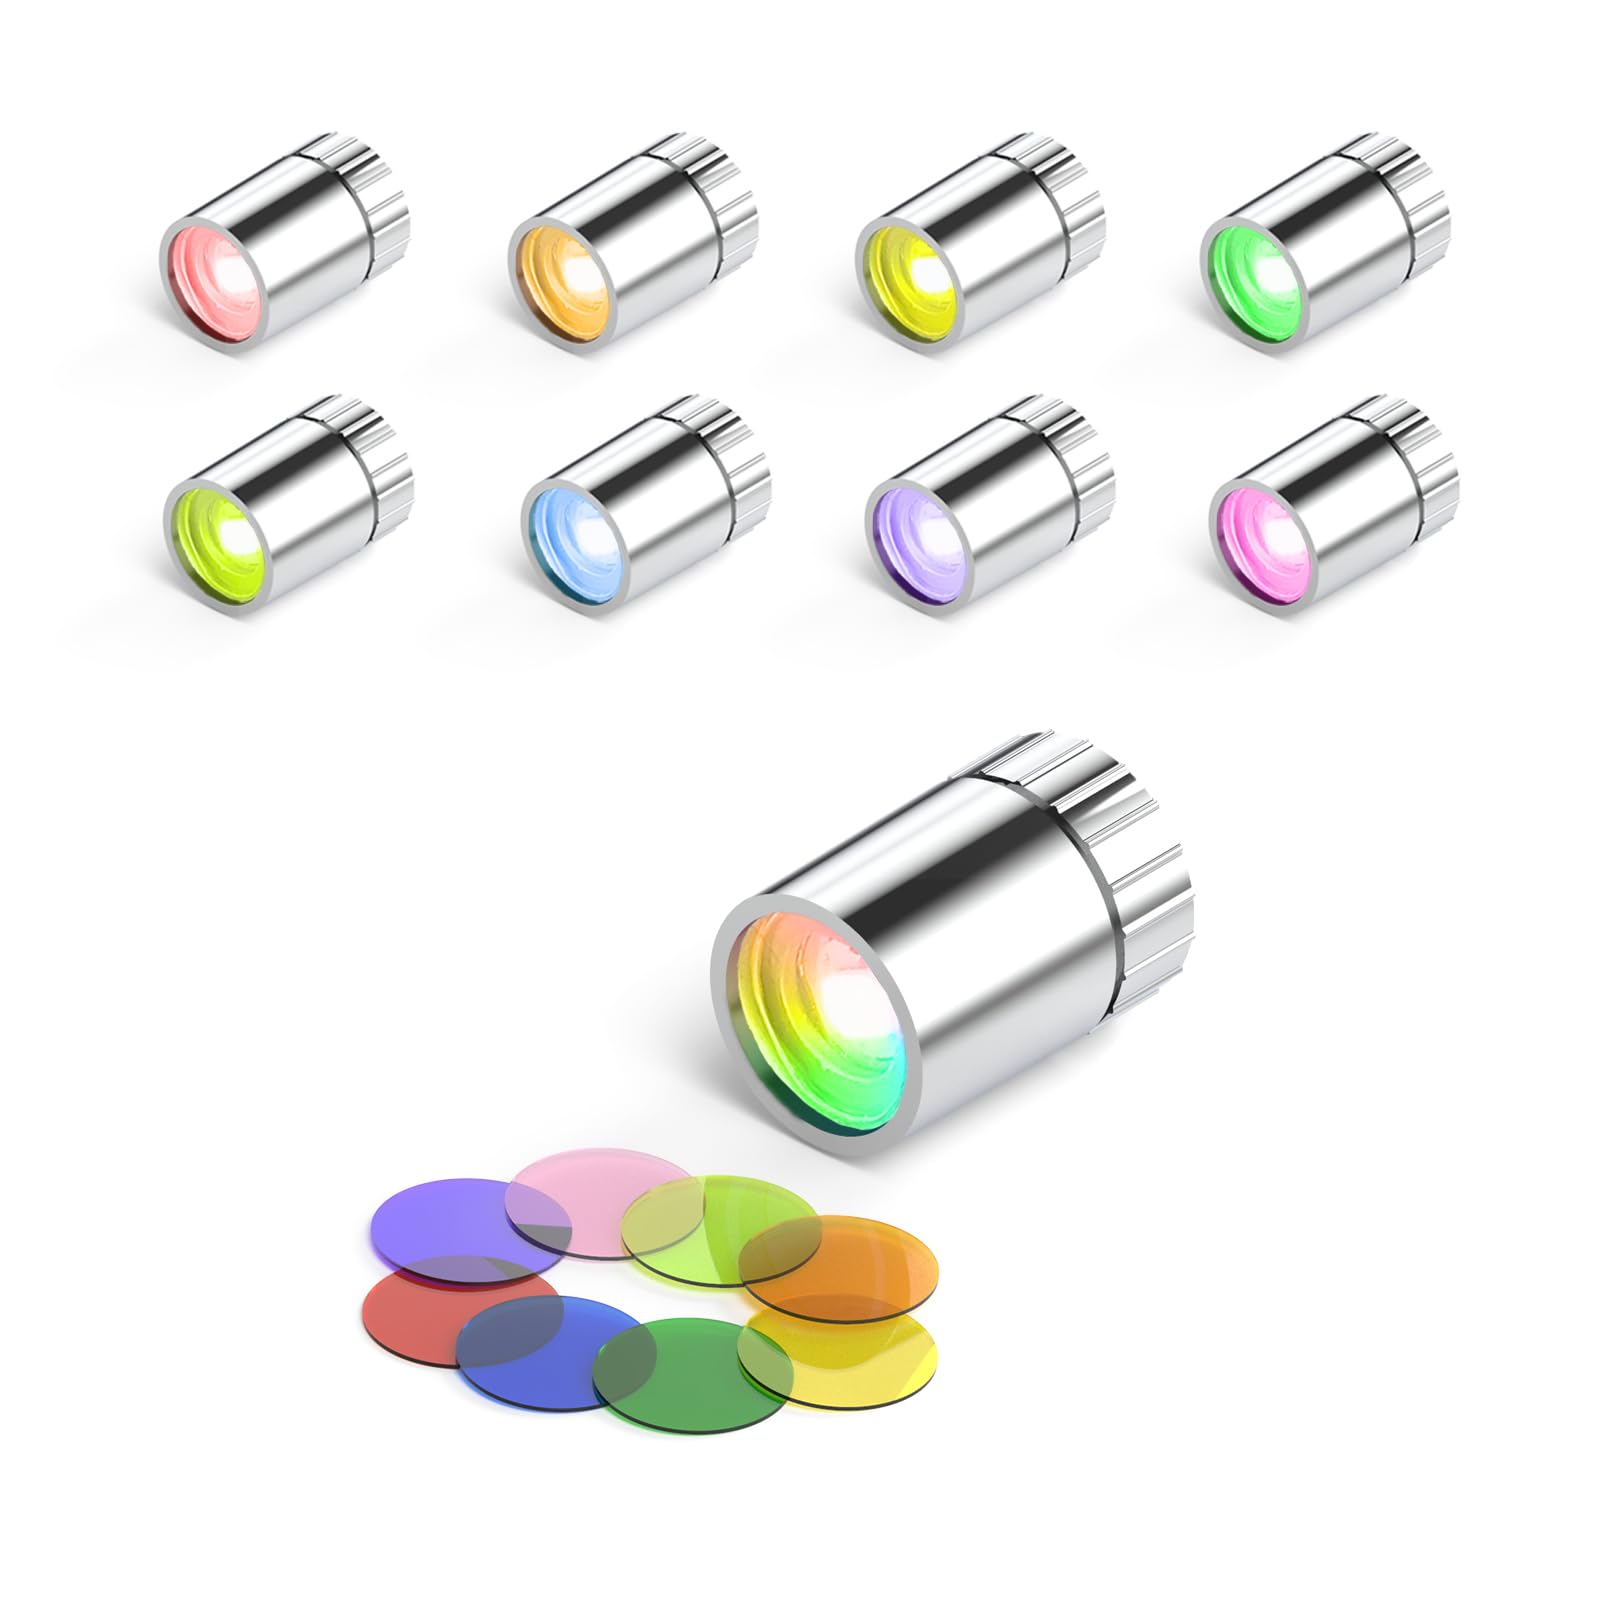
24-Pack Full-Color Miniature LED Lights, Battery Powered
Compare the published assembly details and required supplies with the builder’s experience. See the kit →
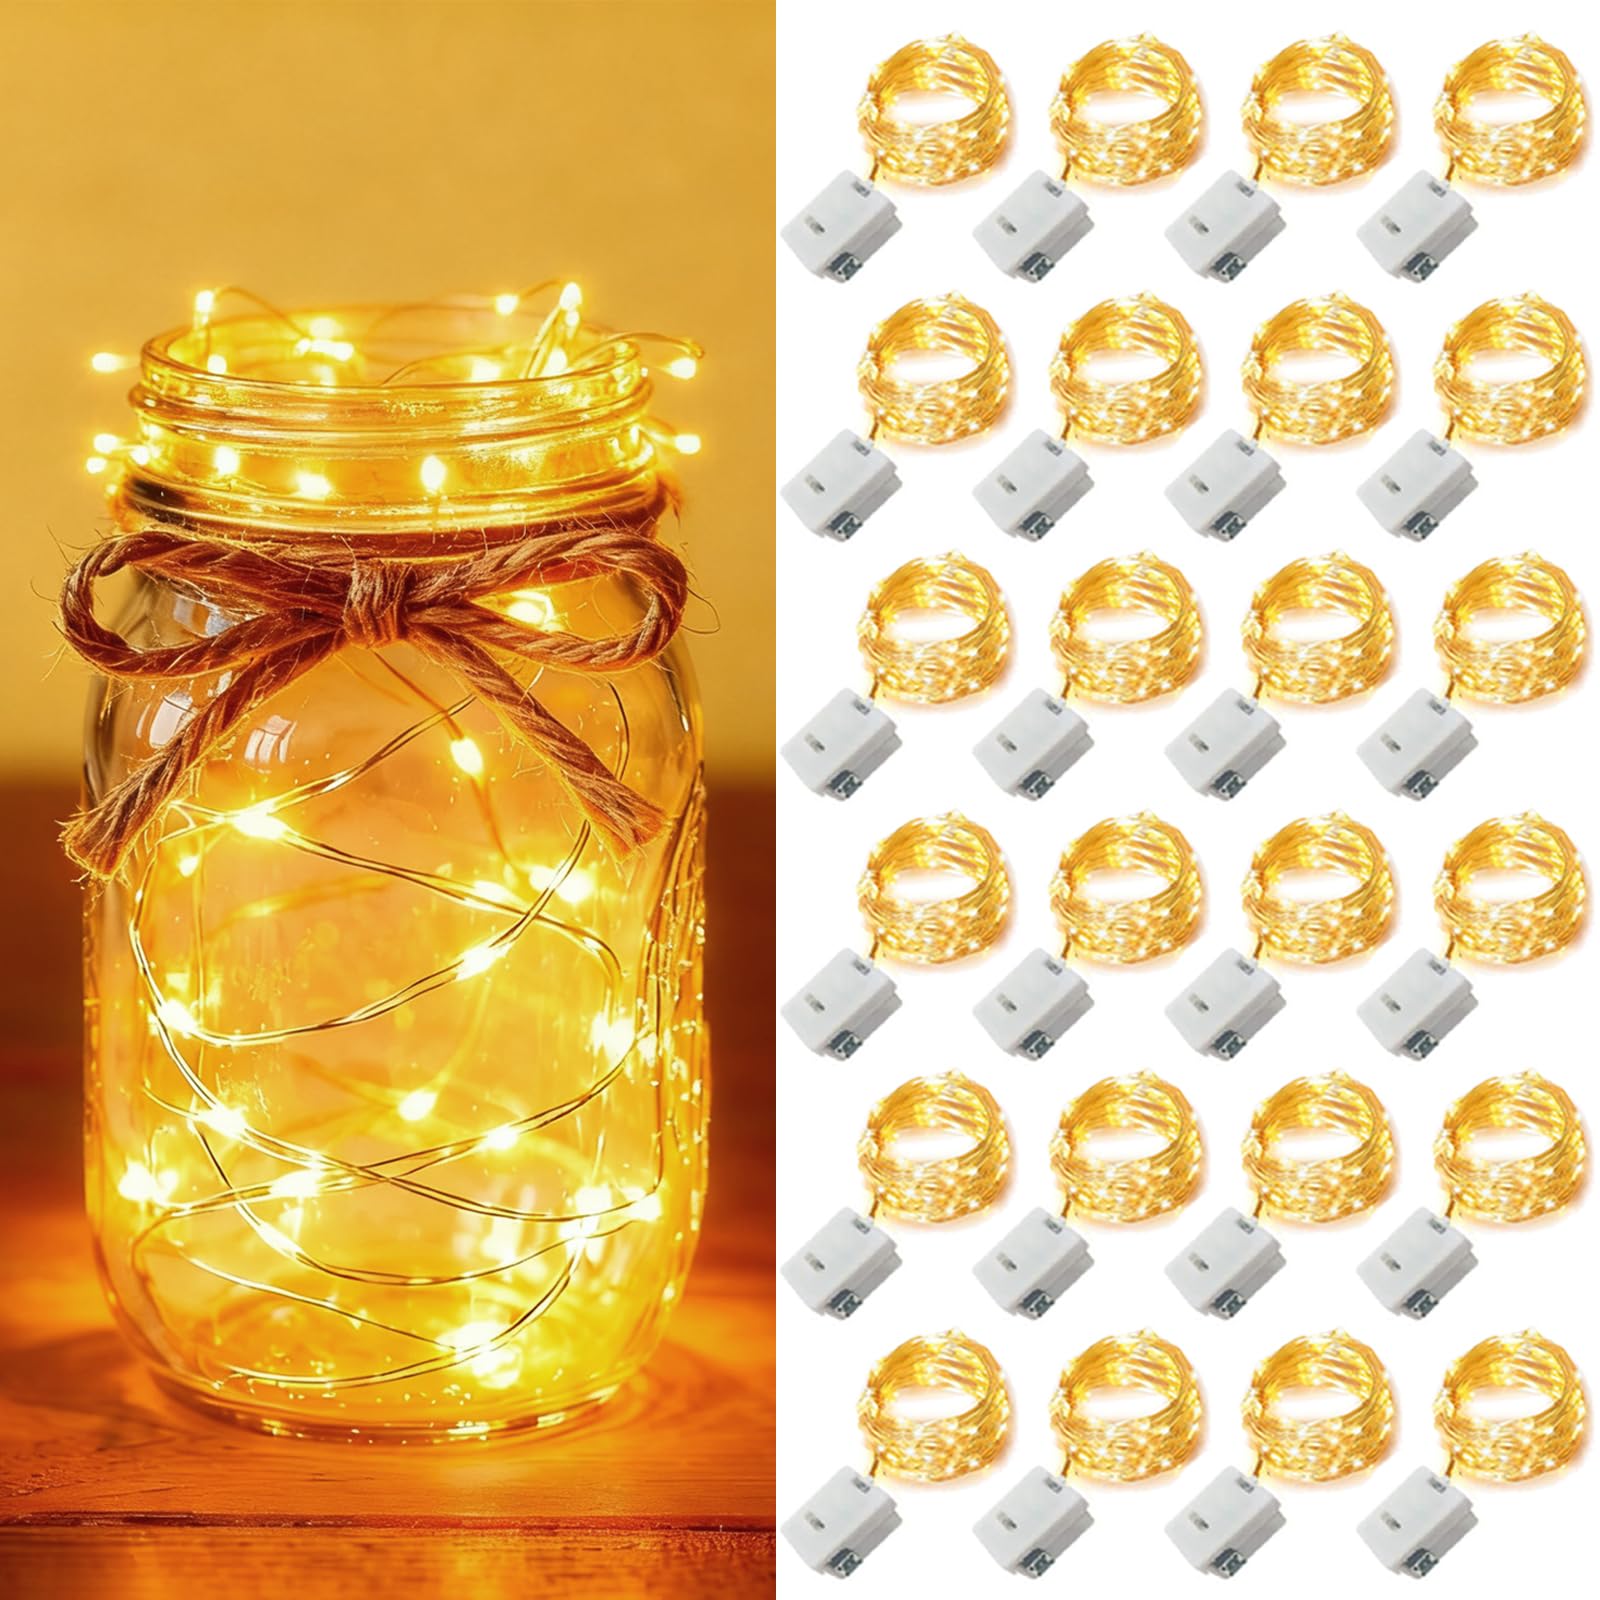
24-Pack Mini LED Fairy String Lights (Warm White)
Check the finished dimensions, stability and display requirements before ordering. See the kit →
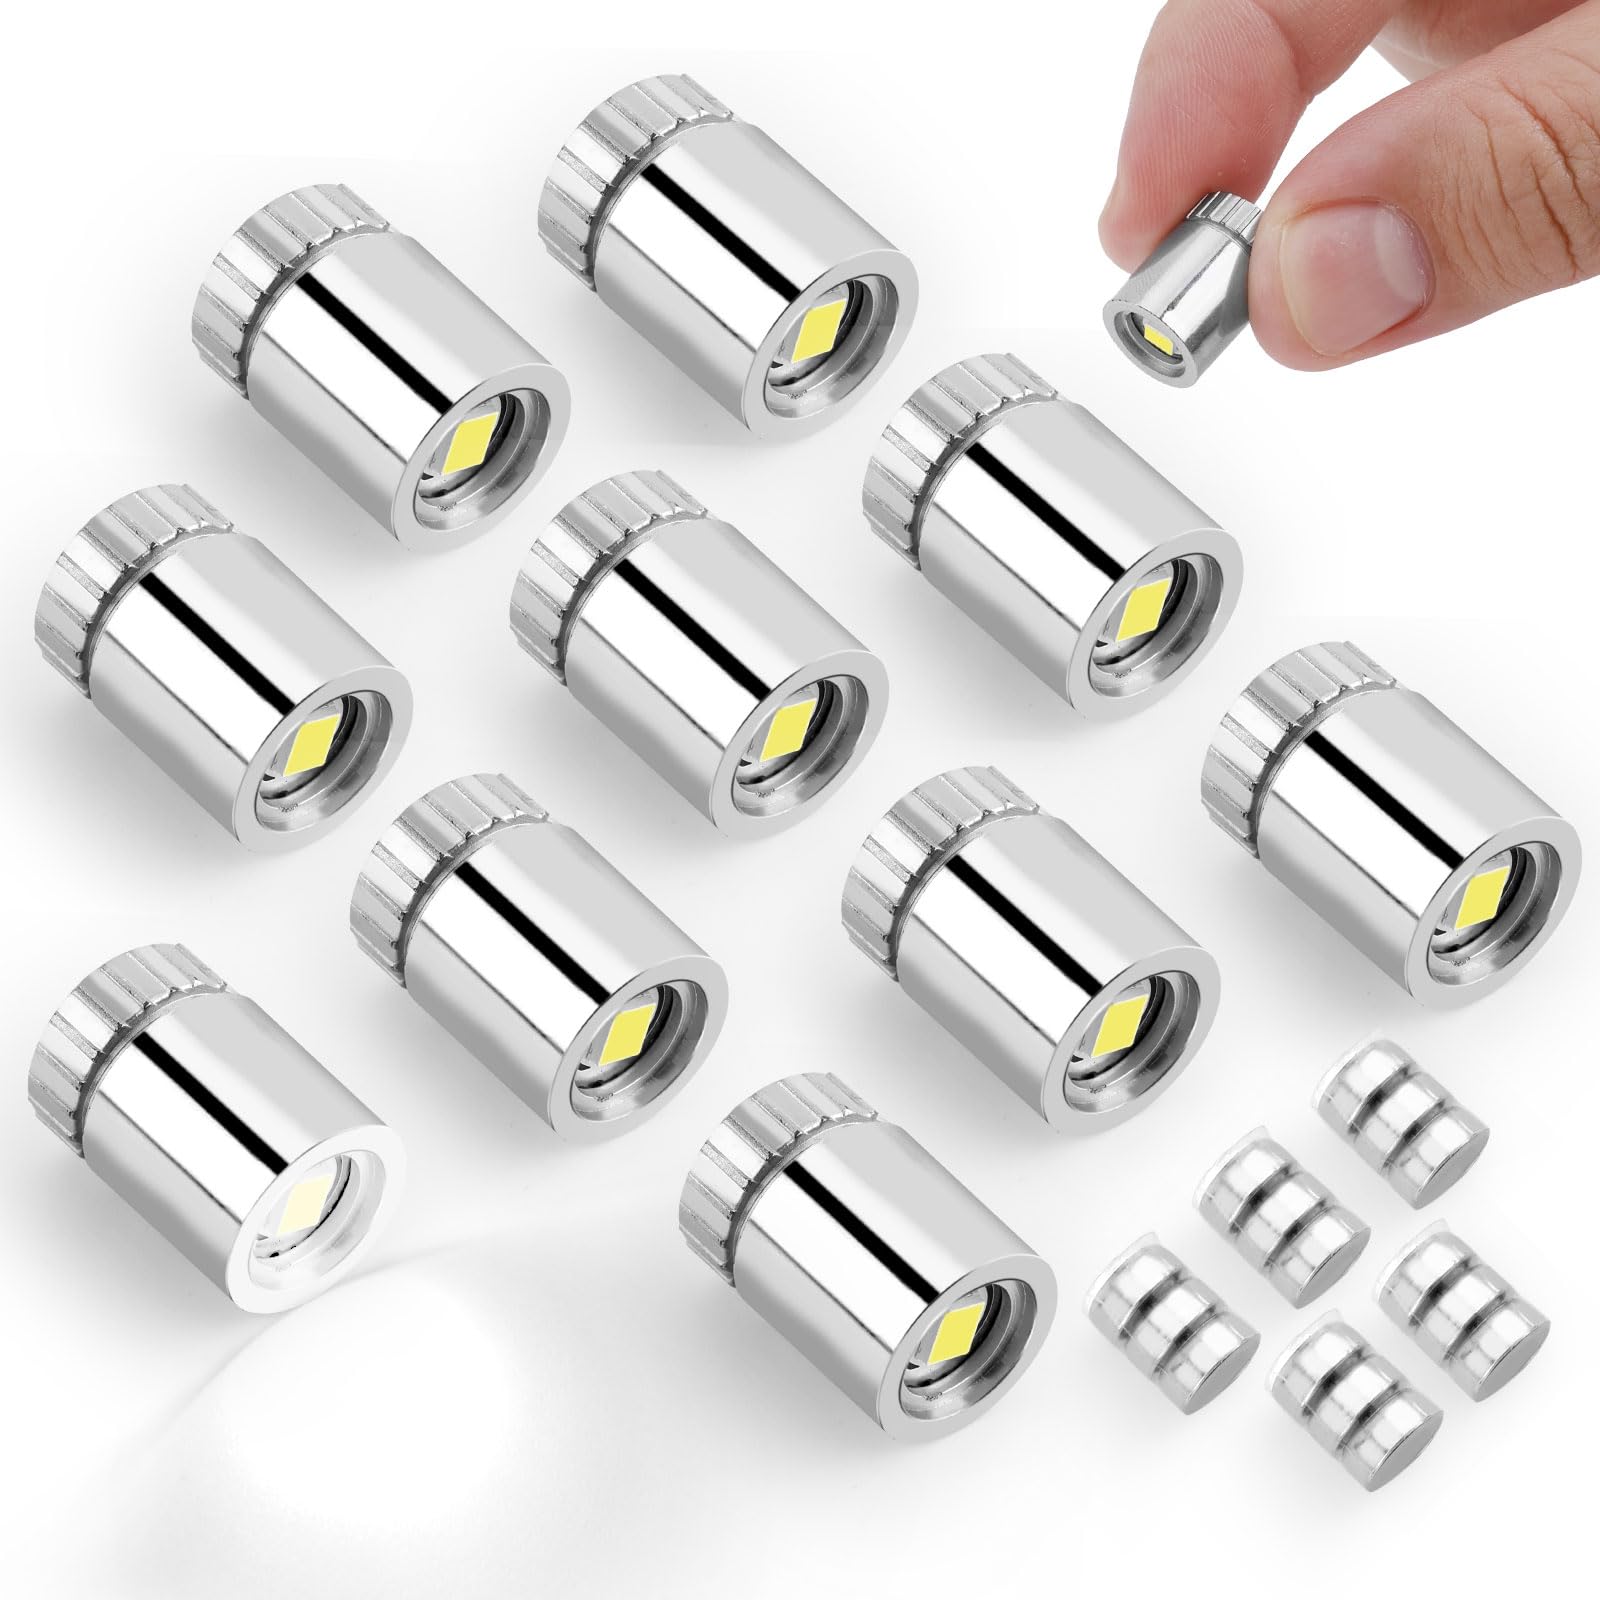
10-Pack Micro LED Lights, Battery Powered (White)
Compare the theme, age guidance and current box contents for the intended recipient. See the kit →
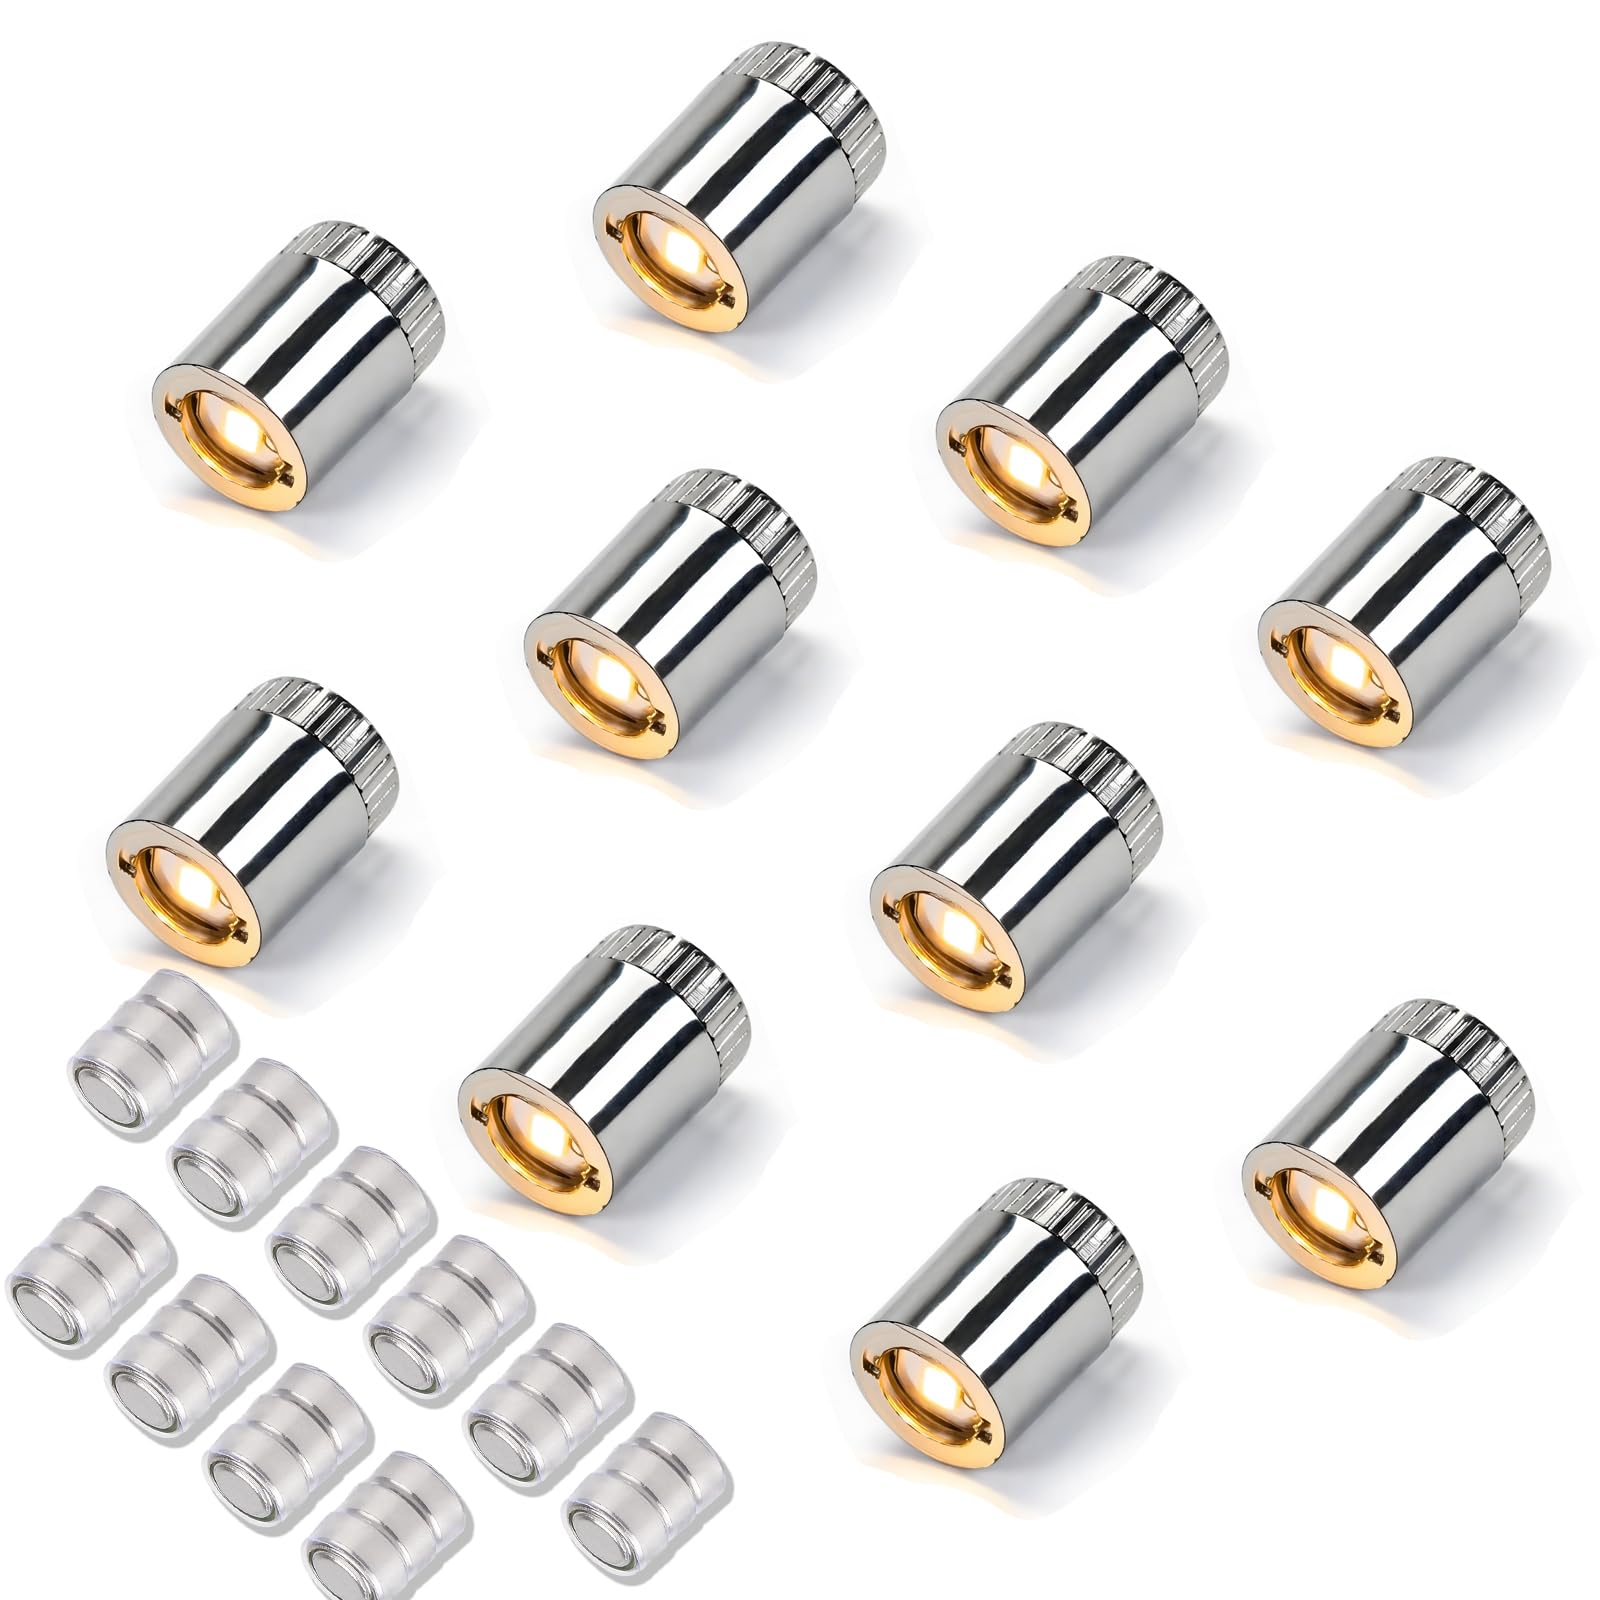
10-Pack Mini Dollhouse LED Lights (Warm White)
Confirm the current piece count, instruction format and difficulty guidance. See the kit →
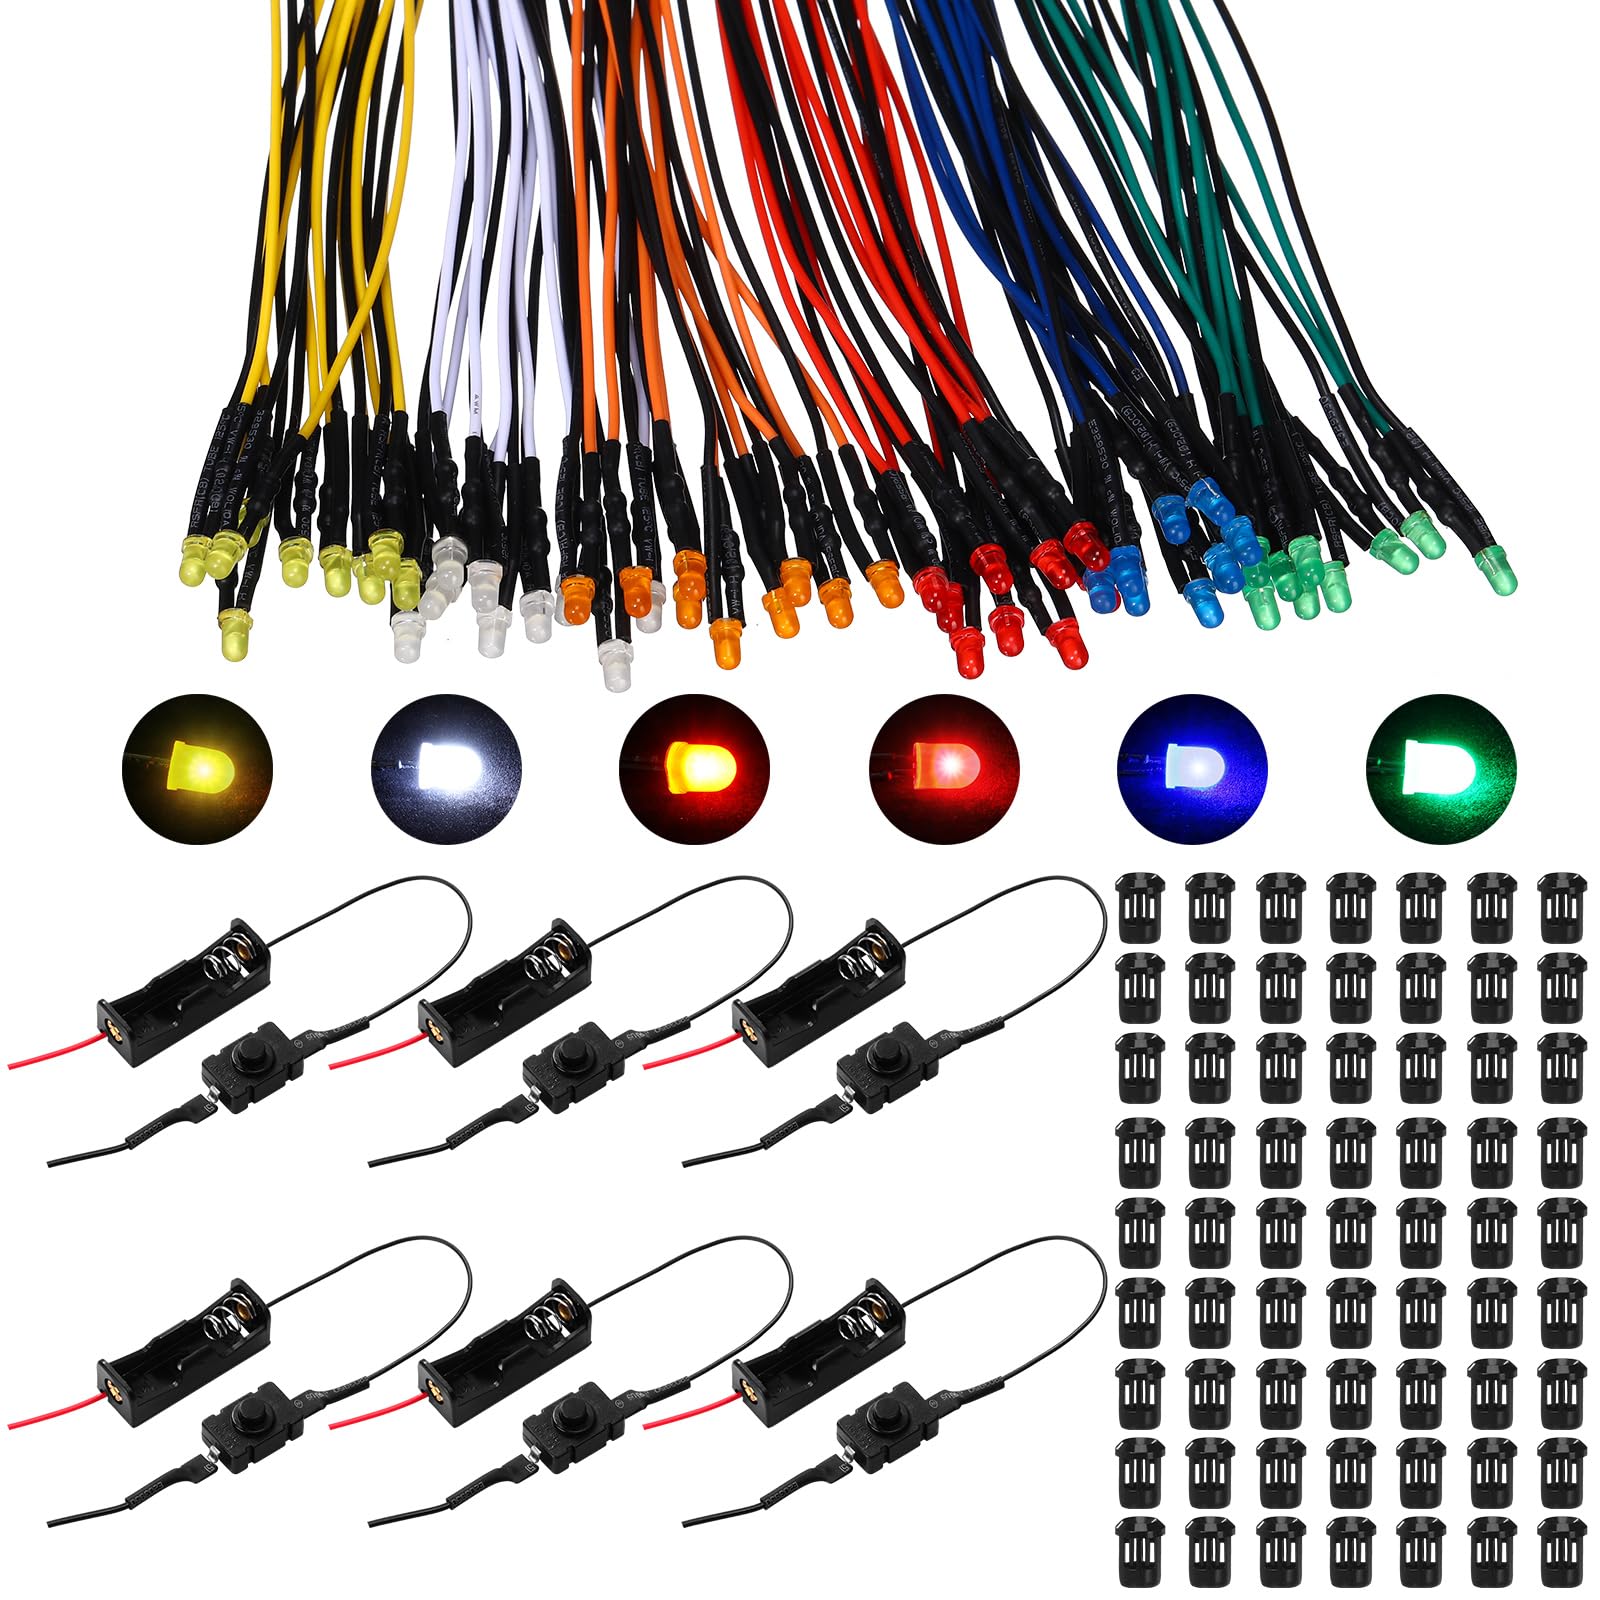
126-Piece 12V Pre-Wired LED Lights Kit for Models
Check the finish, materials and exterior dimensions against the intended display space. See the kit →
Start with the supplied electrical design
If the kit includes LEDs, a switch, battery holder, resistor or controller, treat them as a matched system. Follow the manual’s polarity, connection and power instructions. Do not connect a higher voltage, remove a resistor or mix power sources because another light looks similar. For a defective supplied part, contact the seller or manufacturer rather than improvising a circuit inside a paper-and-wood model.
Plan the light, then the wire
Decide what should appear illuminated: a room, window, street lamp or distant sky. Temporarily place the LED and view the scene from normal shelf height. Once the visual position works, trace a wire route to the battery or USB exit that avoids doors, tabs, glue areas and sharp bends.
- Put light behind a trim or ceiling beam so the viewer sees glow rather than the LED.
- Leave enough wire at a removable panel or roof.
- Keep the switch and battery compartment reachable after display.
- Do not run wire through a slot needed by a structural tab.
Warm, neutral or cool white?
Warm white supports wood, cafés and traditional libraries. Neutral white shows paint colour more faithfully. Cool white can suit snow, workshops and futuristic scenes. Colour temperature is only one part of the effect: brightness, distance, diffusion and the colours of the interior change the result.
Diffuse harsh points of light
A hidden LED reflecting from a pale ceiling often looks more natural than one aimed directly through a window. A compatible translucent diffuser can soften the point, but keep materials away from heat and follow the light maker’s installation guidance. Test diffusion before gluing the roof.
Testing checkpoints
- Test the circuit out of the box.
- Test after routing wires but before securing them.
- Test after installing each major wall or ceiling.
- Test in a dim room for light leaks.
- Test one final time before closing any inaccessible panel.
This sequence tells you which construction stage introduced a fault. A single test at the end makes diagnosis much harder.
Battery vs USB power
Battery systems make placement flexible and avoid a visible cable, but the compartment must remain accessible and batteries need monitoring. USB-powered systems can suit a permanent shelf near an appropriate power source, but cable routing and the approved input specification matter. Use only the power method designed for the circuit.
Safe wire management
Use the channels and retention method in the manual. A flexible adhesive, compatible tape or small clips may hold wires without stressing them. Keep adhesive away from contacts, switches and battery terminals. Avoid staples, metal fasteners or tight folds that can damage insulation.
Light leak troubleshooting
If light escapes through a wall seam, first check whether the panel is seated correctly. An opaque backing inside a non-visible cavity can block a leak if it does not trap heat, interfere with the structure or contradict the manual. Paint can also reduce transmission through thin wood, but mask electrical parts and tabs.
If the light does not turn on
- Confirm the switch position and battery orientation.
- Check that protective battery tabs have been removed as instructed.
- Inspect plug connectors for full seating and correct orientation.
- Look for a wire pinched by a wall, screw or tab.
- Try only the replacement battery type specified by the maker.
- Stop if a component becomes hot, smells unusual or shows damage.
Do not short contacts with a tool or dismantle a sealed power component. Seek manufacturer support if the basic checks do not resolve the fault.
Photographing a lit book nook
Dim the room rather than turning it completely dark, support the camera and reduce exposure until highlights retain detail. Clean clear panels and hide external cables before the photograph. The model should be switched off again after the session according to its instructions.
Keep exploring
My Cutebee may earn an Amazon commission from links on this page, at no cost to you.
Browse our hand-picked LED & lighting
Every kit is shortlisted for build quality and shelf appeal. You check out on Amazon, where the current seller, delivery estimate and return terms are shown before you buy.