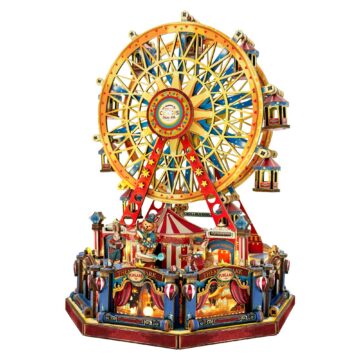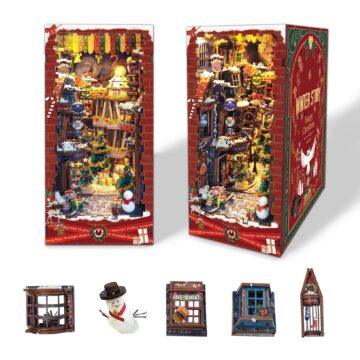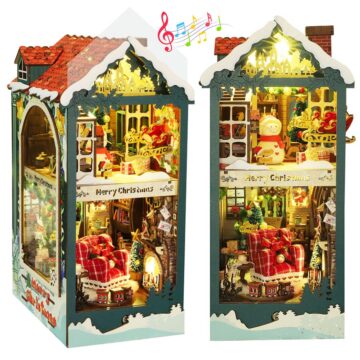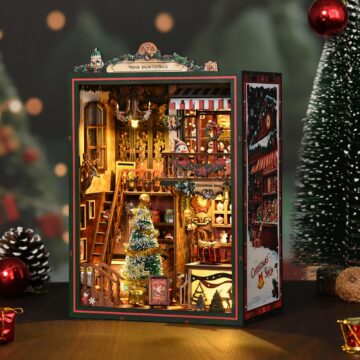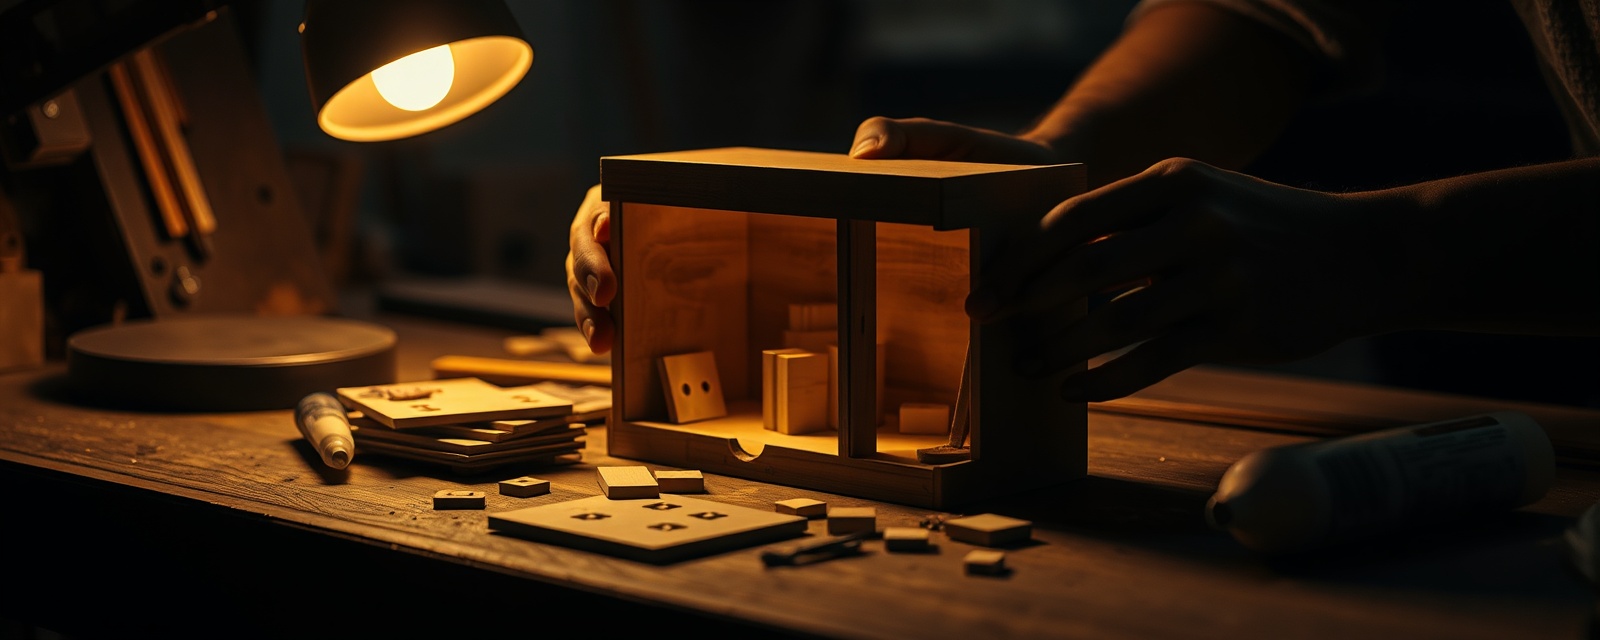
If you have never built a miniature kit before, a book nook is a great place to start. The pieces are laser-cut to fit, the instructions are picture-led, and you do not need any special skills — just a clear table, a little patience and a couple of hours at a time.
Here is the workflow we recommend for a smooth first build.
Step by step
- Set up a calm workspace. Good light, a cutting mat or tray, and a small bowl for tiny parts so nothing rolls away.
- Sort before you start. Punch out the laser-cut pieces and group them by step. Test-fit before any glue touches them.
- Use the right glue. A precise white glue or PVA for wood, and a tiny dot of super glue for stubborn joints. Less is more.
- Paint and weather early. Any painting is easier before assembly, while pieces lie flat.
- Wire the lights last. Tuck the LED strip behind walls and test it before sealing the scene in.
- Let it cure. Give the glue a few hours before sliding the finished nook onto the shelf.
What to look for
- A complete kit with pre-cut parts and instructions (every kit we list includes these).
- Decent glue and a hobby knife — see our tools guide.
- An LED strip for that lit-from-within glow.
Good first kits
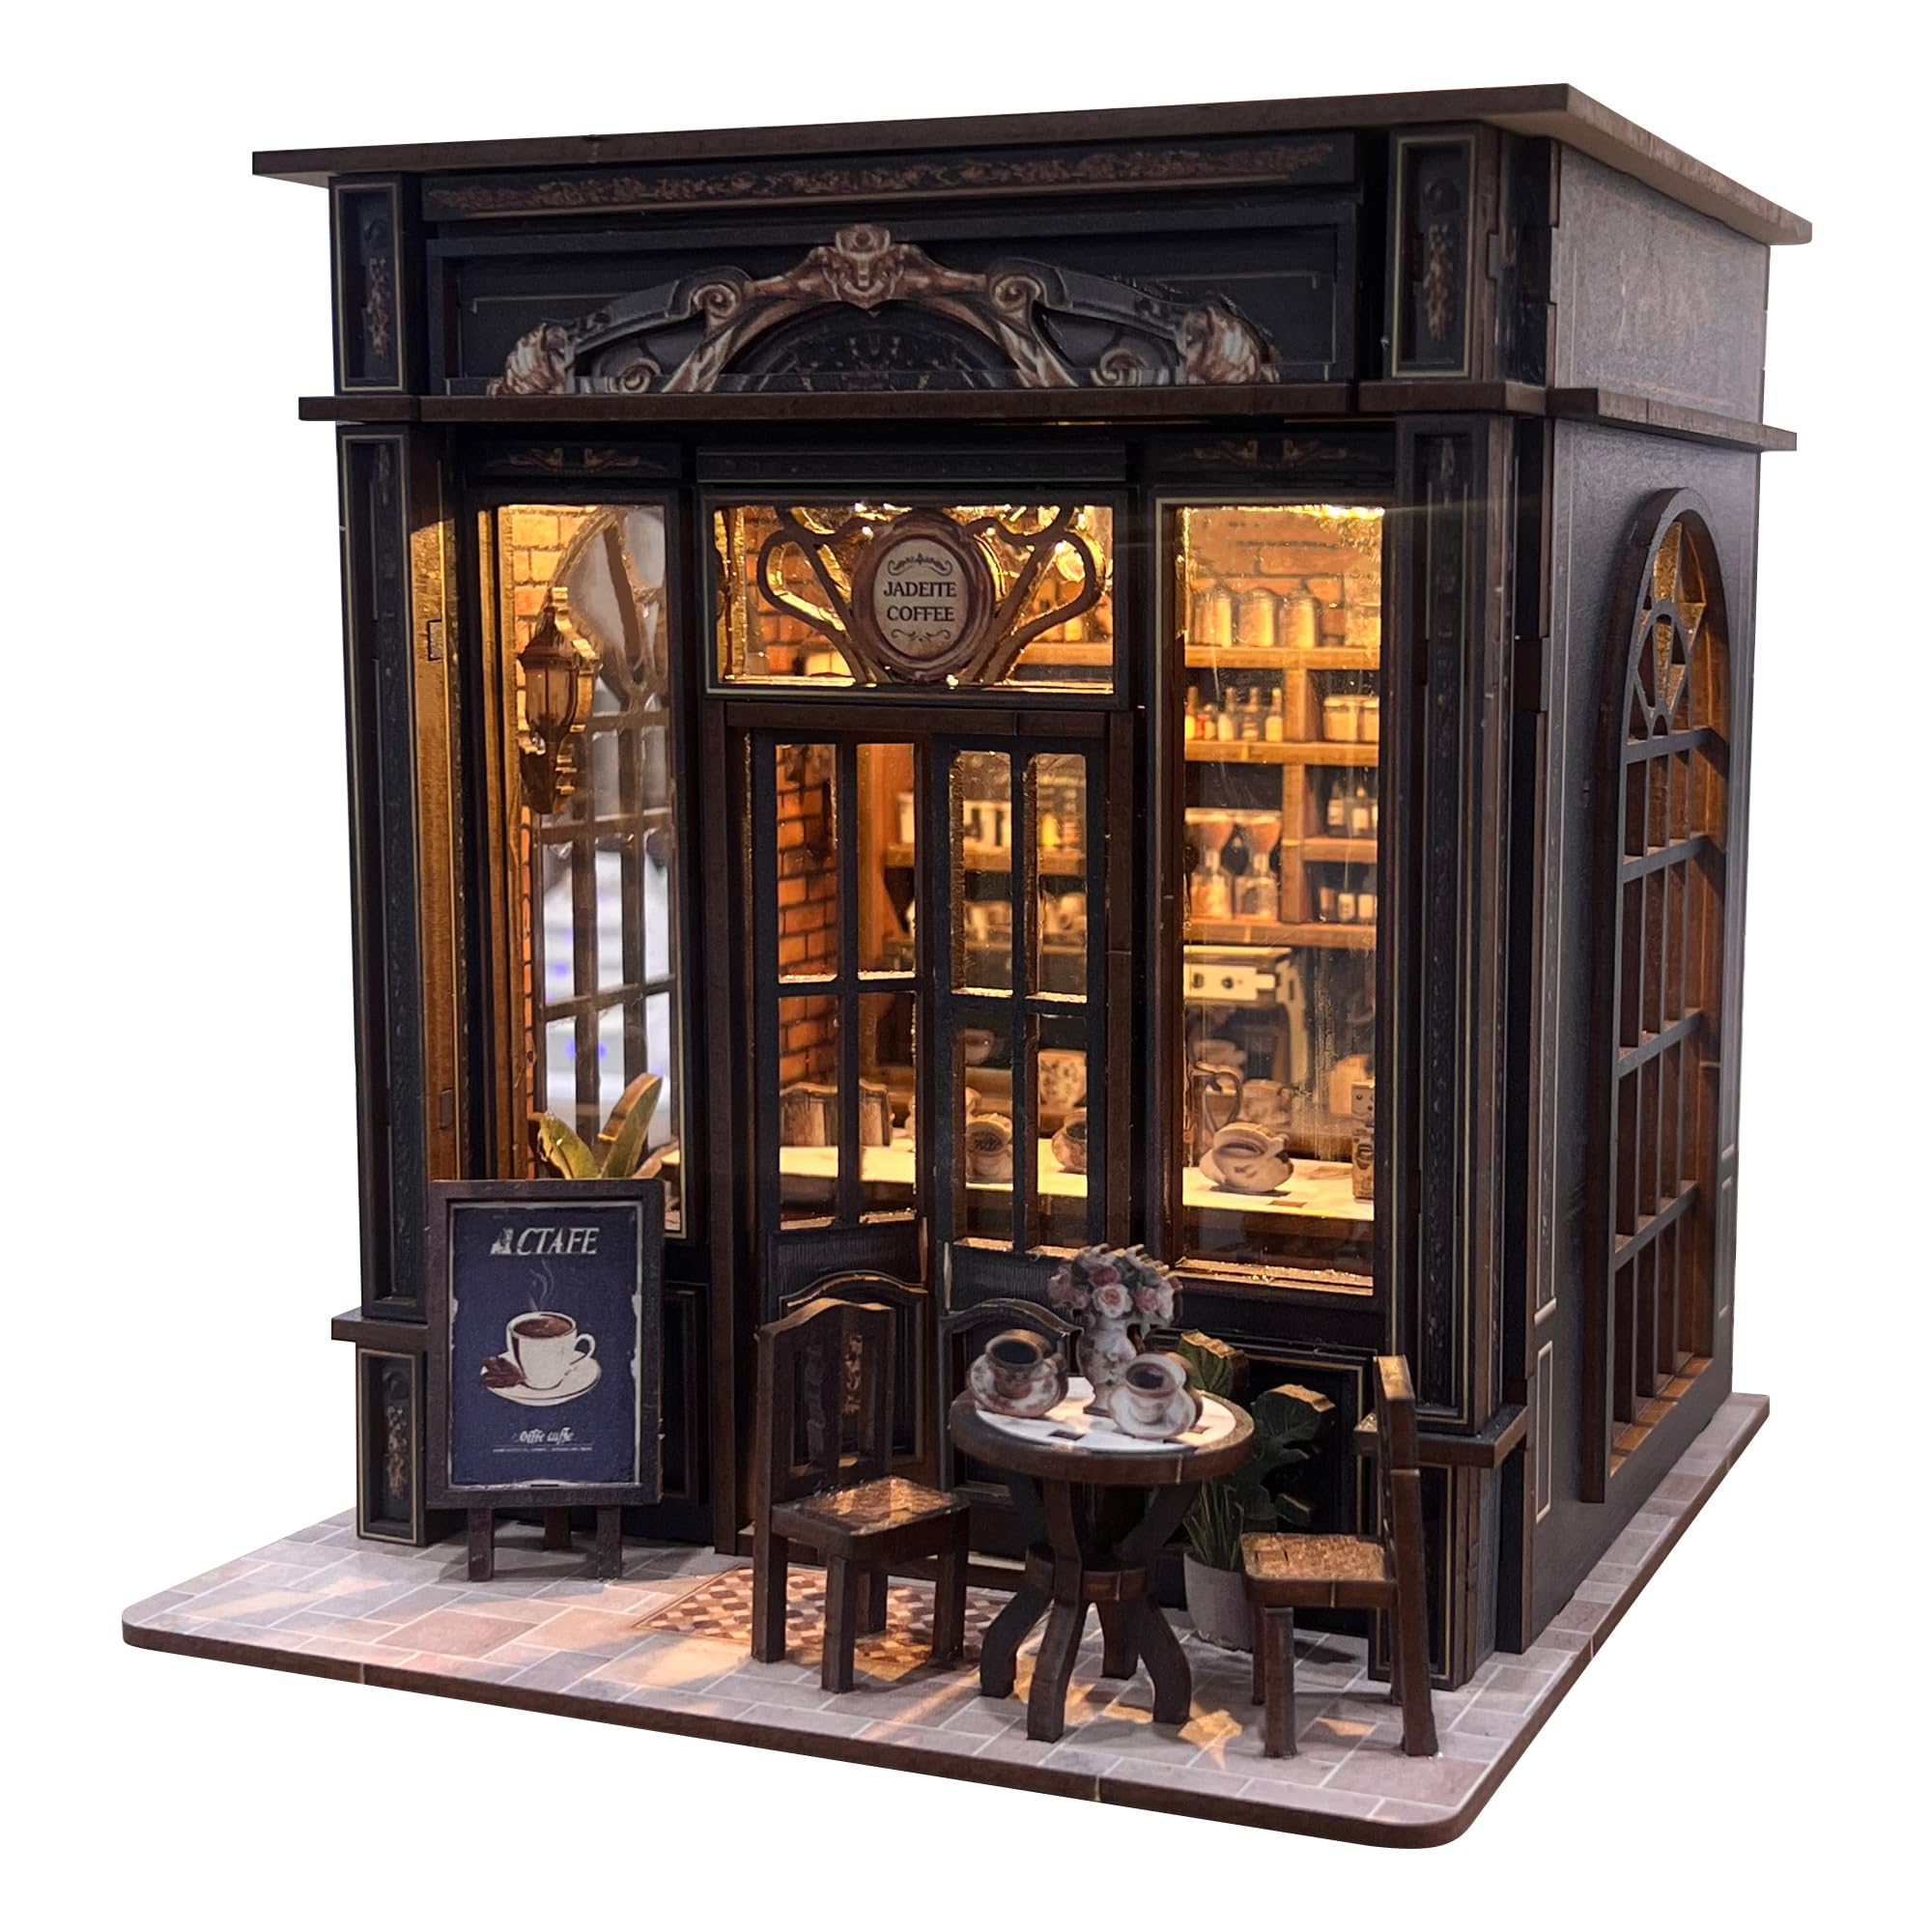
Coffee Shop DIY Book Nook Kit with LED
Review the current materials, contents and finished dimensions before choosing. See the kit →
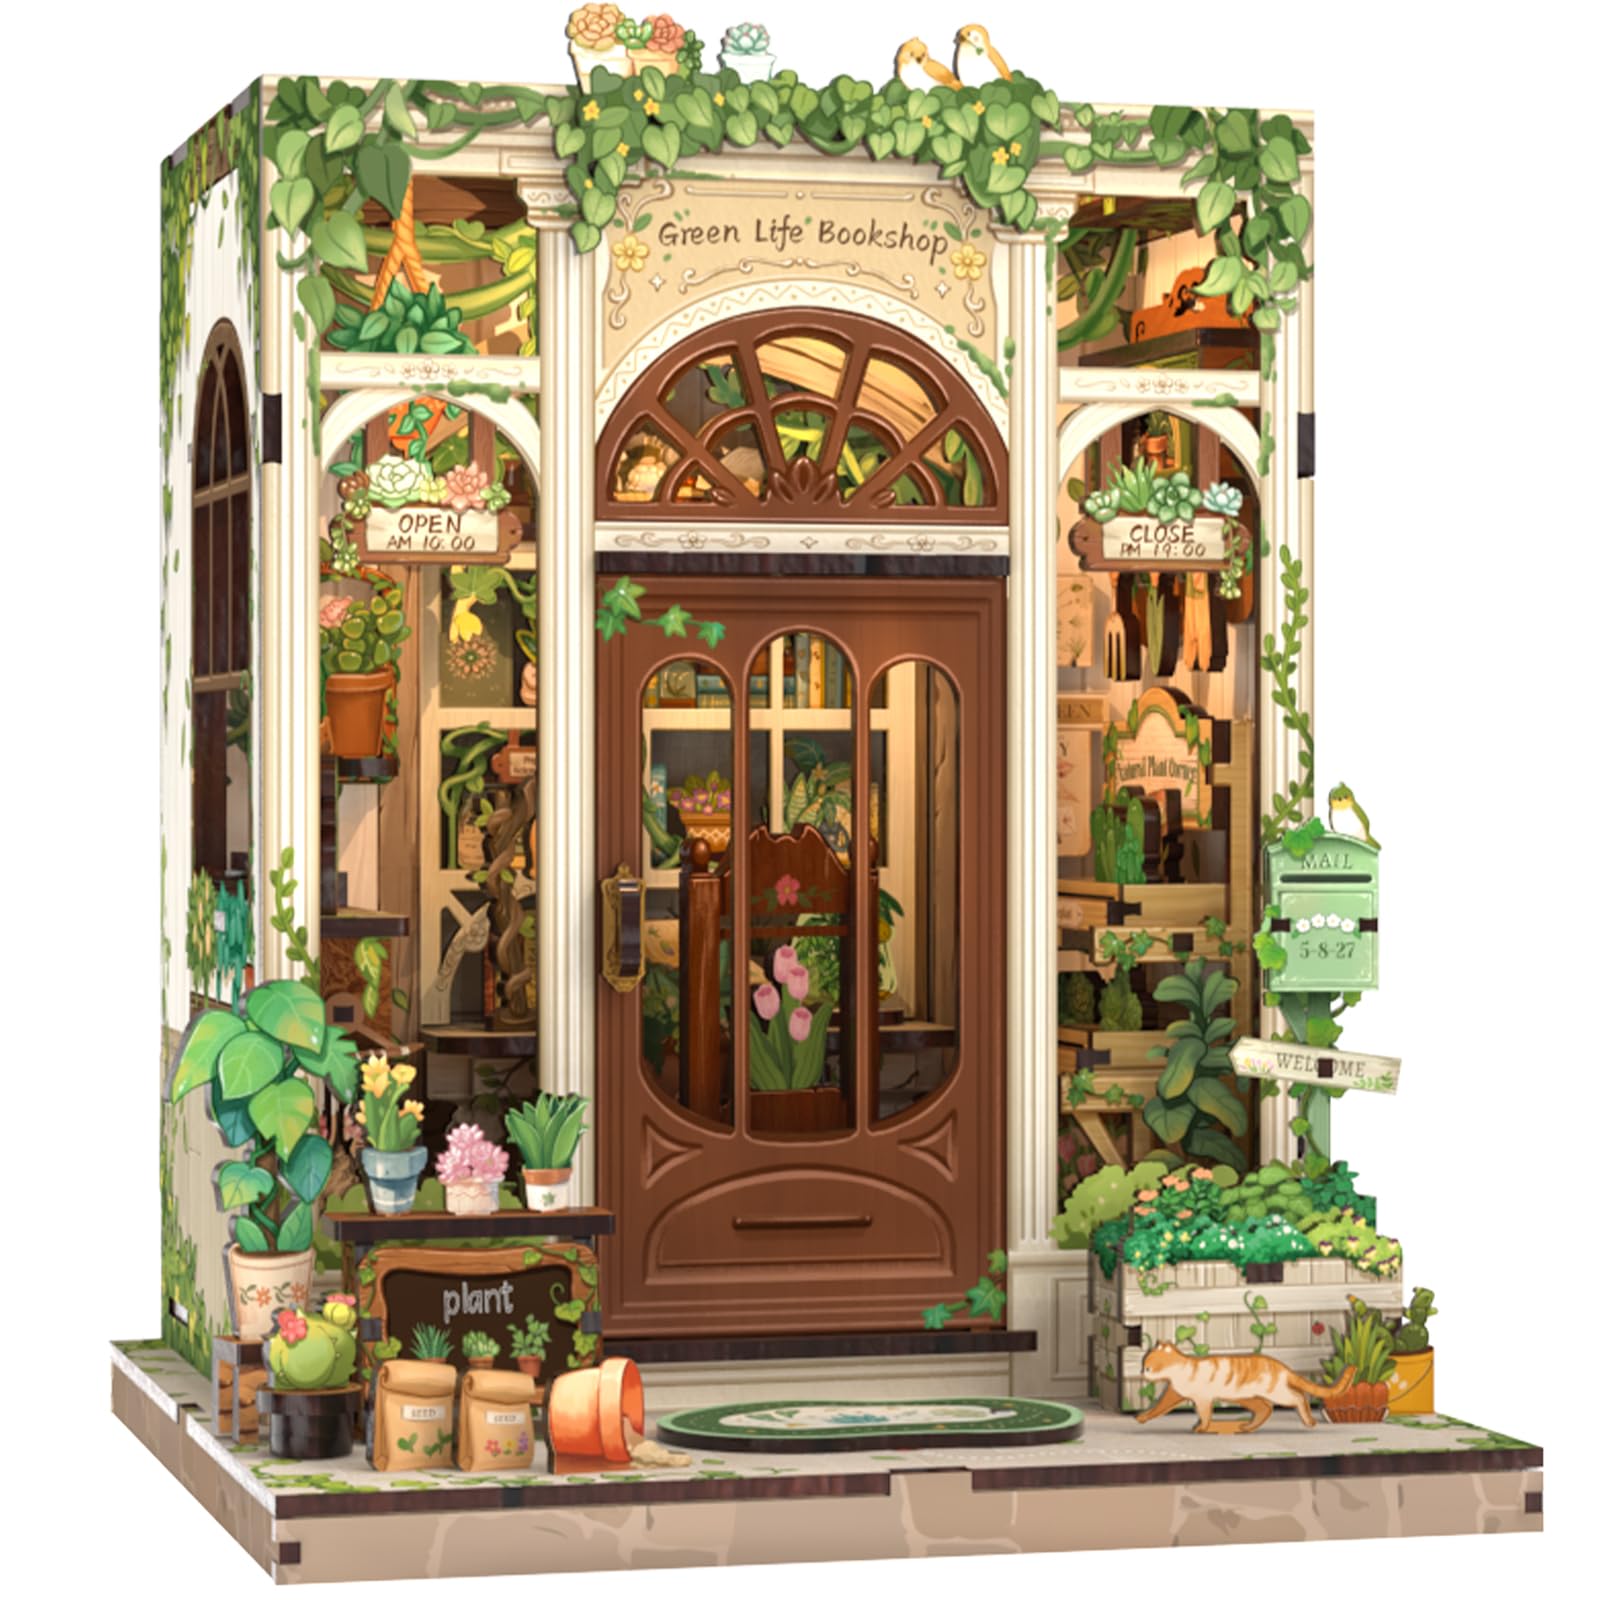
Cutebee Green Life Bookshop DIY Book Nook Kit
Compare the published assembly details and required supplies with the builder’s experience. See the kit →
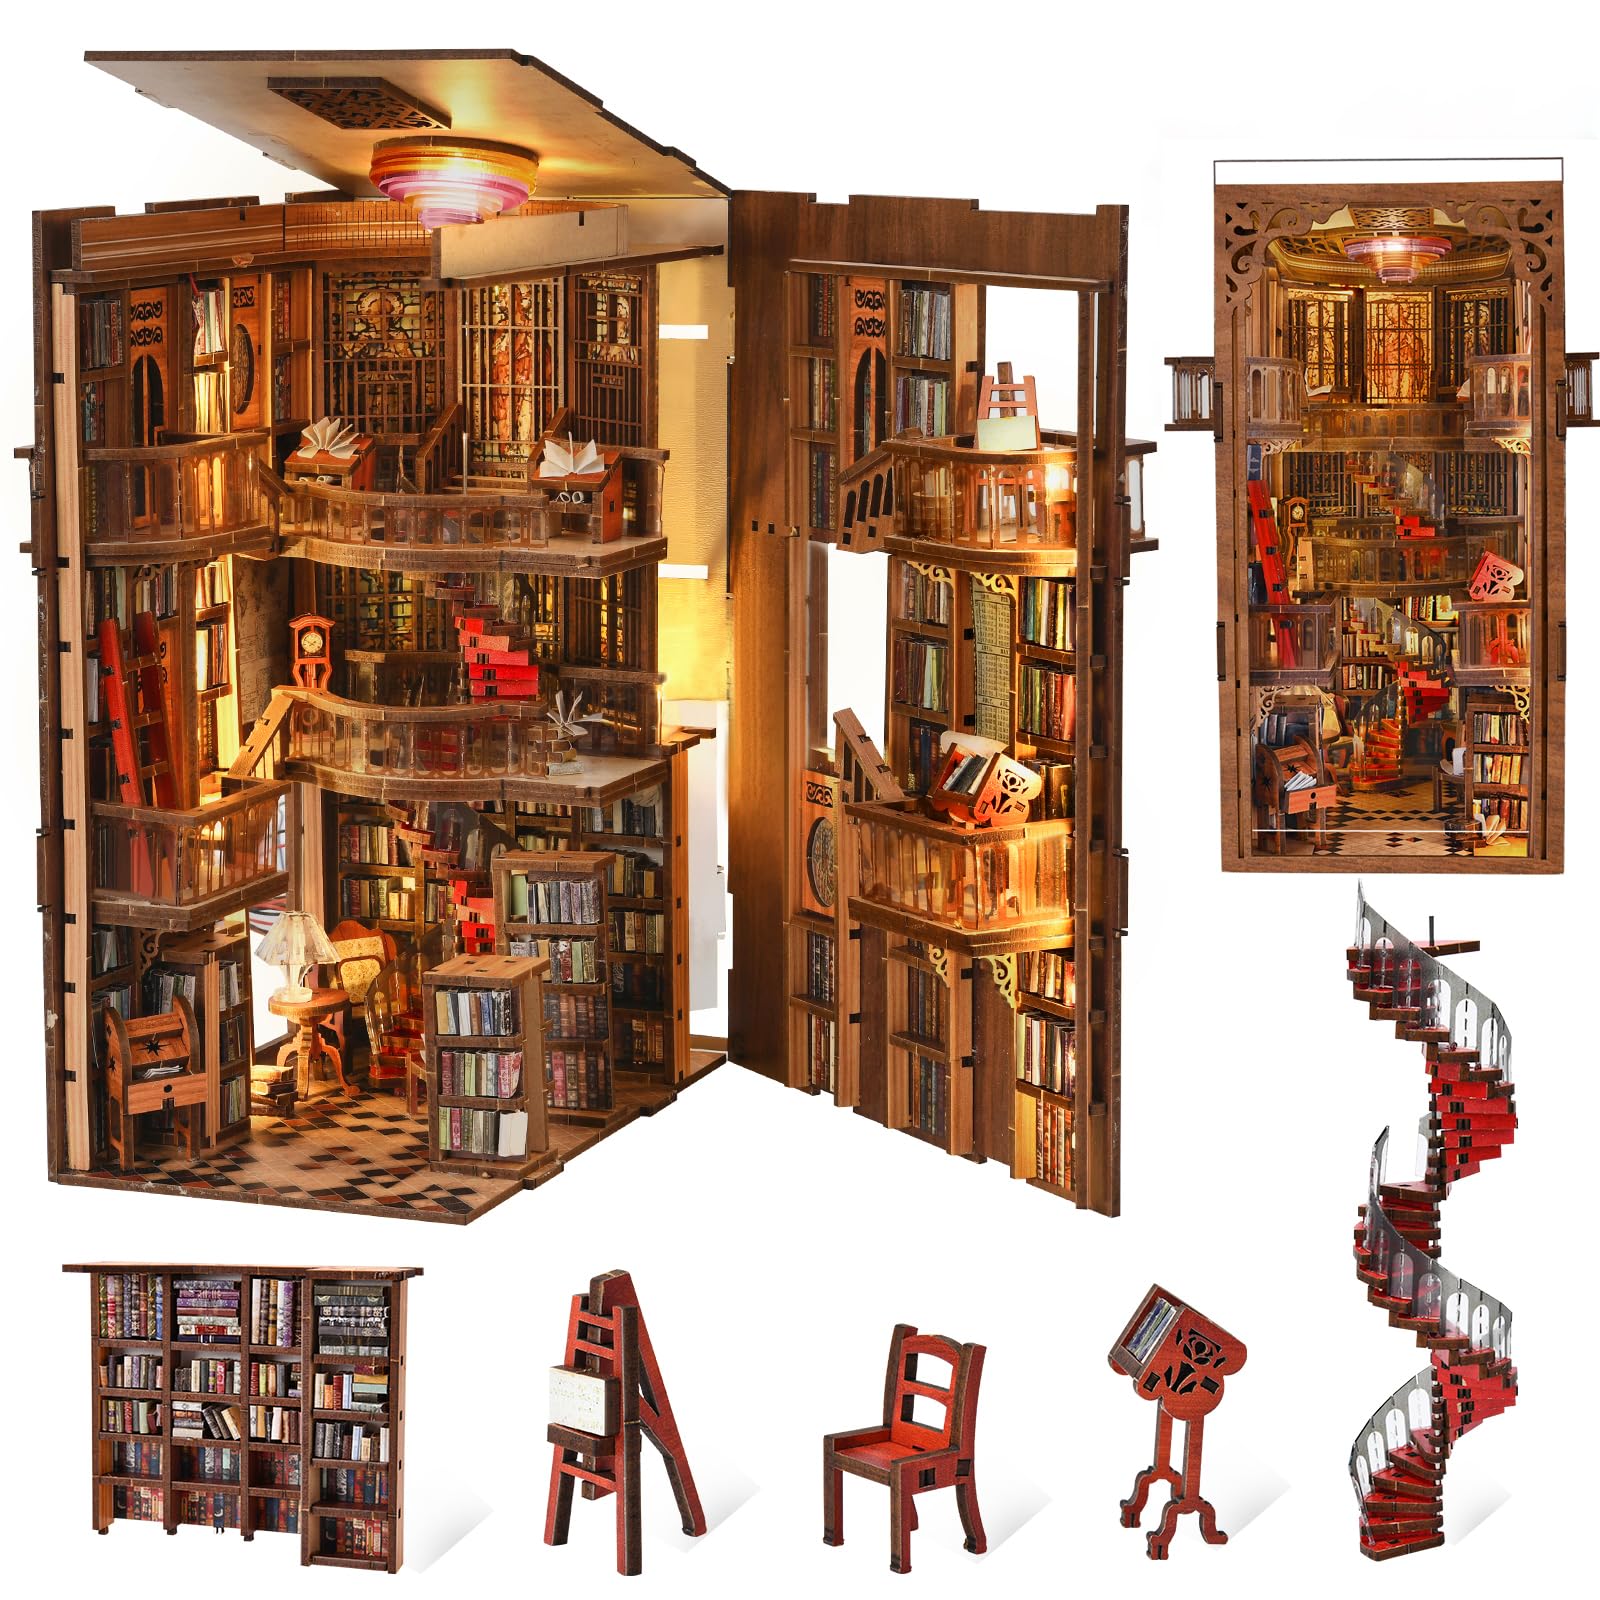
MiniCity Abbey Library DIY Book Nook Kit with LED
Check the finished dimensions, stability and display requirements before ordering. See the kit →
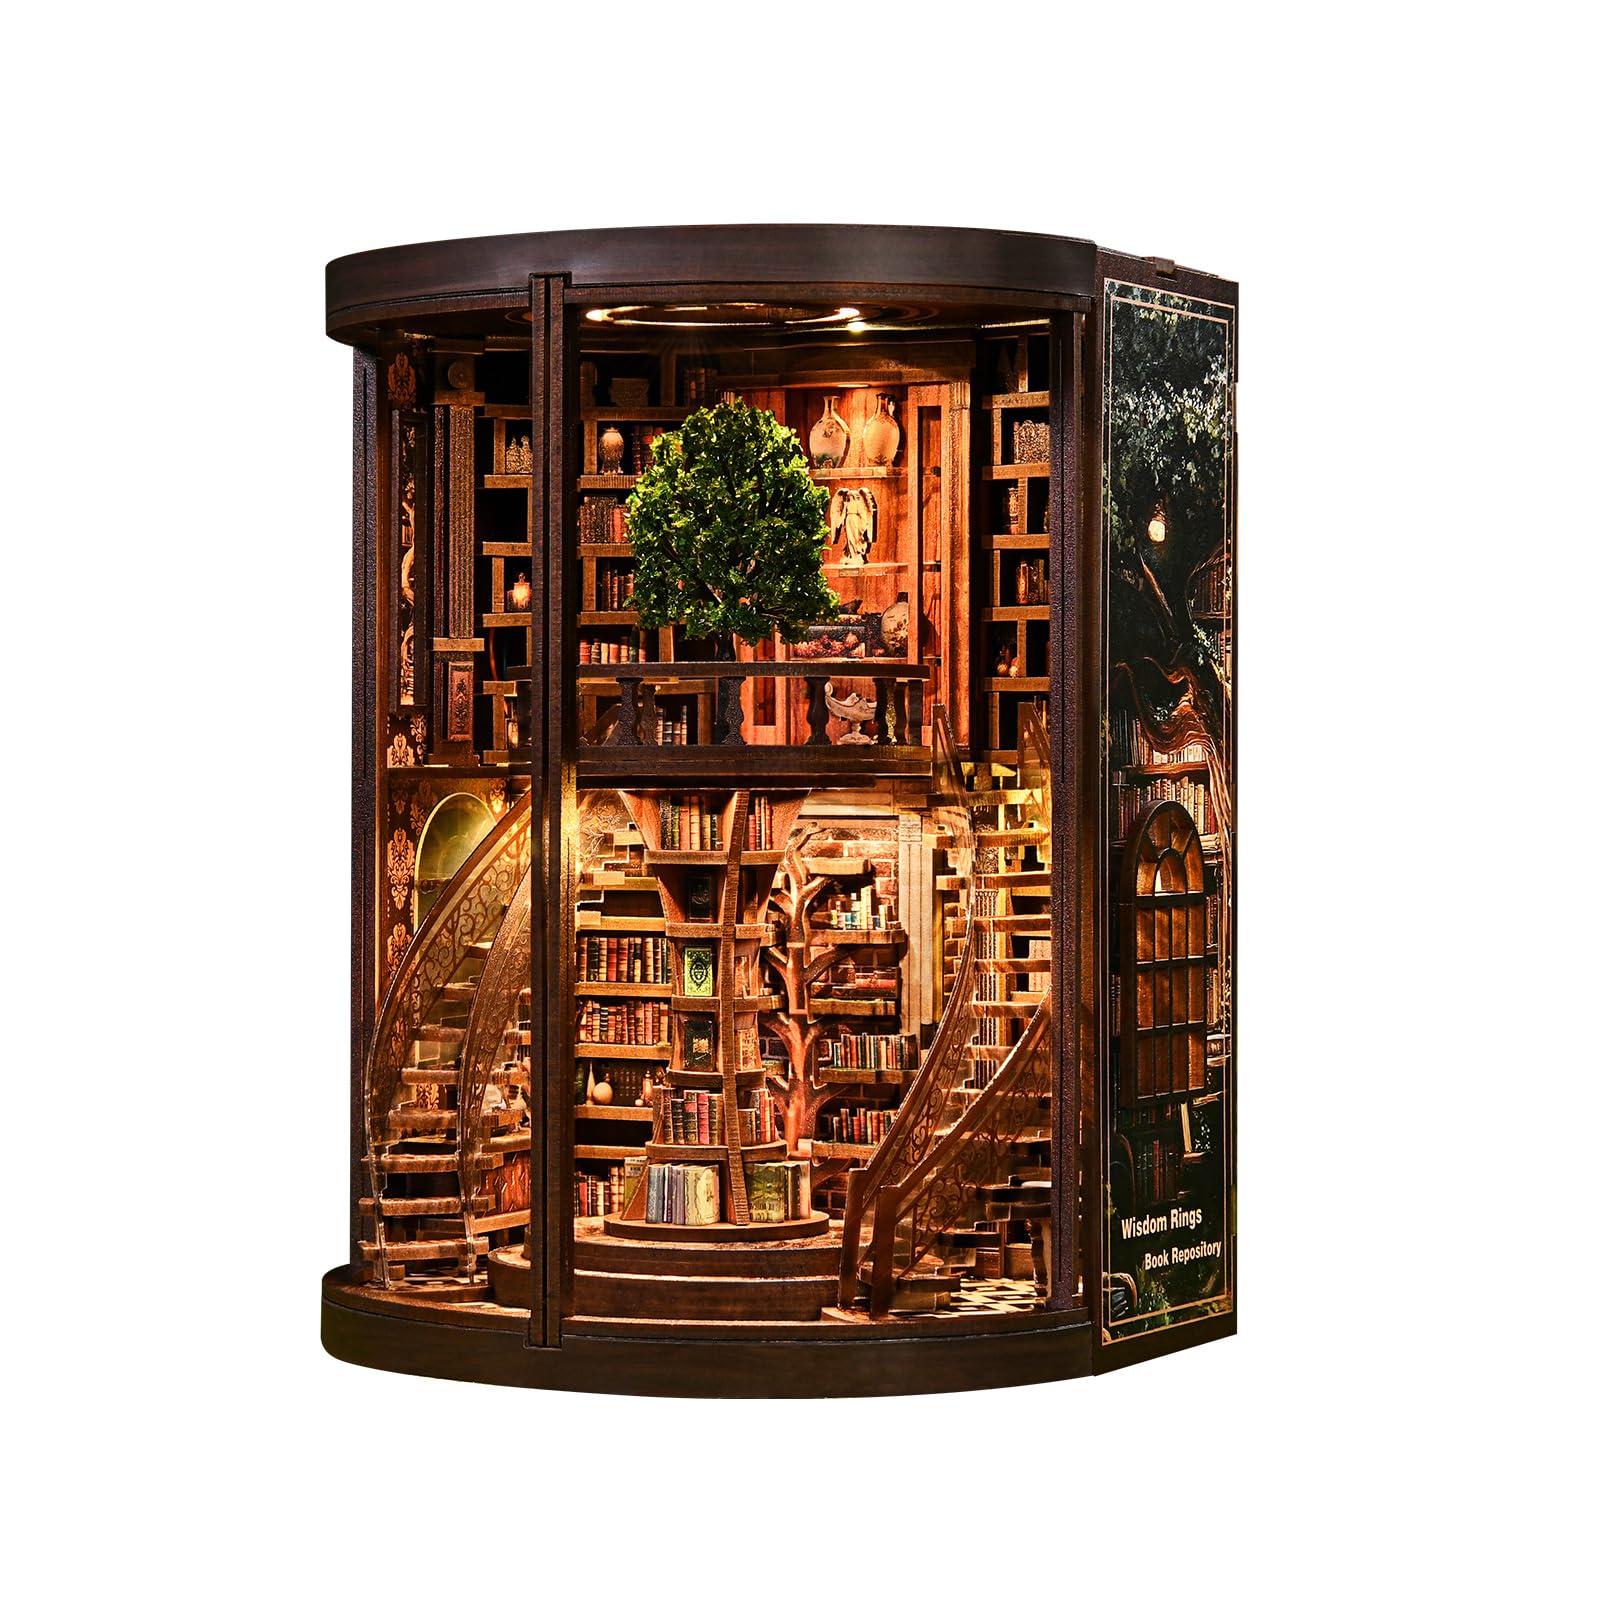
Soothee Wisdom Library DIY Book Nook Kit with LED
Compare the theme, age guidance and current box contents for the intended recipient. See the kit →
Before opening the first parts sheet
Photograph the sealed box, model number and parts list. Then read the complete manual once without removing anything. This first pass reveals which surfaces become inaccessible, where wires must travel and whether the build expects paint or glue before assembly. If glue, paint or batteries are not listed as included, obtain compatible supplies before starting.
Keep the retailer order and seller details until the kit is complete. If a numbered sheet or electrical component is missing, that information makes a replacement request much easier.
Set up a parts system
Use shallow trays, labelled bags or a compartment box. Remove only the parts needed for the current step unless the manual explicitly asks you to pre-sort everything. A laser-cut sheet is often the safest label: once every tiny piece is loose, left/right pairs and similarly sized trims become harder to identify.
- Keep structural panels separate from paper, clear plastic and electrical parts.
- Protect printed faces from glue, wet tools and sanding dust.
- Place spare tabs and offcuts in a test-material bag rather than discarding them.
- Record any part that looks damaged before attempting a repair.
Plan the assembly sequence
A reliable pattern is dry-fit, finish, wire, glue, test and close. Dry-fit the main shell to understand orientation. Paint or apply wallpaper while surfaces are accessible. Route and test the LEDs. Glue subassemblies on a flat surface, then test the circuit again before installing the final wall or roof.
Do not assume the lighting belongs “last.” Decorative lamp shades may be late-stage parts, but hidden wires and battery leads often need to be installed much earlier.
How to remove parts cleanly
Support the sheet close to the connection point. If the manual calls for a craft knife, cut on a proper mat and away from hands. Do not twist a delicate piece until it breaks free; that can split a thin corner or tear the printed face. Smooth only the small connection nub, preserving tabs and engraved marks that control fit.
Dry-fitting and correcting tight joints
A correct dry-fit should confirm orientation without damaging the part. If a tab is tight, check for paint, debris, a reversed panel or a small uncut bridge. Remove material conservatively and test again. A loose joint can often be aligned with a square support while the recommended adhesive cures; do not fill a precision slot with a large glue blob.
Paper craft and tiny props
Pre-crease folds using a straight edge and a blunt scoring tool suitable for the paper. Apply a thin, even adhesive layer and use clean tweezers. Build repeated books, plants or boxes in small batches so wet pieces do not stick to each other. Let large wallpaper and flooring pieces dry flat before enclosing the room.
Lighting checkpoint
- Test the supplied circuit before installation.
- Confirm polarity and battery orientation from the manual.
- Route wires through the intended channels without sharp bends.
- Temporarily position the light and inspect the scene in a dim room.
- Secure the route while leaving the switch and battery compartment accessible.
- Test again before closing the shell.
Never substitute voltage, remove a resistor or combine circuits unless the manufacturer provides that arrangement. Use the dedicated book nook LED guide for more troubleshooting.
Common first-build problems
A wall will not sit square
Stop and inspect the base orientation, neighbouring tabs and any dried glue in the slot. Use square blocks or low-tack tape as temporary support instead of holding the wall by hand for the entire cure time.
The paper finish is lifting
Use less moisture, work from the centre outward and press under a protected flat weight. Test any new adhesive on an offcut.
A tiny part disappeared
Pause before sweeping the area. Search the tray, clothing and floor with a low side light. If it cannot be found, contact the seller or manufacturer before fabricating a replacement that could affect the structure.
The LEDs worked, then stopped
Check the switch, battery orientation, connectors and any point where a wall may pinch the wire. Do not probe a powered circuit with metal tools.
Finishing and display
Let adhesives and finishes cure according to their labels. Clean clear panels before installing them and handle the model from its structural base, not a roof sign or façade detail. Measure the completed nook and choose a location protected from direct sun, heat and shelf pressure. See how to display book nooks and miniatures.
First-build completion checklist
- All structural joints seated and cured
- No loose part near an LED or switch
- Lighting tested with the final wall installed
- Battery access preserved
- Clear parts free of adhesive haze
- Spare parts, manual and model number stored together
Keep exploring
My Cutebee may earn an Amazon commission from links on this page, at no cost to you.
Browse our hand-picked book nooks
Every kit is shortlisted for build quality and shelf appeal. You check out on Amazon, where the current seller, delivery estimate and return terms are shown before you buy.