
You can build most kits with what comes in the box, but a small set of the right tools makes everything cleaner and far less fiddly. These are common tool categories to compare before a build.
What to look for
- A precise glue — PVA/white glue for wood, a fine-tip super glue for tricky joints.
- A sharp hobby knife and a cutting mat for clean part removal.
- Tweezers for placing the tiny pieces your fingers cannot.
- Fine sandpaper or a file to smooth laser-cut edges.
Our tool & glue picks
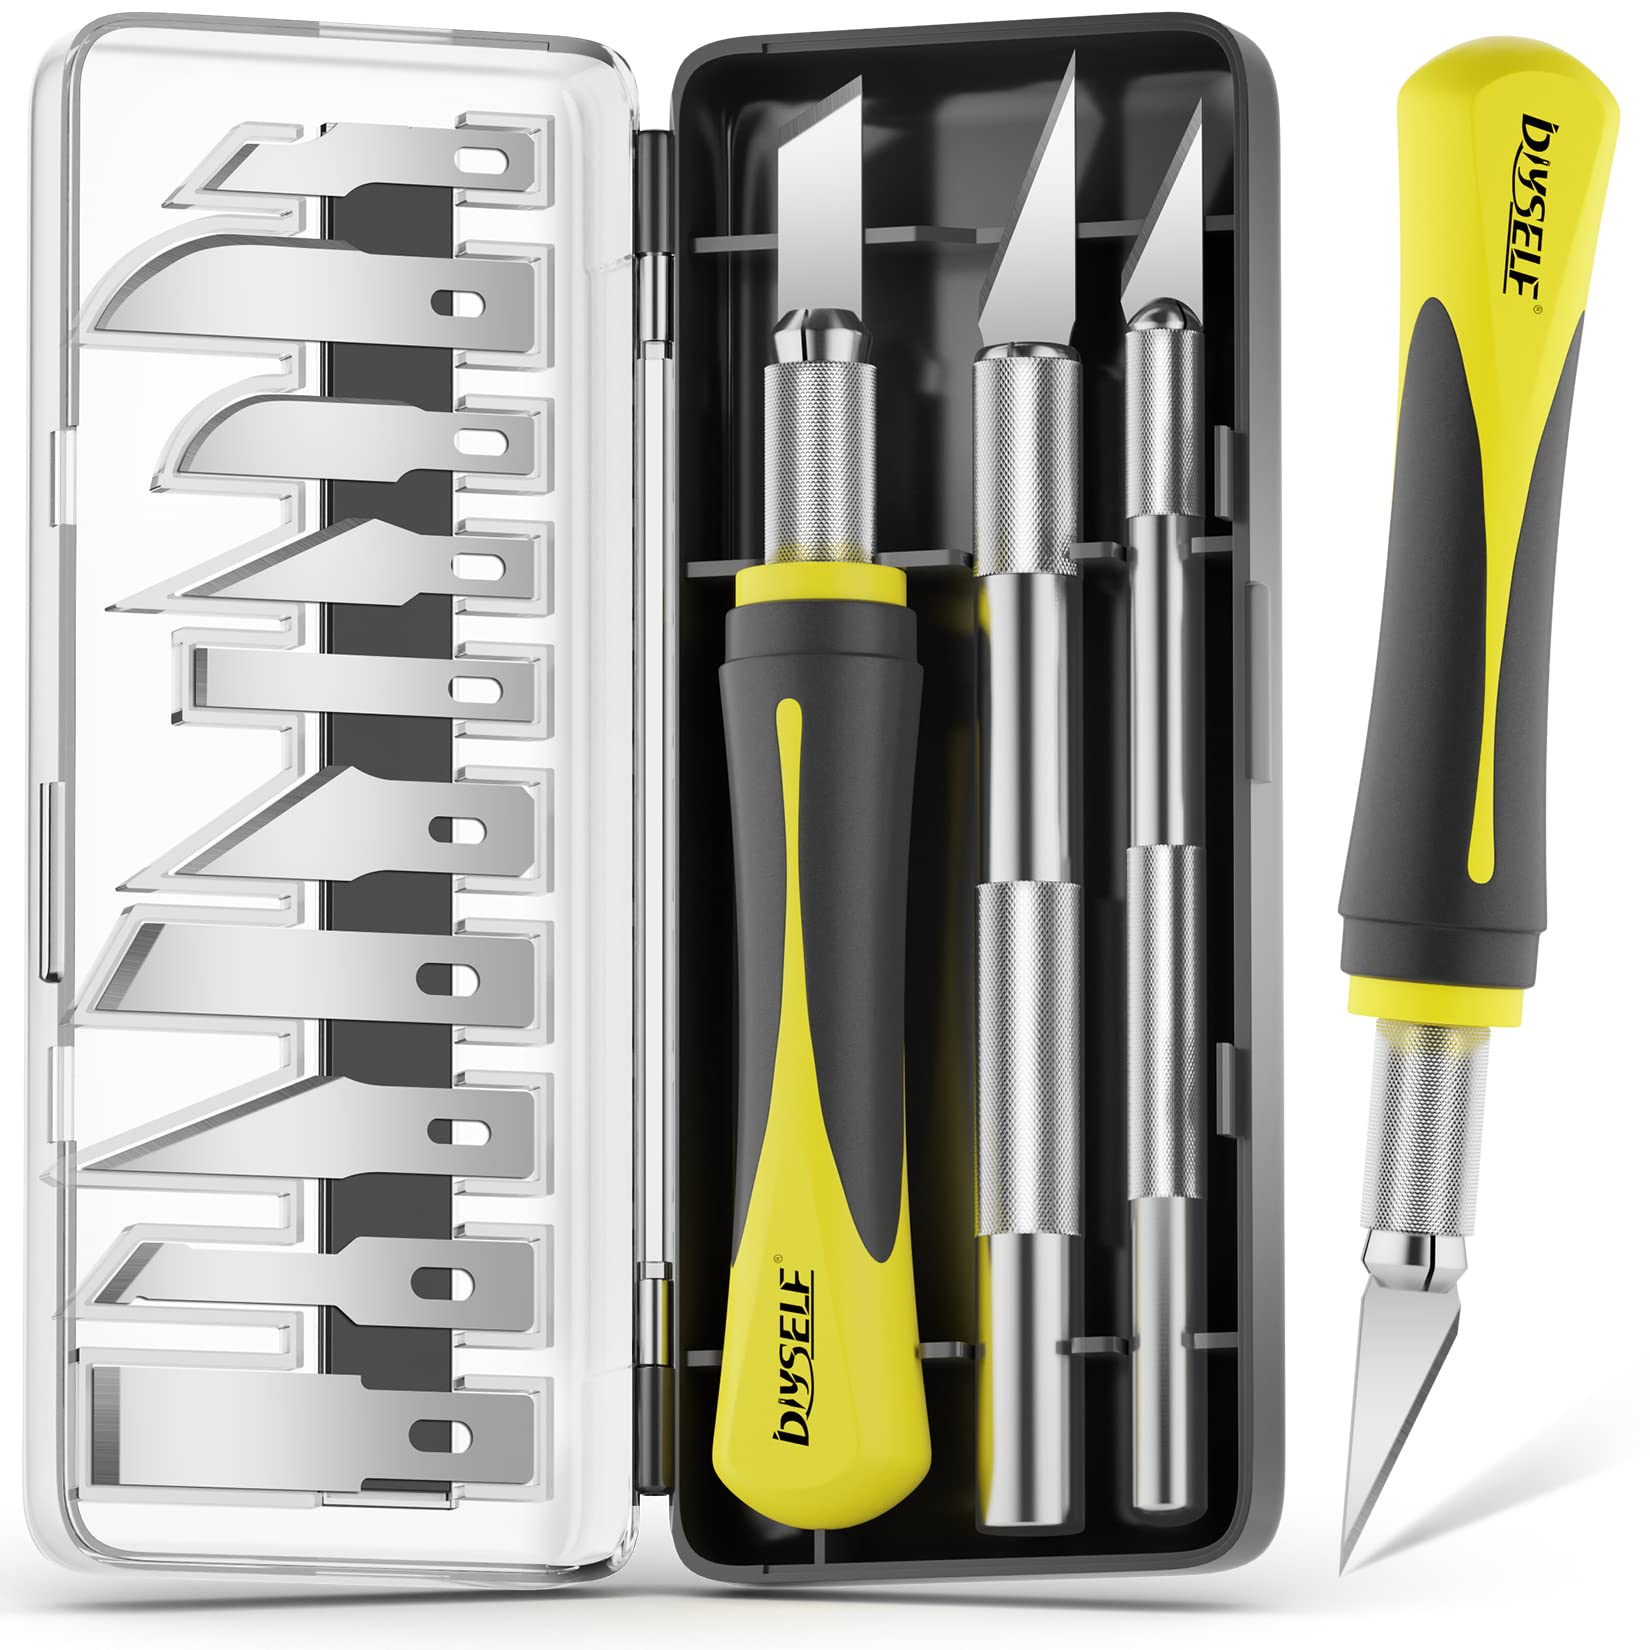
16-Piece Precision Hobby Knife Set with Case
Review the current materials, contents and finished dimensions before choosing. See the kit →
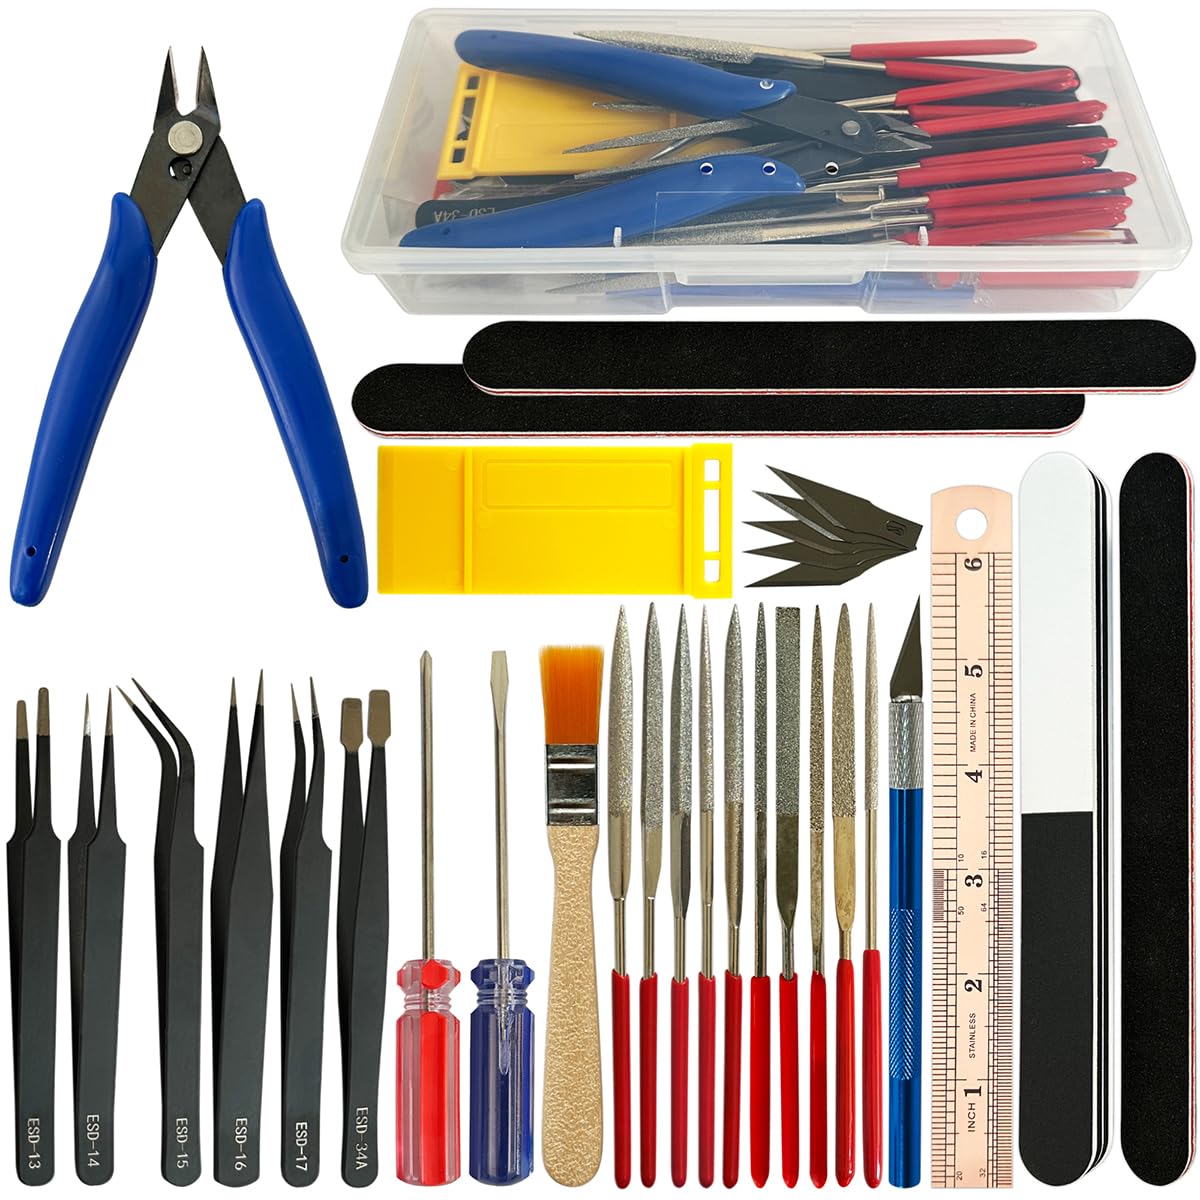
32-Piece Model & Dollhouse Craft Tool Kit
Compare the published assembly details and required supplies with the builder’s experience. See the kit →
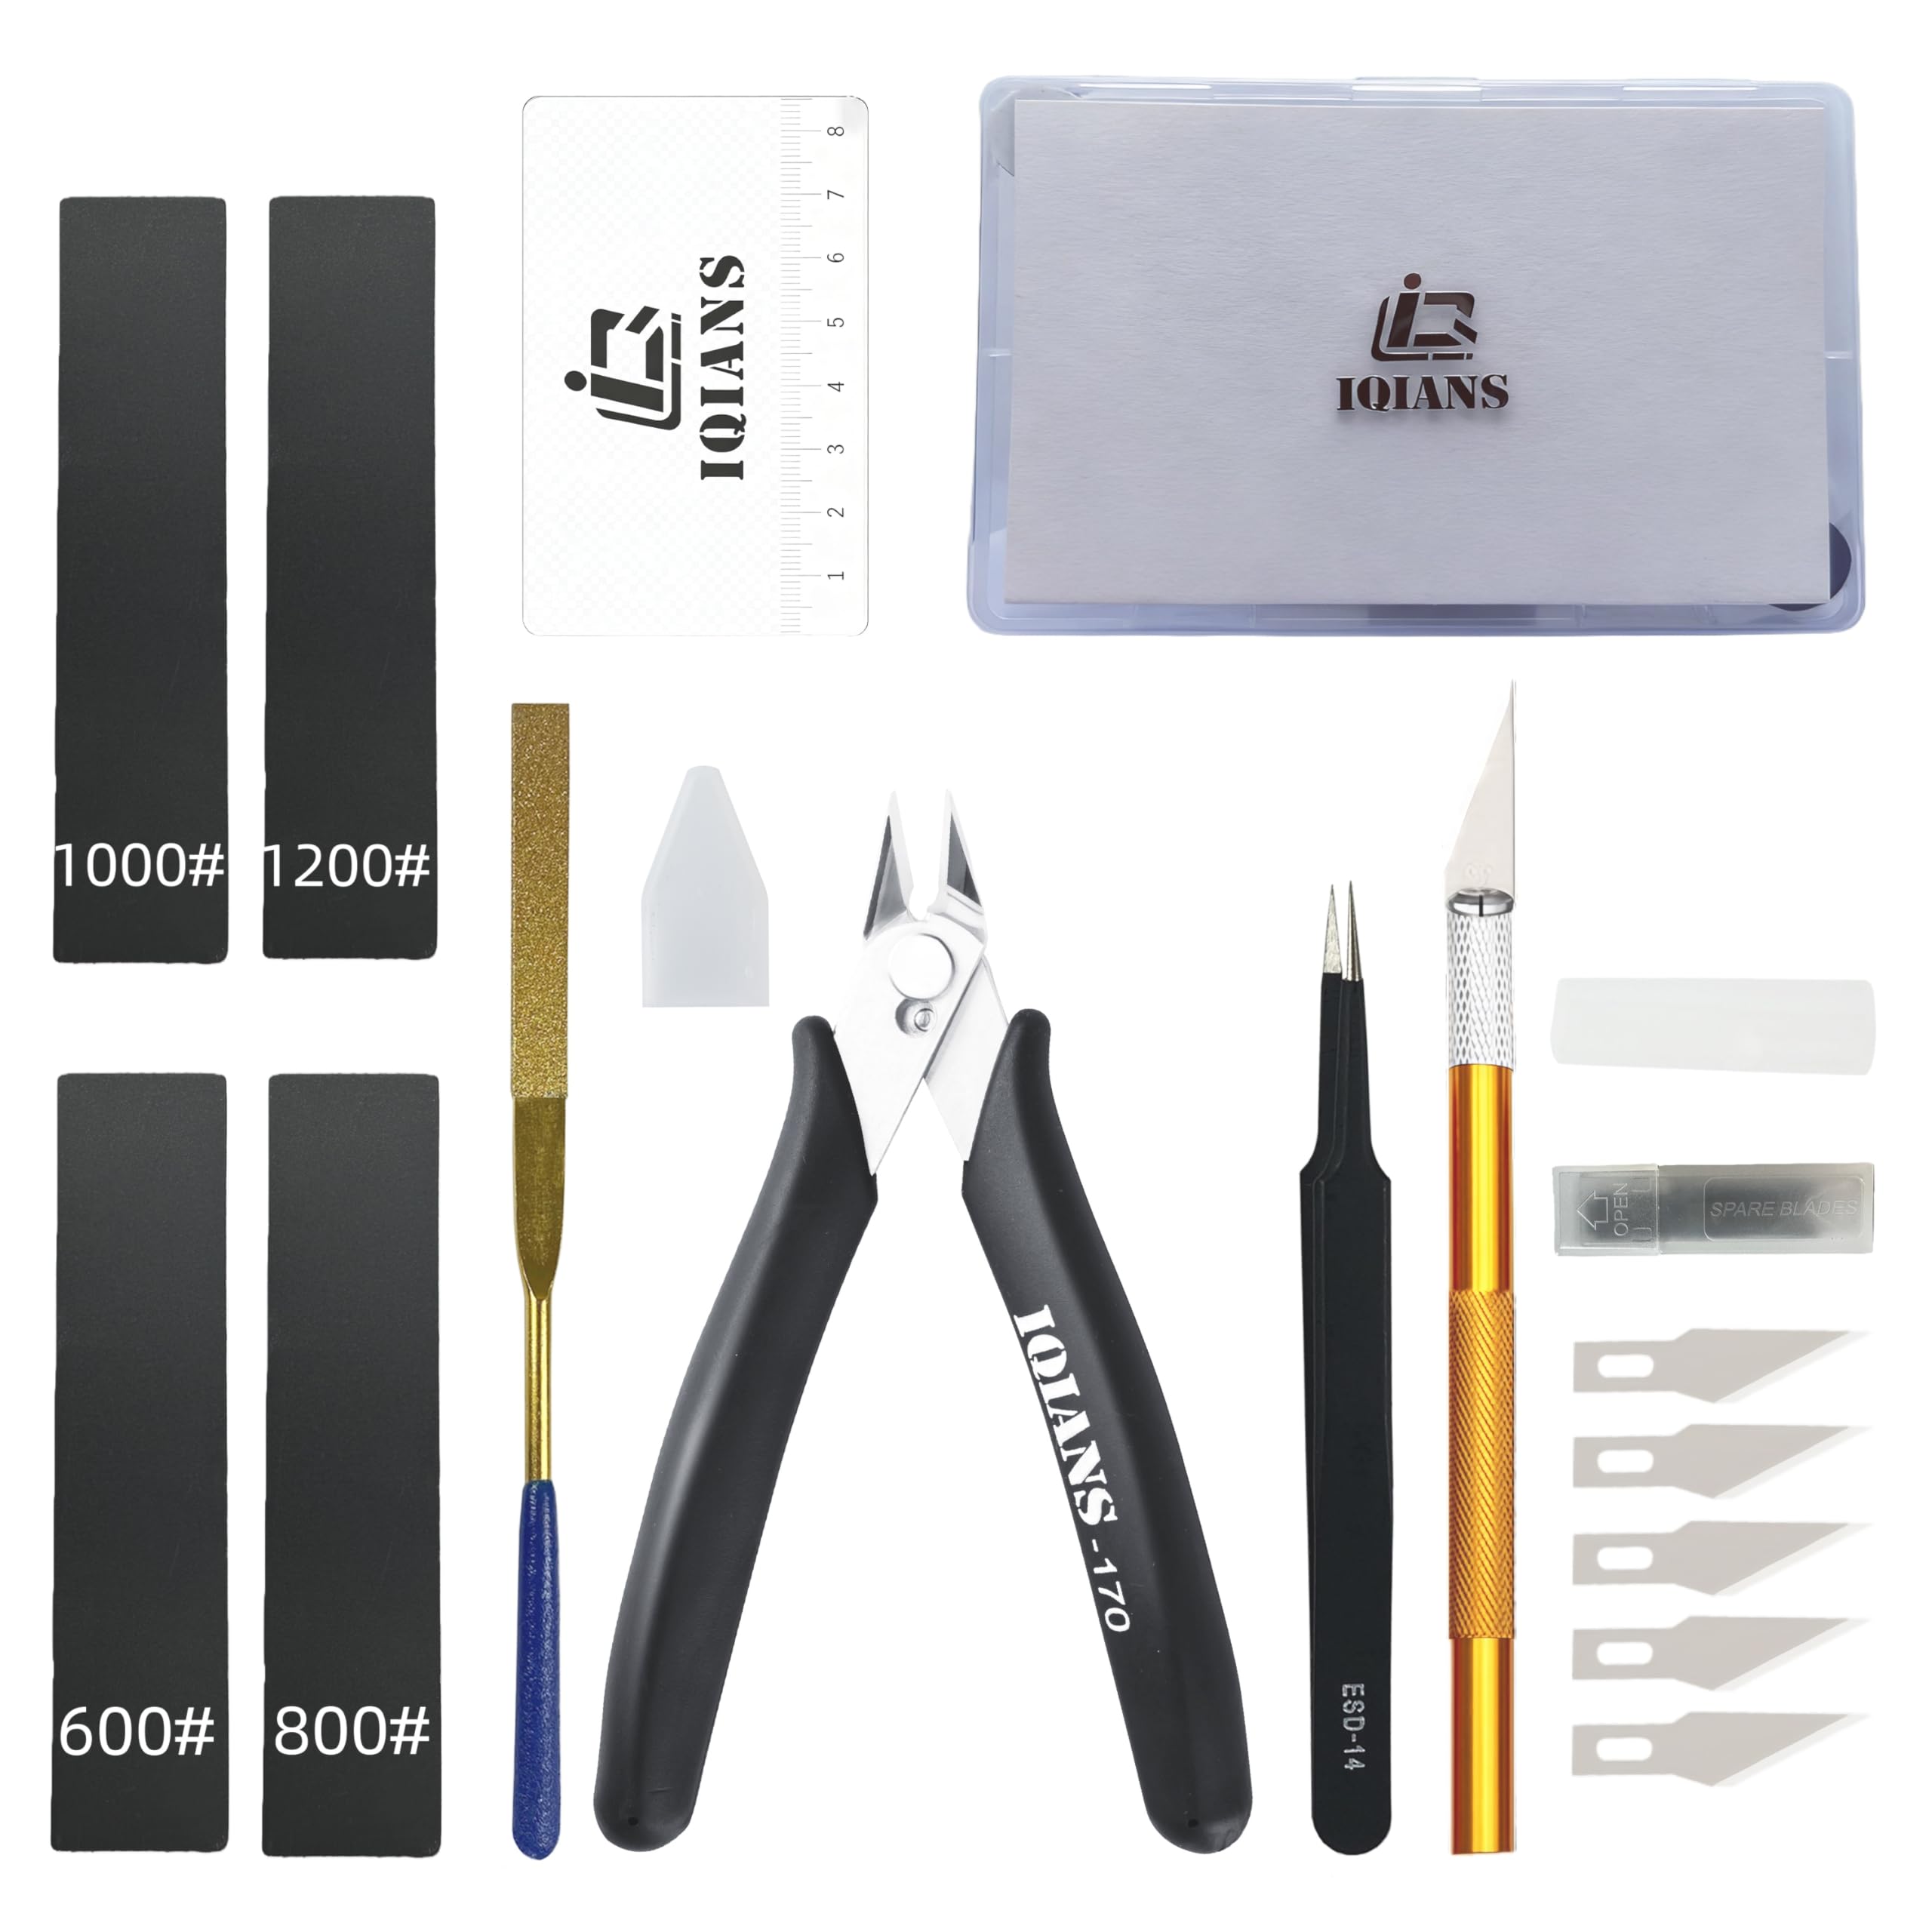
15-Piece Hobby Model & 3D Printing Tool Kit
Check the finished dimensions, stability and display requirements before ordering. See the kit →
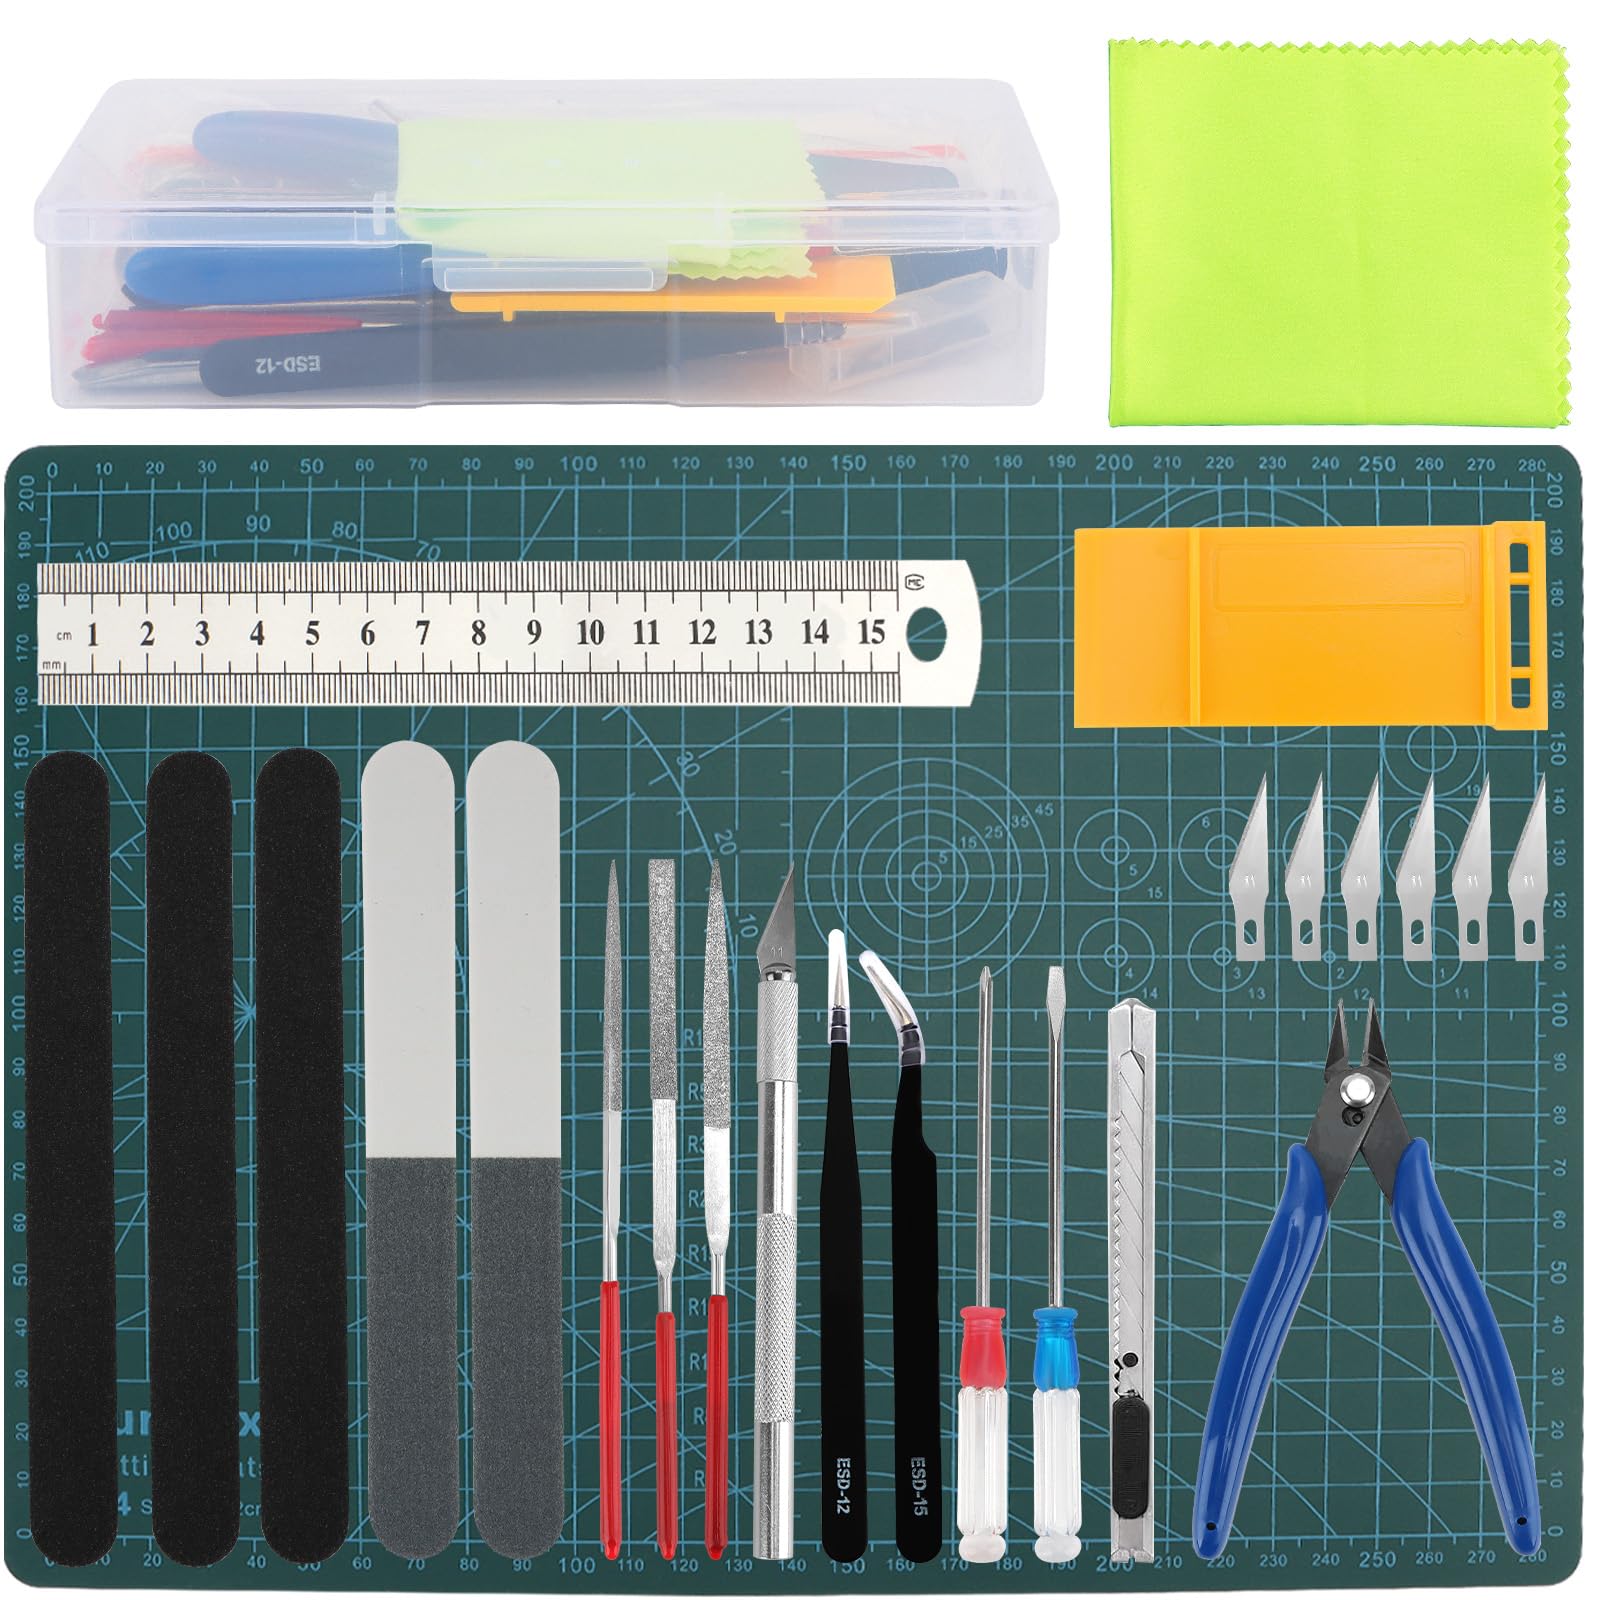
25-Piece Model Building Tool Kit with Cutting Board
Compare the theme, age guidance and current box contents for the intended recipient. See the kit →
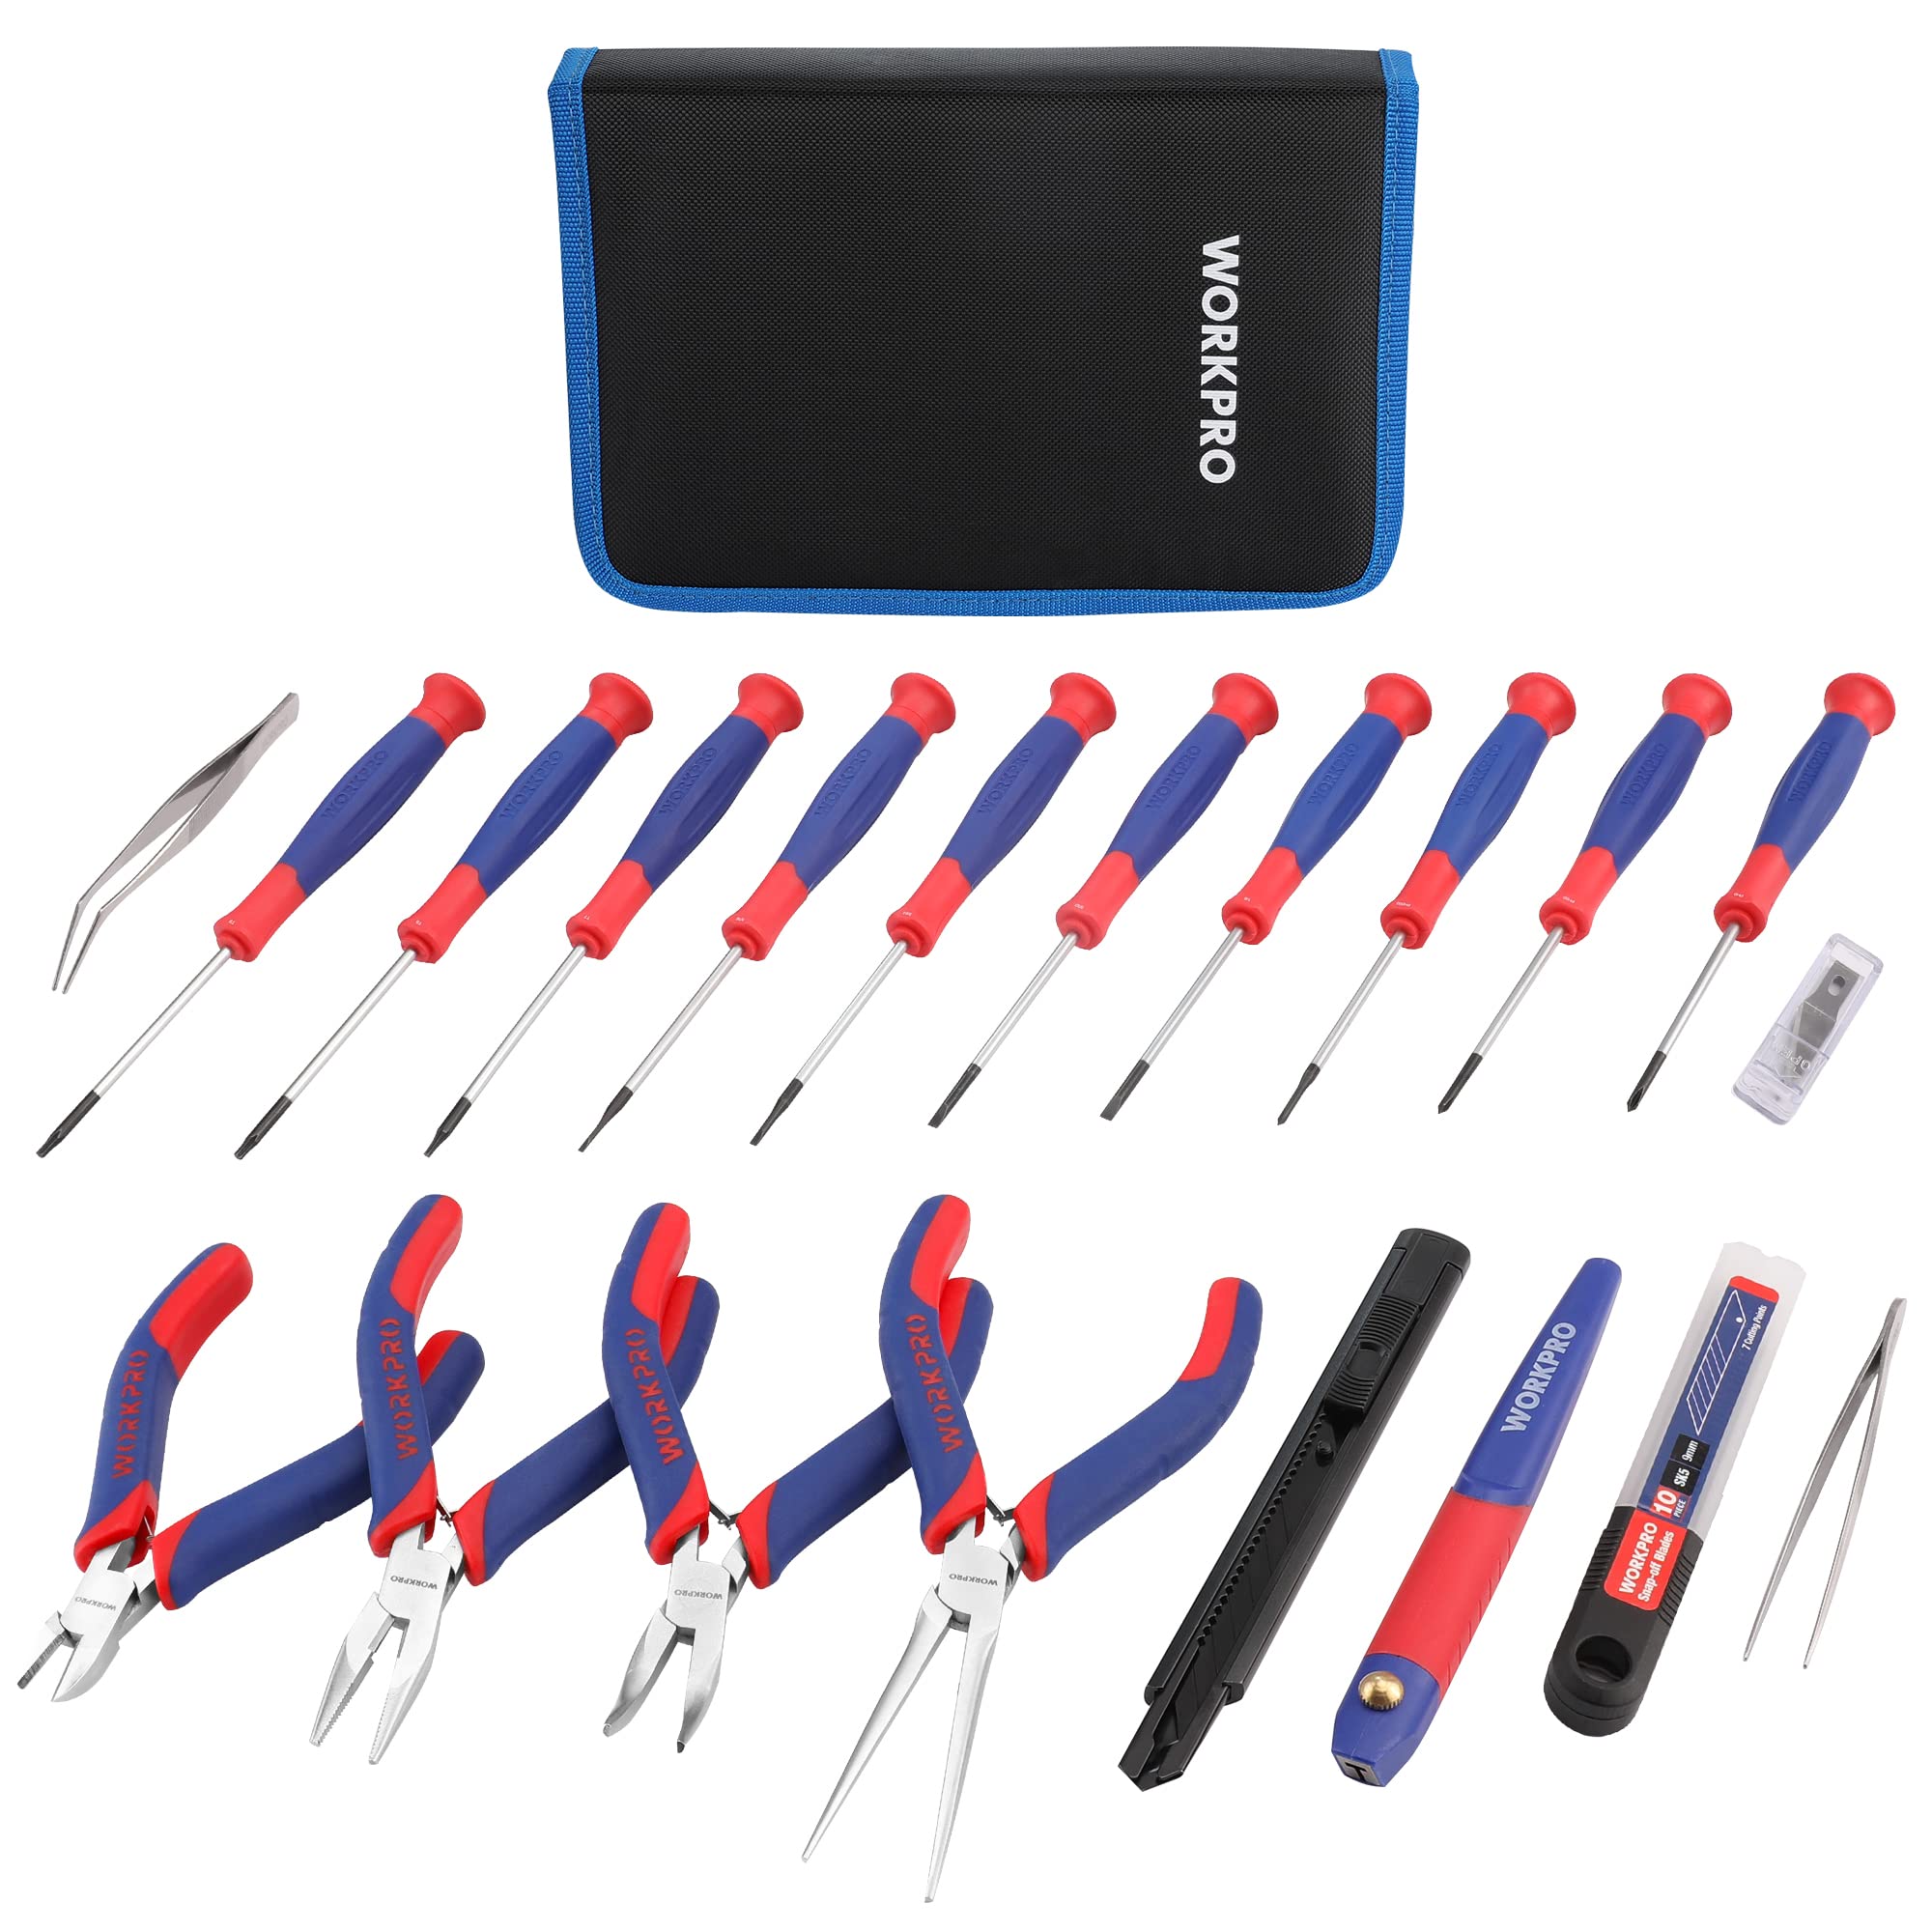
33-Piece Precision Repair Tool Set
Confirm the current piece count, instruction format and difficulty guidance. See the kit →
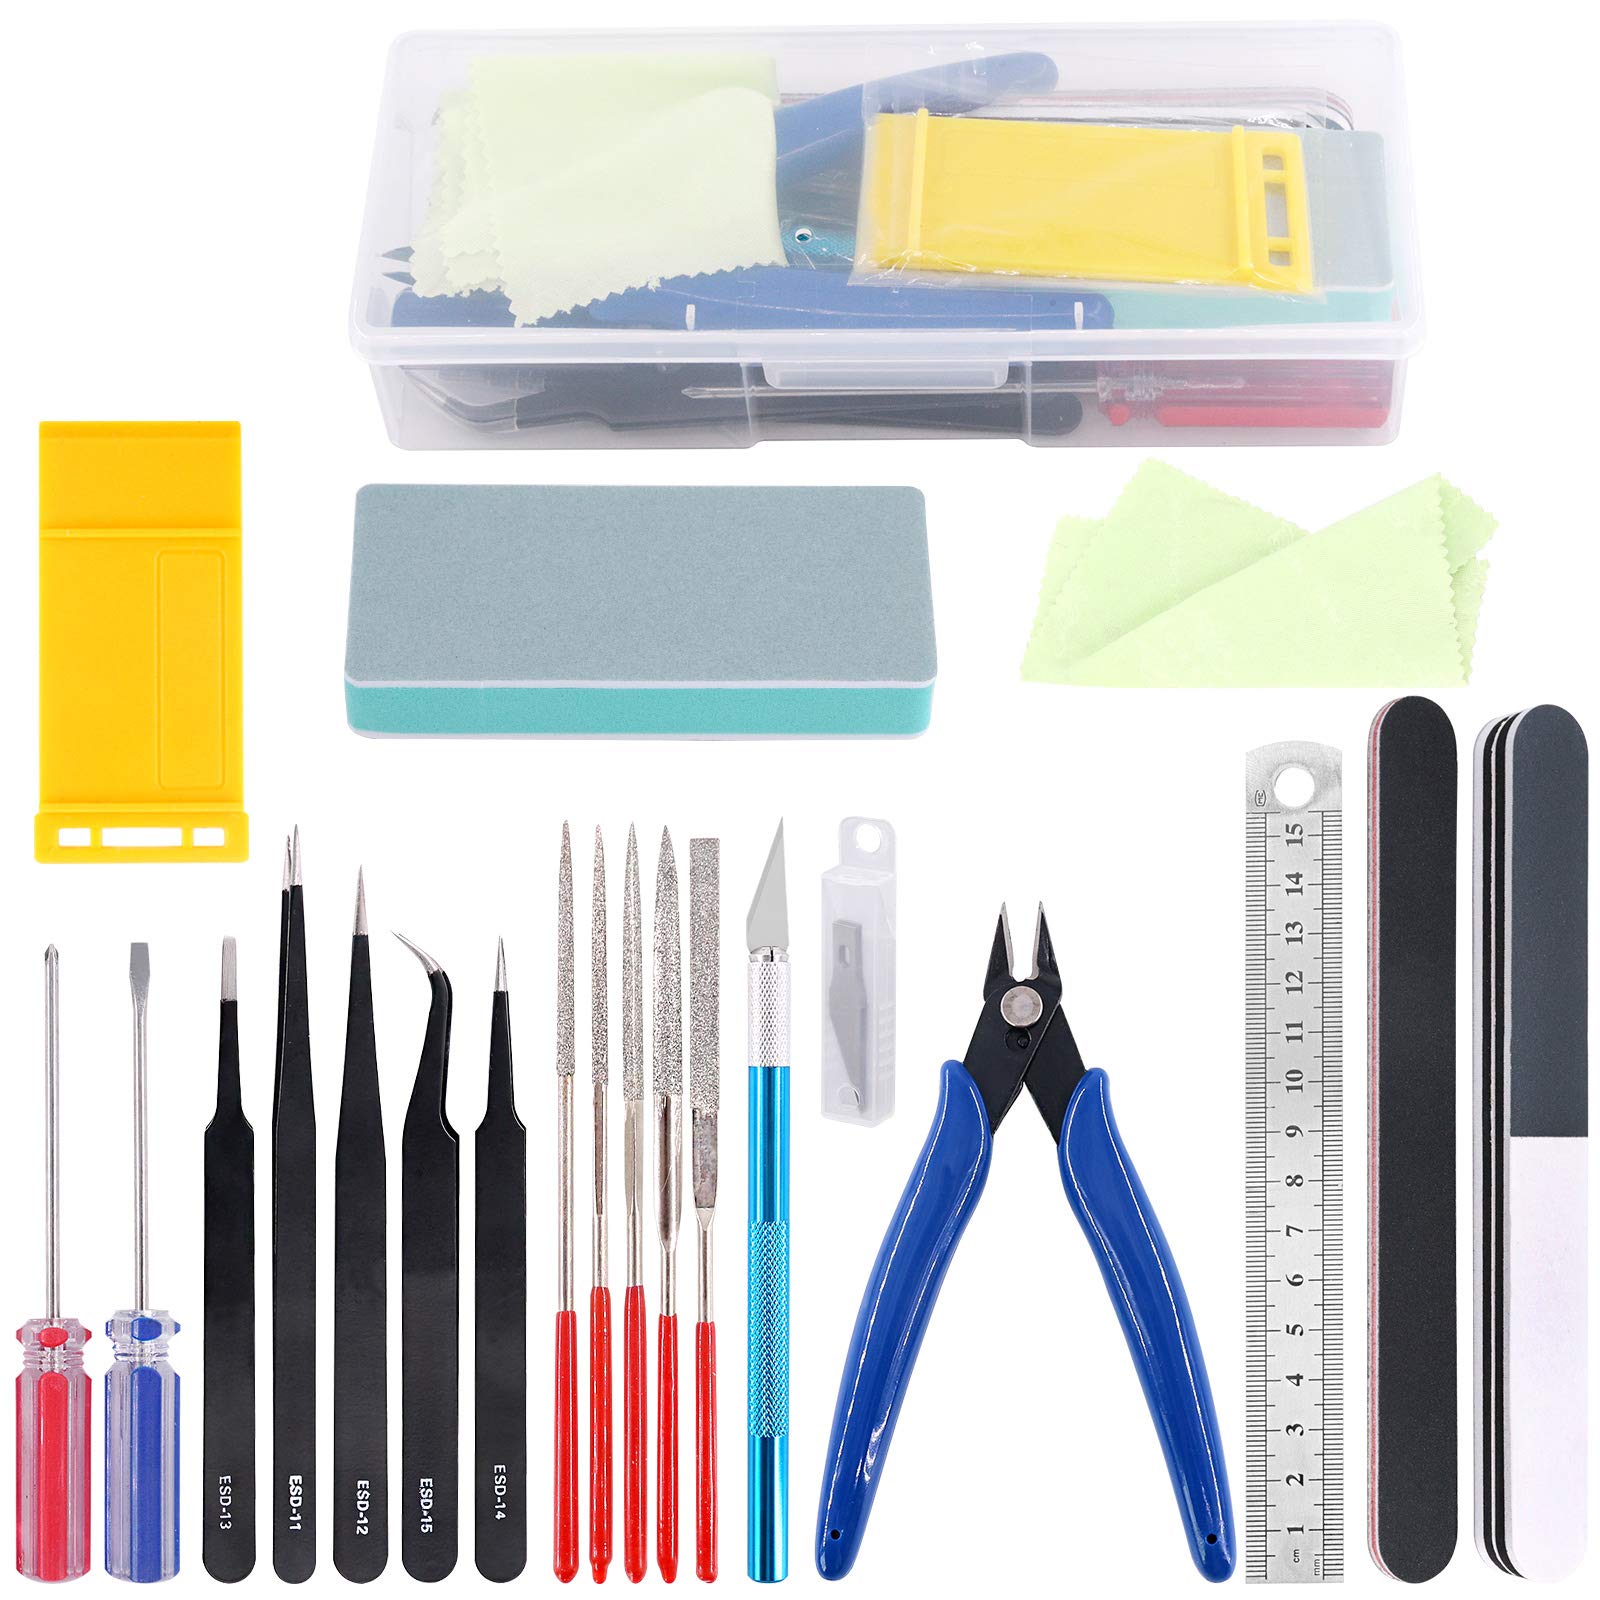
21-Piece Hobby Model Building Tool Set
Check the finish, materials and exterior dimensions against the intended display space. See the kit →
A minimal first-kit toolkit
You do not need a professional bench. Start with a cutting mat, good lighting, fine tweezers, a safe precision cutter if the manual requires it, small sanding tools, a fine-tip adhesive applicator and a parts tray. Buy tools for the materials in the actual kit rather than the largest bundle available.
Tool guide by task
| Task | Useful tool | What to check |
|---|---|---|
| Holding paper or tiny props | Fine straight and angled tweezers | Smooth tips and comfortable tension |
| Removing a connection nub | Precision knife or flush cutter specified for material | Sharp blade, safe grip and cutting mat |
| Smoothing wood | Fine sanding sticks | Enough control to preserve tabs and engraving |
| Keeping walls square | Small blocks, clips or low-tack tape | Will not crush or mark the finish |
| Applying glue | Needle bottle, pin or micro brush | Compatible with the adhesive |
| Metal tabs | Smooth-jaw pliers and tab tool | No teeth that scratch coloured metal |
Cutting tools and safety
Use the tool specified by the manufacturer and cut on a stable mat, away from hands and cables. A dull blade encourages extra force and slips; replace it using its safe handling procedure. Store blades in a closed container and dispose of them according to local rules. Children need appropriate adult supervision.
Tweezers: shape matters
Straight tips are useful for general placement. Angled tips improve visibility over a small object. Reverse-action tweezers hold a part without continuous squeezing, but can crush soft paper if their tension is too high. Keep adhesive off the tips and clean them using a method safe for their finish.
Sanding without changing the fit
Sand only the connection nub or rough area that needs attention. Tabs and slots are dimensions, not waste. Removing material from every edge can loosen a press-fit model, while paint build-up can make the same joint too tight. Test frequently.
Glue is a system, not one bottle
Porous wood and paper, clear acetate, metal and flexible wire supports do not behave the same. Tacky PVA is a forgiving start for many wood/card joints, but transparent or non-porous parts may need a different compatible product. The complete miniature glue guide explains choices, fogging and cleanup.
Optional tools worth adding later
- Self-closing tweezers for repeated small assemblies
- Pin vise for manual drilling when a kit permits modification
- Small square and ruler for architectural builds
- Magnification and adjustable task lighting
- Silicone-tipped tools for shaping or removing fresh glue
- Dedicated smooth-jaw pliers for etched metal models
Power tools, soldering equipment and airbrushes expand what you can do, but they also add training, ventilation and safety requirements. They are not default beginner purchases.
Organise and maintain the kit
Store sharp tools separately from adhesives and electronics. Label glue with its opening date, keep caps clean and follow the storage temperature on the product. Wipe metal tools after use and protect precision tips. A simple inventory prevents buying duplicate tools while a missing fresh blade or applicator stops the build.
Before buying a large tool set
- Count the genuinely different tools, not every spare blade as a separate capability.
- Check whether cutters are intended for wood, plastic, paper or metal.
- Confirm replacement blades and consumables are available.
- Prefer controllable, comfortable tools over the highest piece count.
- Read the safety and age guidance for the intended user.
Keep exploring
My Cutebee may earn an Amazon commission from links on this page, at no cost to you.
Browse our hand-picked tools & glue
Every kit is shortlisted for build quality and shelf appeal. You check out on Amazon, where the current seller, delivery estimate and return terms are shown before you buy.


