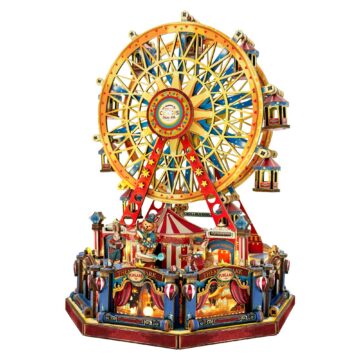
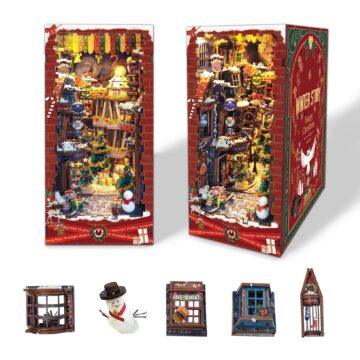
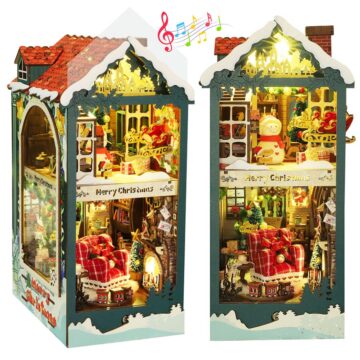
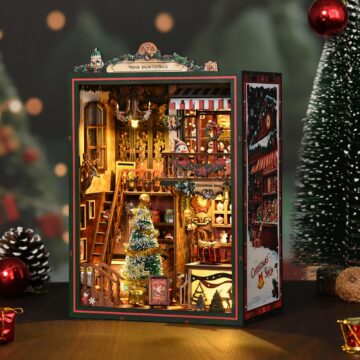
Planning note: Build-time figures in this guide are maker estimates captured from specific product listings, not My Cutebee test results. Your time can vary with experience, revision, tools, drying time and customisation. As an Amazon Associate, we may earn from qualifying purchases.
How long a book nook takes depends on what the kit asks you to do. A press-fit wooden shell with pre-coloured parts can be a short project. A scene with hundreds of small pieces, paper props, paint, wired lamps or moving features can take several sessions. The most useful estimate comes from the exact listing and manual, adjusted for your working style.
Real listing estimates show a wide range
| Kit | Captured maker estimate | Notable work |
|---|---|---|
| CUTEBEE Owl Bookstore | 1–2 hours | Beginner-oriented, pre-cut bookstore scene |
| CUTEBEE Gallery Bookstore | 2–4 hours | Decorative bookstore scene and lighting |
| Tonecheer Beast and Beauty | 3–5 hours | Two lighting levels, music and a moving figure |
| CRIOLPO Vintage Book Nook | 6–8 hours | Layered library, LED lighting and small décor |
| 3DVASE Book Nook | 8–10 hours | Listing describes 888 pieces and touch-sensitive lighting |
These figures are not directly comparable laboratory results. Each manufacturer can count pieces and estimate time differently. Use them to understand the possible range, then inspect the work types in the exact kit.
Why piece count does not predict build time
A large wall panel and a tiny folded paper book both count as one piece. Ten repeated flowers can take longer than ten structural panels. Piece count becomes more useful when comparing two revisions of the same model, but it should not be the only difficulty or time signal.
Look for these time-intensive tasks:
- cutting, folding and gluing many paper objects;
- painting or sealing raw materials;
- routing individual lights and hiding wires;
- forming curved façades or staircases;
- aligning gears, doors or moving figures;
- waiting for glue, paint or varnish to cure;
- customising the scene beyond the manual.
A realistic session-by-session plan
Session 1: inventory and dry-fit
Read the manual, photograph the sheet layout, match bags to the parts list and test the supplied lighting. Dry-fit the base and main walls. This setup can feel slow, but it prevents lost parts and closed-off wires later.
Session 2: surfaces and subassemblies
Apply wallpaper or paint while panels remain accessible. Build repeated books, furniture and signs in batches. Let wet pieces dry flat rather than stacking them.
Session 3: structure and lighting
Assemble the main shell, route wires and test the circuit again. Use square supports or low-tack tape while structural glue cures.
Session 4: décor and closure
Install fragile props, clean clear panels and confirm the switch and battery compartment remain accessible. Test everything before the final roof, wall or façade closes.
A short kit may combine these stages in one sitting. A detailed kit benefits from stopping at natural dry points.
How experience changes the estimate
An experienced builder recognises joint orientation, uses less glue and organises repeated steps efficiently. A beginner needs extra time to interpret diagrams and correct tight fits. That extra time is not failure; forcing the advertised duration can create broken tabs, crooked walls and trapped wires.
If this is your first kit, add space to the maker estimate for reading, sorting and troubleshooting. If you plan to repaint, weather or add custom furniture, treat that as a separate project rather than squeezing it into the assembly estimate.
Glue and paint time are different from working time
A kit can require three hours of hands-on work but still occupy a weekend because adhesives and finishes need to cure. Follow the product label, not a generic internet time. A joint that feels dry on the surface can still shift under the weight of the next wall.
Use small subassemblies so one section can cure while you work on another. The book nook glue guide explains material compatibility and why adding more adhesive rarely makes a faster joint.
How to estimate a kit before buying
- Find the exact model and revision, not only a similar product photo.
- Record the maker’s stated duration, if supplied.
- Check piece count, but also count different work types.
- Look for paint, paper craft, wiring, curves and moving parts.
- Verify whether glue, tools and batteries are included.
- Add separate time for customisation and curing.
- Plan where the unfinished project can remain undisturbed.
How to finish faster without rushing
- Sort only the parts for the current stage into a shallow tray.
- Batch repeated objects that use the same glue or colour.
- Keep a clean and a glue-covered pair of tweezers separate.
- Test-fit before every permanent joint.
- Stop at a curing point instead of beginning a fragile new stage late at night.
- Leave optional customisation until the standard build works.
Frequently asked questions
Can a book nook be built in one day?
Some listings describe 1–5 hour builds, so a one-day assembly may be possible. Drying time, first-time reading and troubleshooting can make multiple sessions safer.
Why did my kit take longer than the listing?
Maker estimates may assume familiar tools, no customisation and uninterrupted work. Paper details, tight joints, wiring and curing commonly add time.
Should I choose the kit with the fewest pieces?
Not automatically. Compare the size and type of parts, instruction quality and number of craft processes.
Can I stop halfway through?
Yes. Photograph the current step, label loose parts, cover wet pieces and store the project where walls and wires will not be bent.
Next step
Use the complete beginner build guide to plan the sequence, compare current book nook kits, and measure the finished model with the book nook shelf-size guide.
Browse our hand-picked kits
Every kit is shortlisted for build quality and shelf appeal. You check out on Amazon, where the current seller, delivery estimate and return terms are shown before you buy.