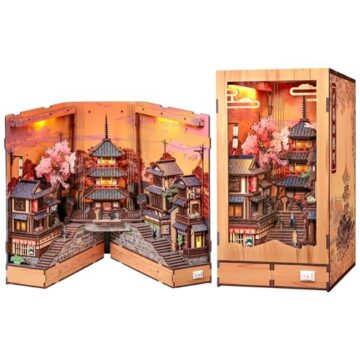
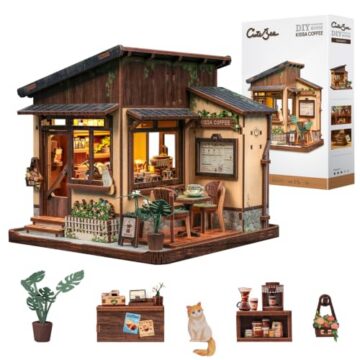
A single bottle of glue can finish a book nook, but it rarely gives the cleanest result on every material. Laser-cut wood benefits from a controlled, quick-setting adhesive; printed paper needs low moisture; clear windows can fog or smear; wires need strain relief rather than a puddle of craft glue. The useful question is therefore not “What is the best book nook glue?” but “Which adhesive fits this joint?”
This guide explains the main adhesive families, where each works, and how to test them without risking a visible part. Always follow the kit manual first. If a manufacturer supplies glue or specifies a type, that instruction takes priority.
Quick answer: a practical miniature glue kit
- PVA or tacky craft glue: the general-purpose choice for unfinished wood, card and many paper parts.
- Fine-tip precision applicator: more important than buying a huge bottle; it keeps glue away from printed surfaces.
- Clear, non-fogging adhesive: useful for acetate windows, transparent panels and shiny plastic.
- Cyanoacrylate (CA or super glue): for tiny non-porous parts that need a fast bond, used sparingly and with ventilation.
- Double-sided craft tape: a clean, low-moisture option for some paper, flooring and wallpaper panels.
You do not need every adhesive on day one. For a first wooden book nook, a small bottle of tacky PVA with a needle-tip applicator is usually the most forgiving starting point. Browse our craft tools and glue collection for the types commonly used in miniature building.
Which glue should you use for each material?
| Material or joint | Good starting choice | Main risk |
|---|---|---|
| Unfinished wood to wood | PVA/tacky craft glue | Too much moisture or squeeze-out |
| Painted wood | Tacky glue or a tiny amount of CA after testing | Bonding to paint rather than the base |
| Paper to card or wood | Low-moisture PVA, glue pen or thin tape | Wrinkles, bleed-through and warped edges |
| Clear acetate windows | Non-fogging clear craft adhesive | Clouding, fingerprints and visible smears |
| Metal to wood | Small amount of CA or compatible contact adhesive | Brittle joint or staining |
| Wire routing | Tape, clips or a flexible clear adhesive | Pinching the wire or blocking access |
| Temporary positioning | Low-tack tape or removable putty | Residue on printed finishes |
PVA and tacky craft glue
PVA is the workhorse for porous materials. It gives you time to align walls, dries clearer than it looks in the bottle and is generally easier to clean than instant adhesives. “Tacky” versions are thicker, so a small part is less likely to slide while the bond develops.
Use a toothpick, micro brush or precision tip to place a narrow bead on the hidden edge. Press the parts together, then remove squeeze-out immediately with a clean, barely damp brush or cotton swab. A thin, even film normally works better than a large blob: excess glue increases drying time and can swell paper fibres.
CA or super glue
CA glue bonds quickly and is helpful for certain metal, resin or plastic details. The speed is also its biggest drawback. It leaves little alignment time, can bond skin, may produce a white bloom around clear plastic, and can make a brittle joint where a part flexes.
Apply it with a pin rather than the bottle nozzle. Ventilate the workspace, protect your eyes and hands, and keep it away from children. Do not use CA near a transparent window until a hidden-material test has dried completely.
Clear plastic and miniature windows
Acetate is unforgiving because every smear remains visible after assembly. Dry-fit the window, clean both faces and handle it at the edges. Put adhesive on the surrounding frame—not the visible centre—and use the smallest continuous dots that will hold the sheet. A non-fogging canopy-style or clear craft adhesive is safer than ordinary CA for many transparent parts, but compatibility varies, so test an offcut first.
Paper, books, wallpaper and flooring
Paper parts need less moisture than timber. Spread adhesive thinly from the centre toward the edges, align one reference edge, then smooth with a clean card or silicone tool. For broad flat pieces, acid-free double-sided craft tape can avoid wet wrinkles, although it offers less repositioning time.
If a printed part must wrap around a block, pre-crease on the fold line before adding adhesive. Let each large paper surface dry under a flat, protected weight so the edges do not curl.
LED wires and electrical parts
Glue should support cable routing, not insulate a connection you may need to repair. Test the full lighting circuit before fixing wires permanently. Keep adhesive away from switches, battery contacts and exposed solder points. Route the cable in the channel specified by the manual and leave gentle curves instead of sharp bends. Our book nook LED guide covers planning and troubleshooting in more detail.
A cleaner gluing process
- Identify the material. Do not assume every “wooden” kit part is bare wood; it may be laminated, painted or printed.
- Dry-fit first. Confirm orientation, cable route and neighbouring parts before opening the glue.
- Test a hidden offcut. Check adhesion, staining, fogging and final sheen after it has fully cured.
- Mask visible edges. Low-tack tape can protect finished faces, but test the tape on printing first.
- Apply less. Use a pin, toothpick or micro applicator.
- Hold square. Small clips, blocks and painter’s tape help walls stay aligned.
- Allow cure time. “Grabs quickly” is not the same as “fully cured.” Follow the adhesive label.
Common glue problems and fixes
The joint keeps sliding
Use a thicker tacky glue, add temporary support and assemble on a level surface. Check that paint or coating is not preventing the adhesive from reaching a compatible base.
Paper is wrinkling
Reduce moisture, spread the glue more evenly or switch to an archival glue pen or thin craft tape. Do not try to flatten a wet printed sheet by rubbing aggressively.
A window has turned cloudy
Clouding can come from adhesive vapour or surface scratches. Prevention is much easier than repair: isolate clear parts, use a compatible non-fogging adhesive and let nearby CA cure before enclosing the scene.
Glue is visible after drying
“Dries clear” does not mean invisible under every light. Remove excess while wet and keep the bond behind trims or inside corners. On a finished surface, test any cleaning method on a hidden area.
Before you buy glue
Check the kit instructions, the material list, ventilation requirements and the adhesive’s cure time. Aerosol, solvent and CA products need greater care than water-based craft glue. For children or shared family builds, use age-appropriate products and adult supervision. Store all adhesives according to their labels.
Browse our hand-picked kits
Every kit is shortlisted for build quality and shelf appeal. You check out on Amazon, where the current seller, delivery estimate and return terms are shown before you buy.