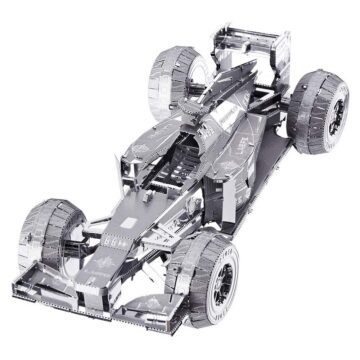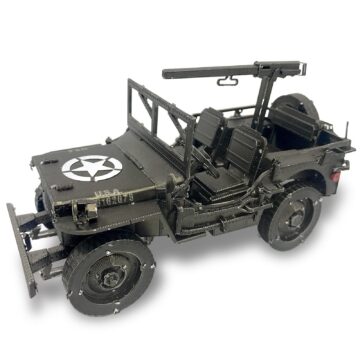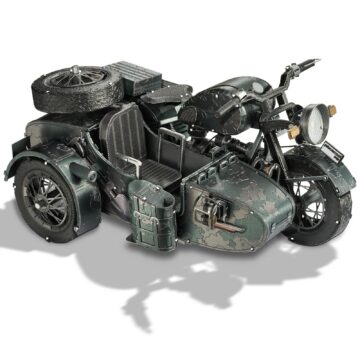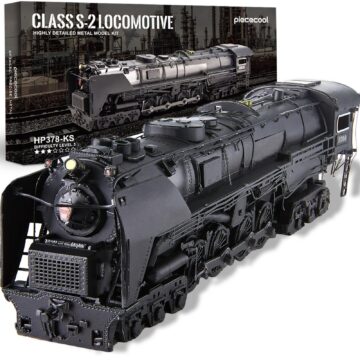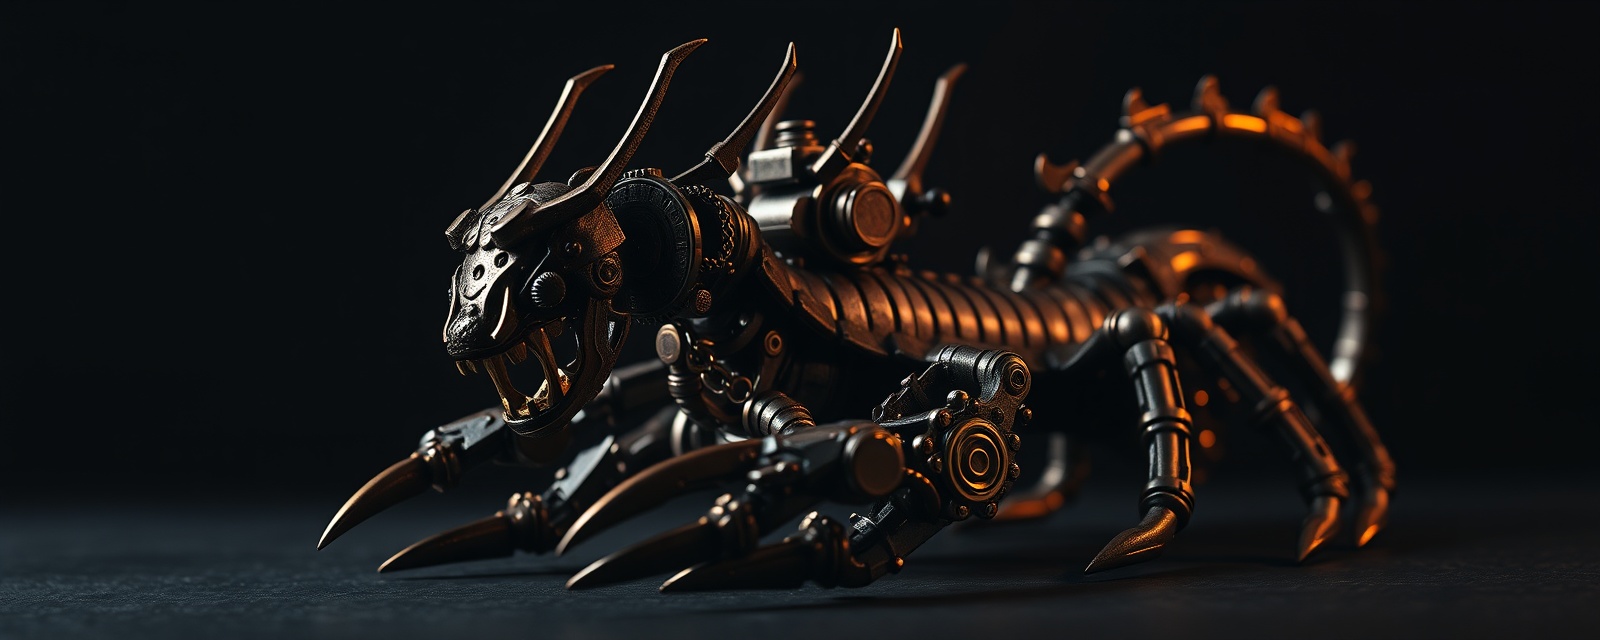
For builders who want something with a harder edge than wood, 3D metal kits assemble from laser-etched steel sheets into crisp, detailed models — dragons, vehicles, landmarks and machines. They demand patience and a steady hand, and the finished pieces look superb under a light.
Looking for the complete list? Browse the full 3D metal model range.
What to look for
- Difficulty rating — metal kits run harder than wood; check the level before you buy a gift.
- Tools — you will want fine-nose pliers for bending and folding tabs.
- Sheet count — more sheets means more detail and more time.
- Finish — some come pre-coloured, others are raw steel you can leave or paint.
Our top metal model picks
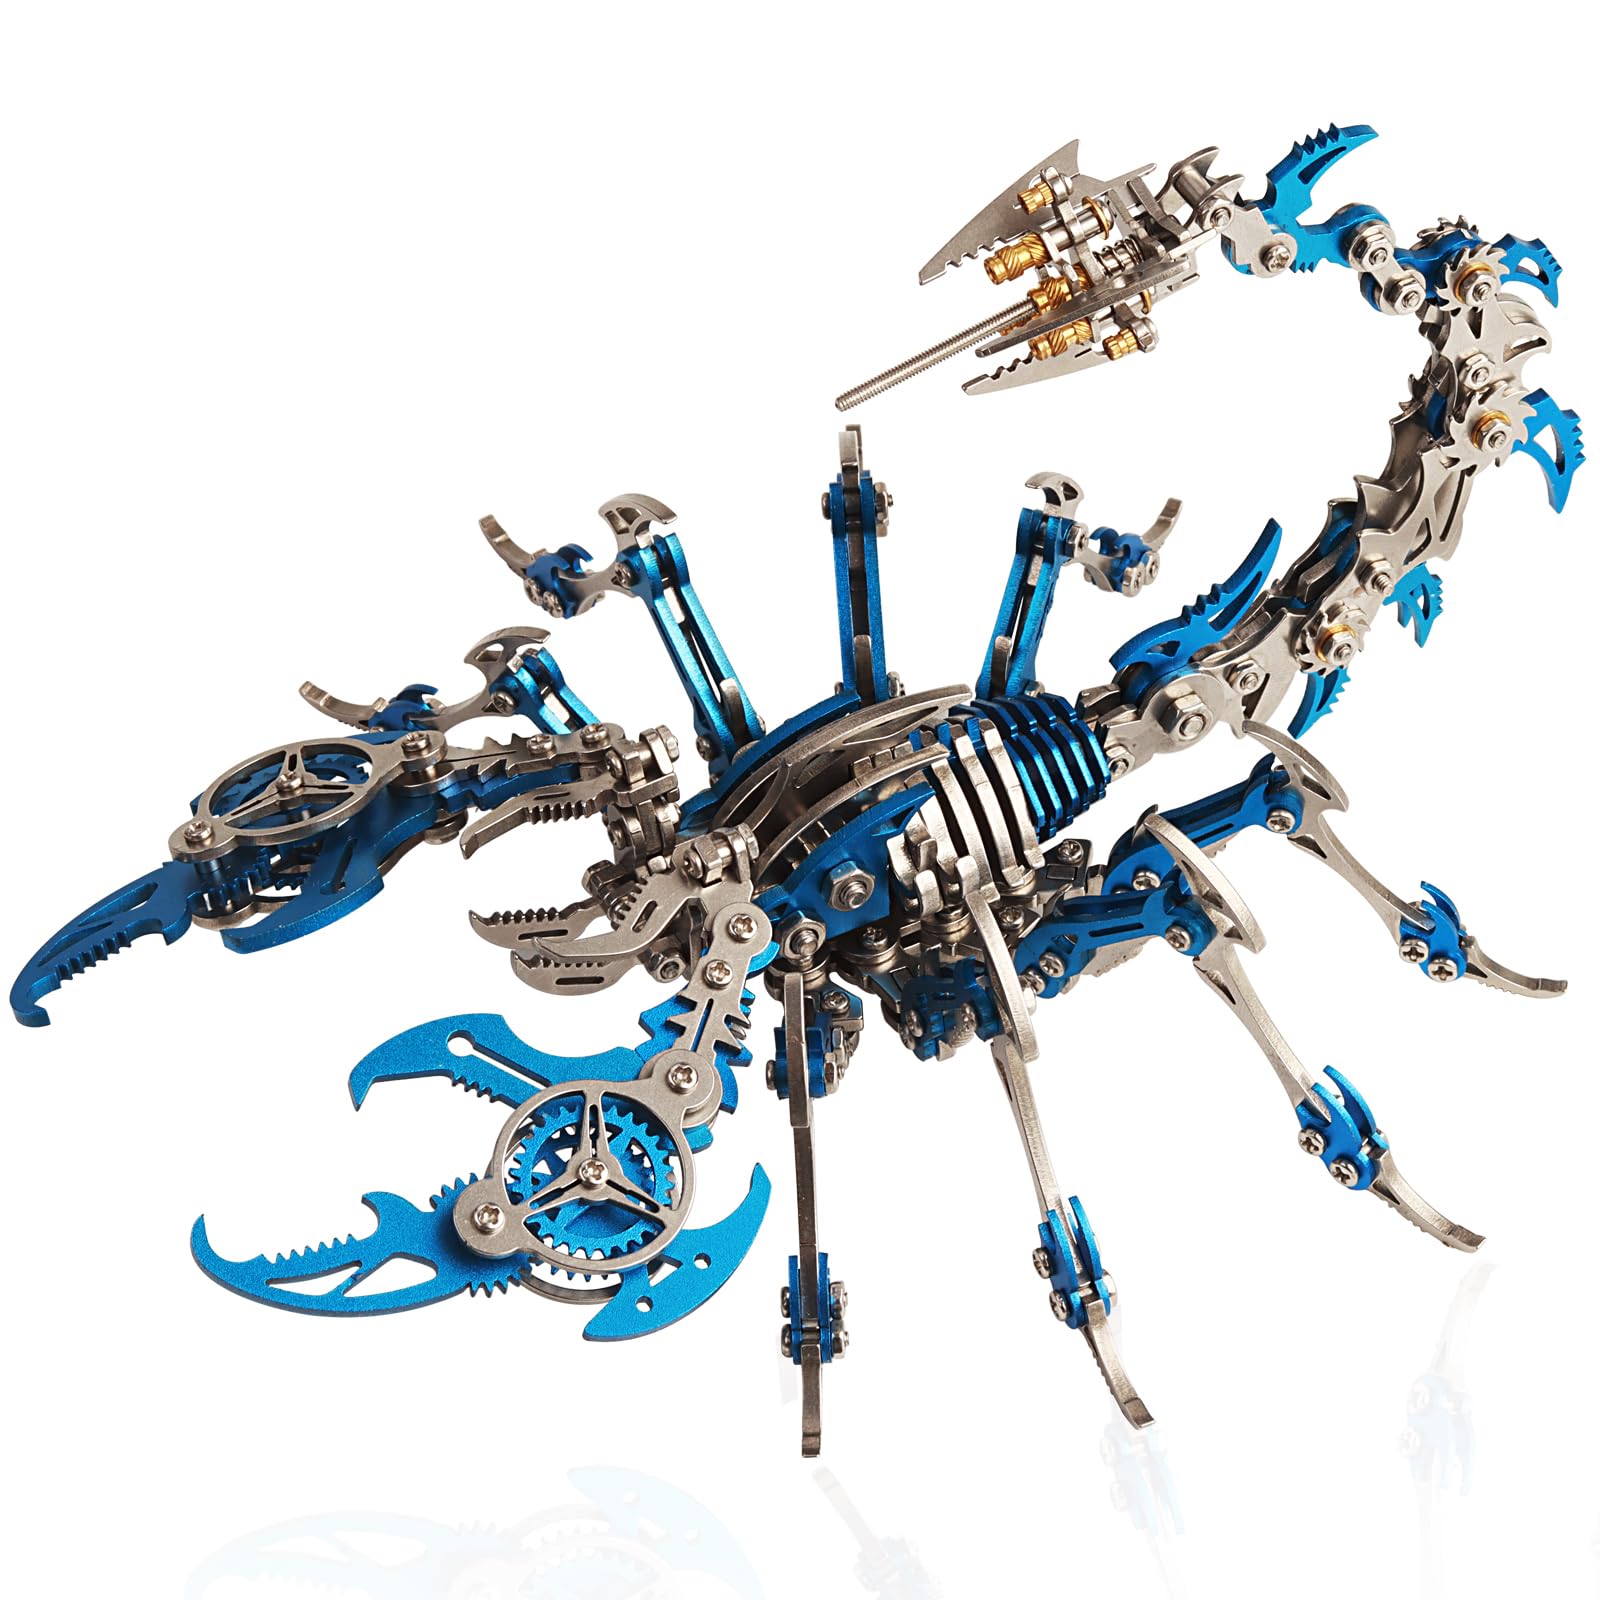
Yuezudpo Colorful Scorpion 3D Metal Model Kit
Review the current materials, contents and finished dimensions before choosing. See the kit →
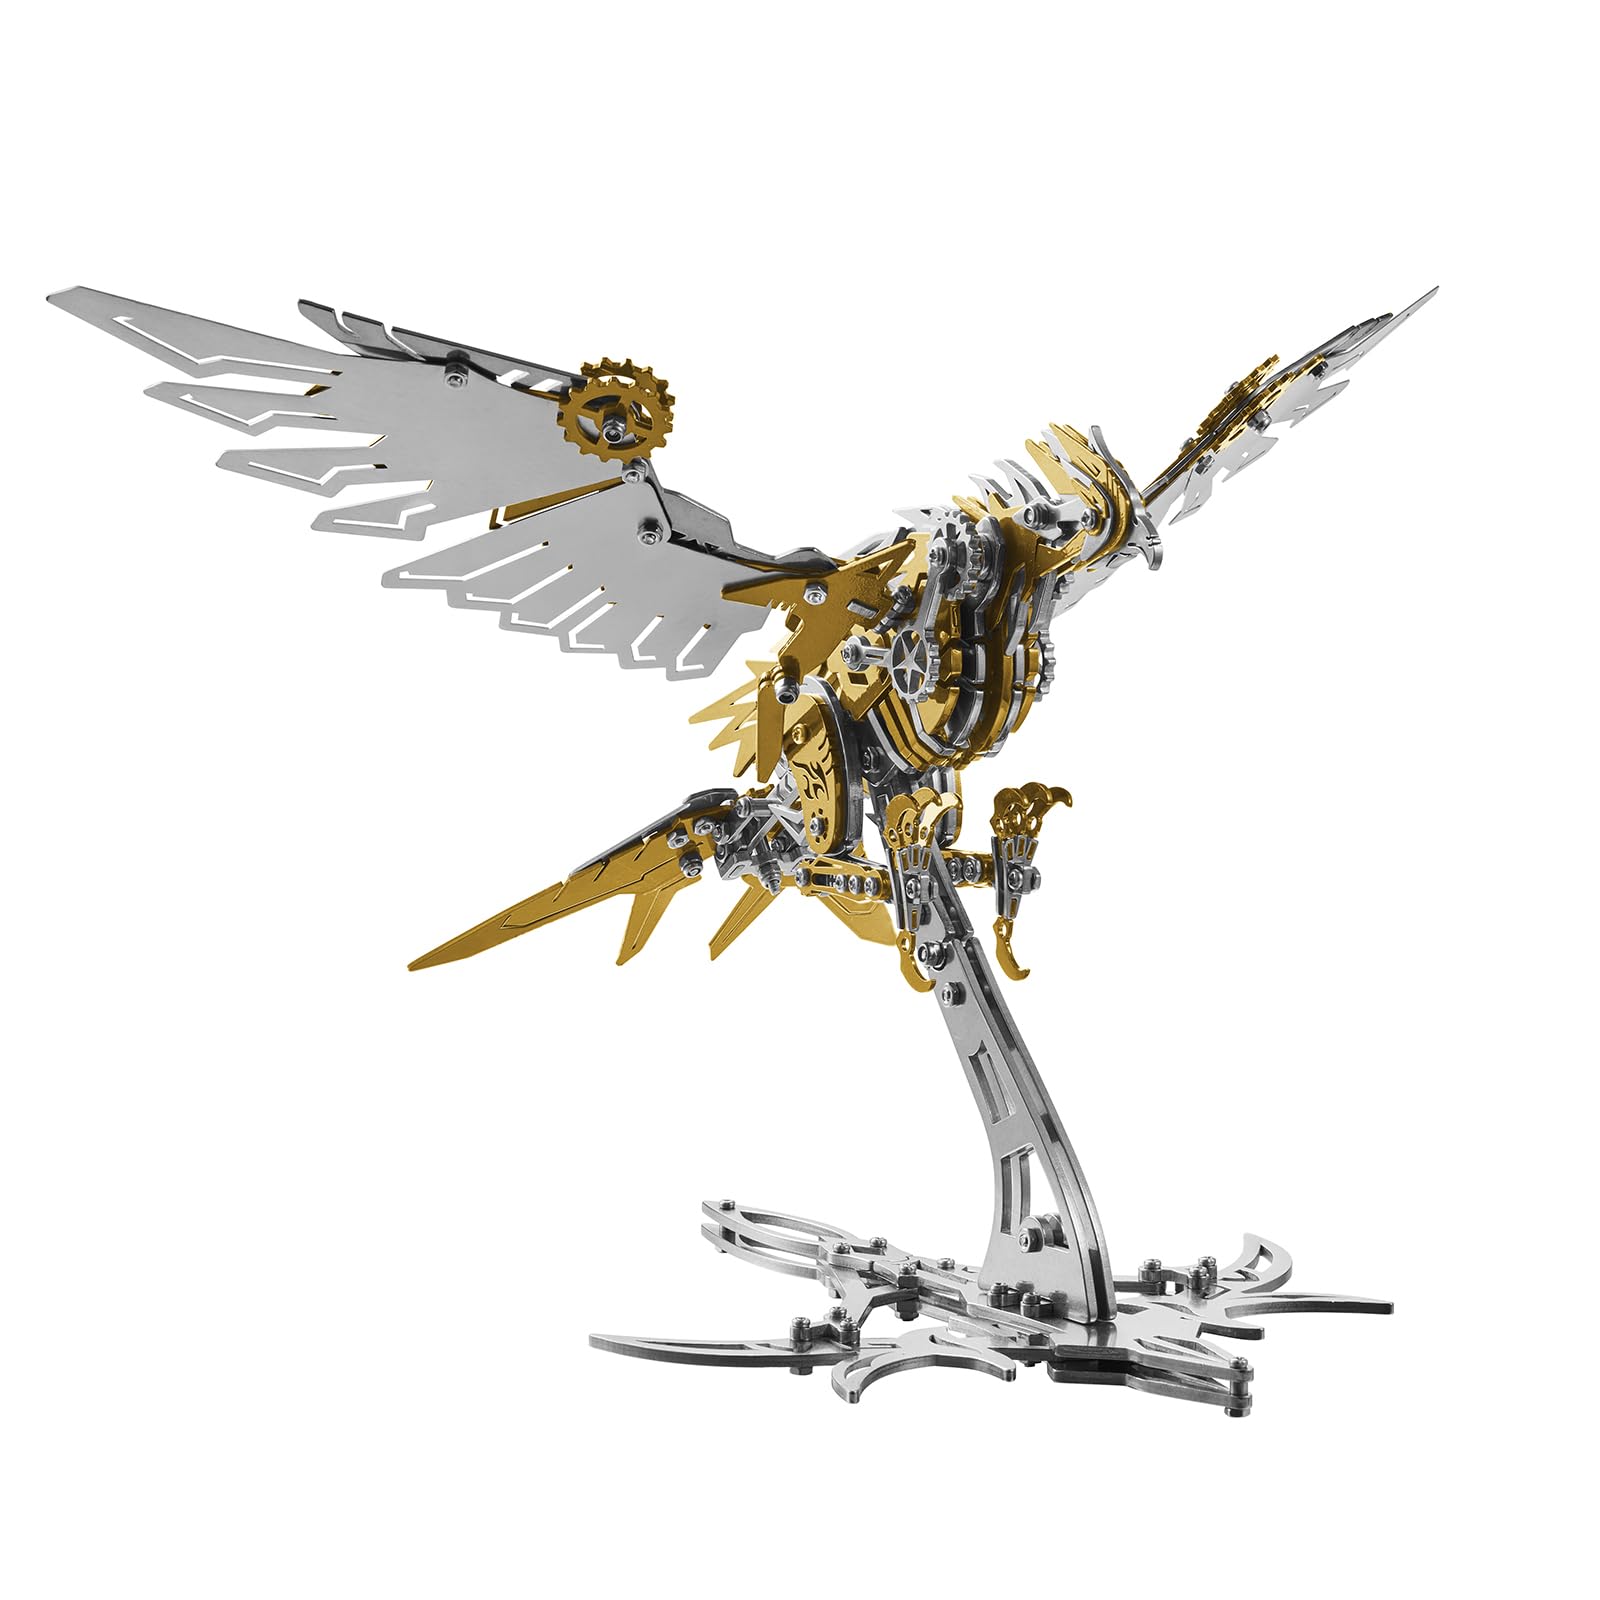
Hplmkj Mechanical Eagle 3D Metal Model Kit
Compare the published assembly details and required supplies with the builder’s experience. See the kit →
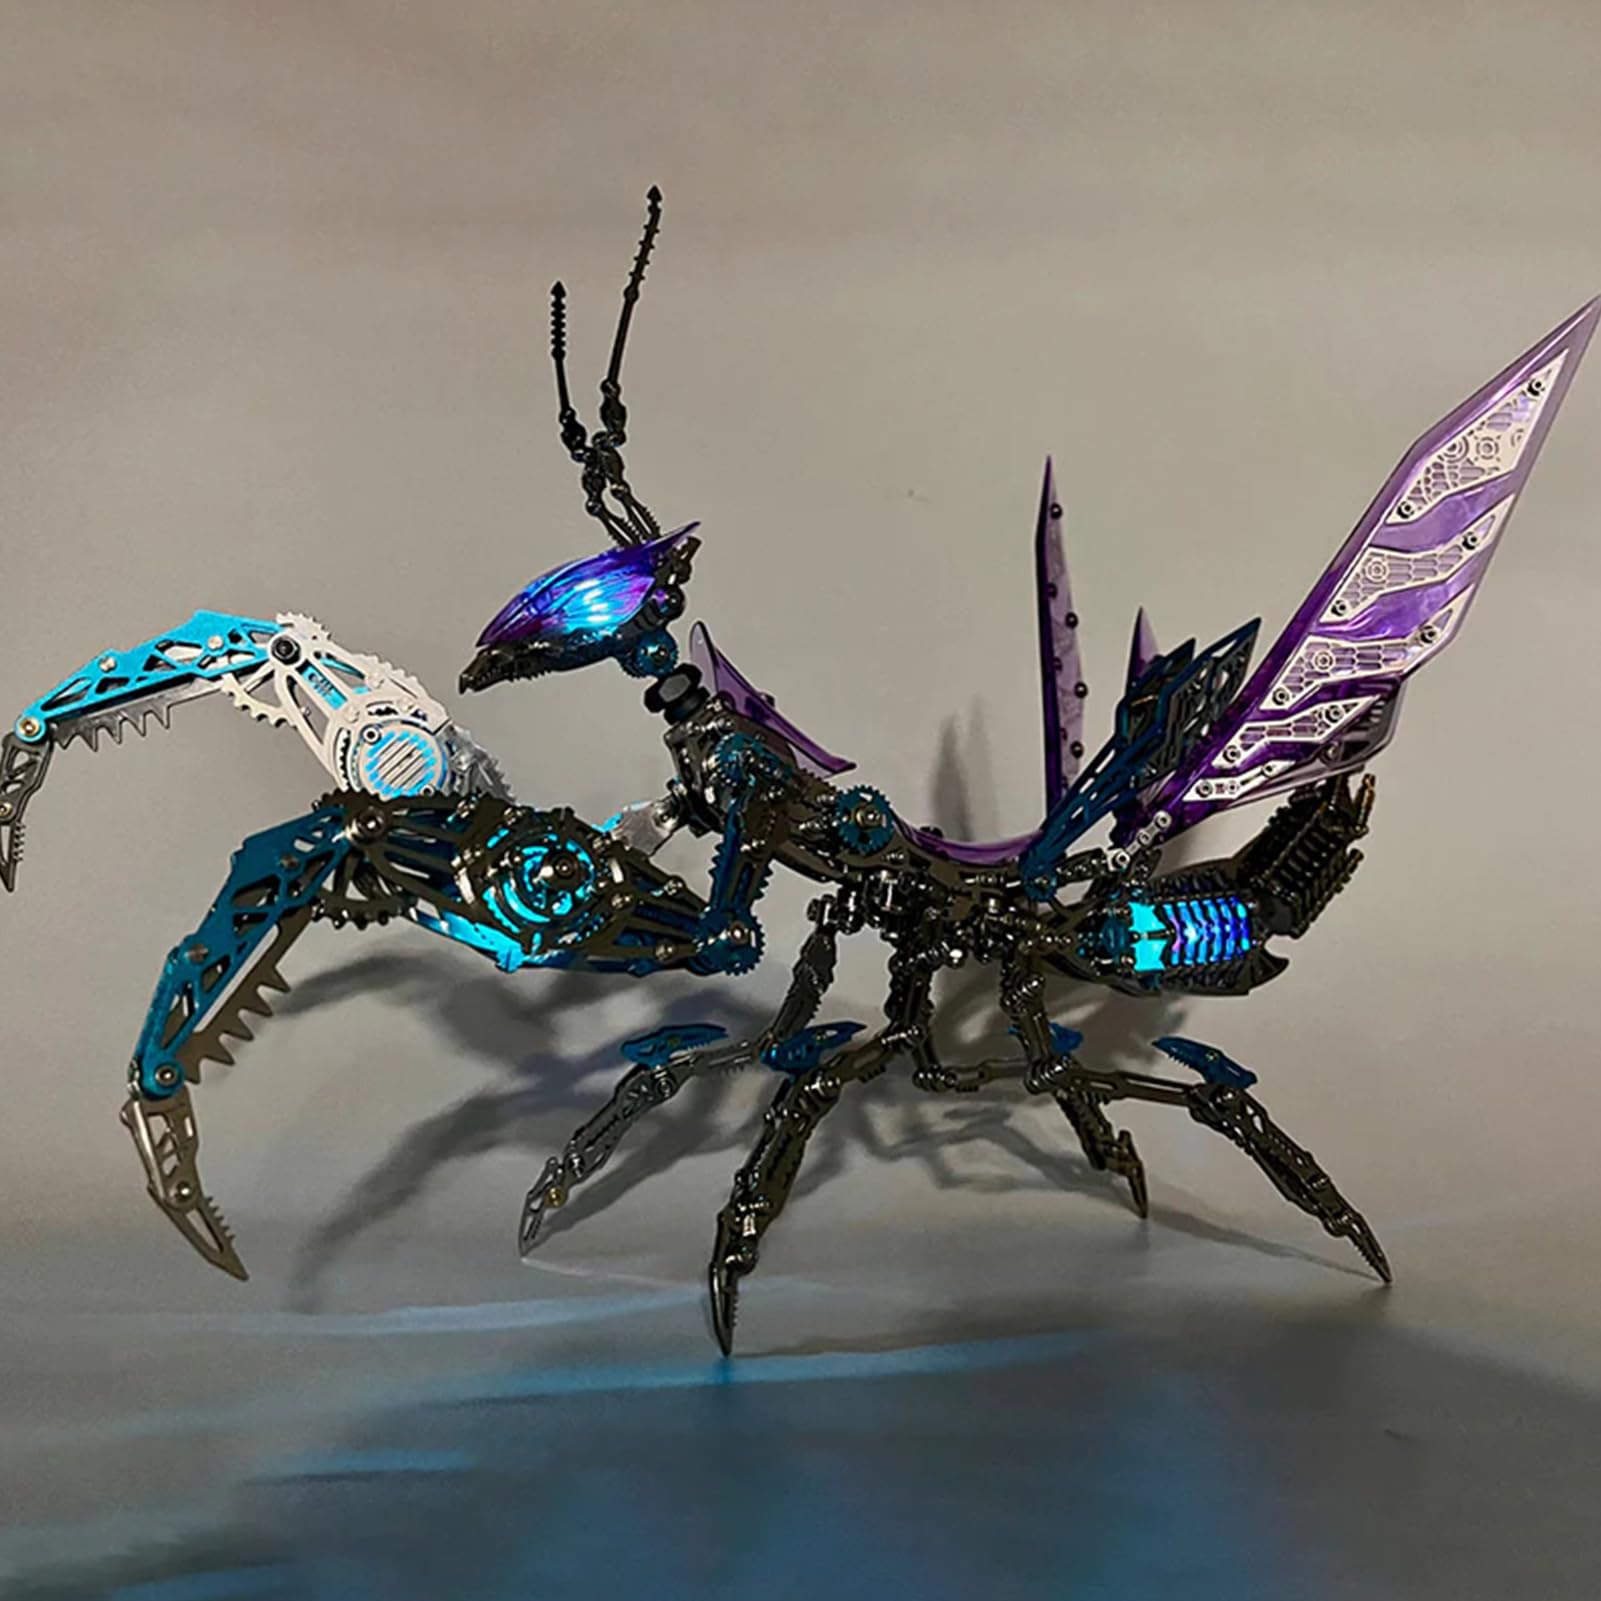
Metalkitor Giant Mantis 3D Metal Model Kit (Purple, 1200+ Pcs)
Check the finished dimensions, stability and display requirements before ordering. See the kit →

Rokr Manta Ray 3D Metal Model Kit (MI06)
Compare the theme, age guidance and current box contents for the intended recipient. See the kit →
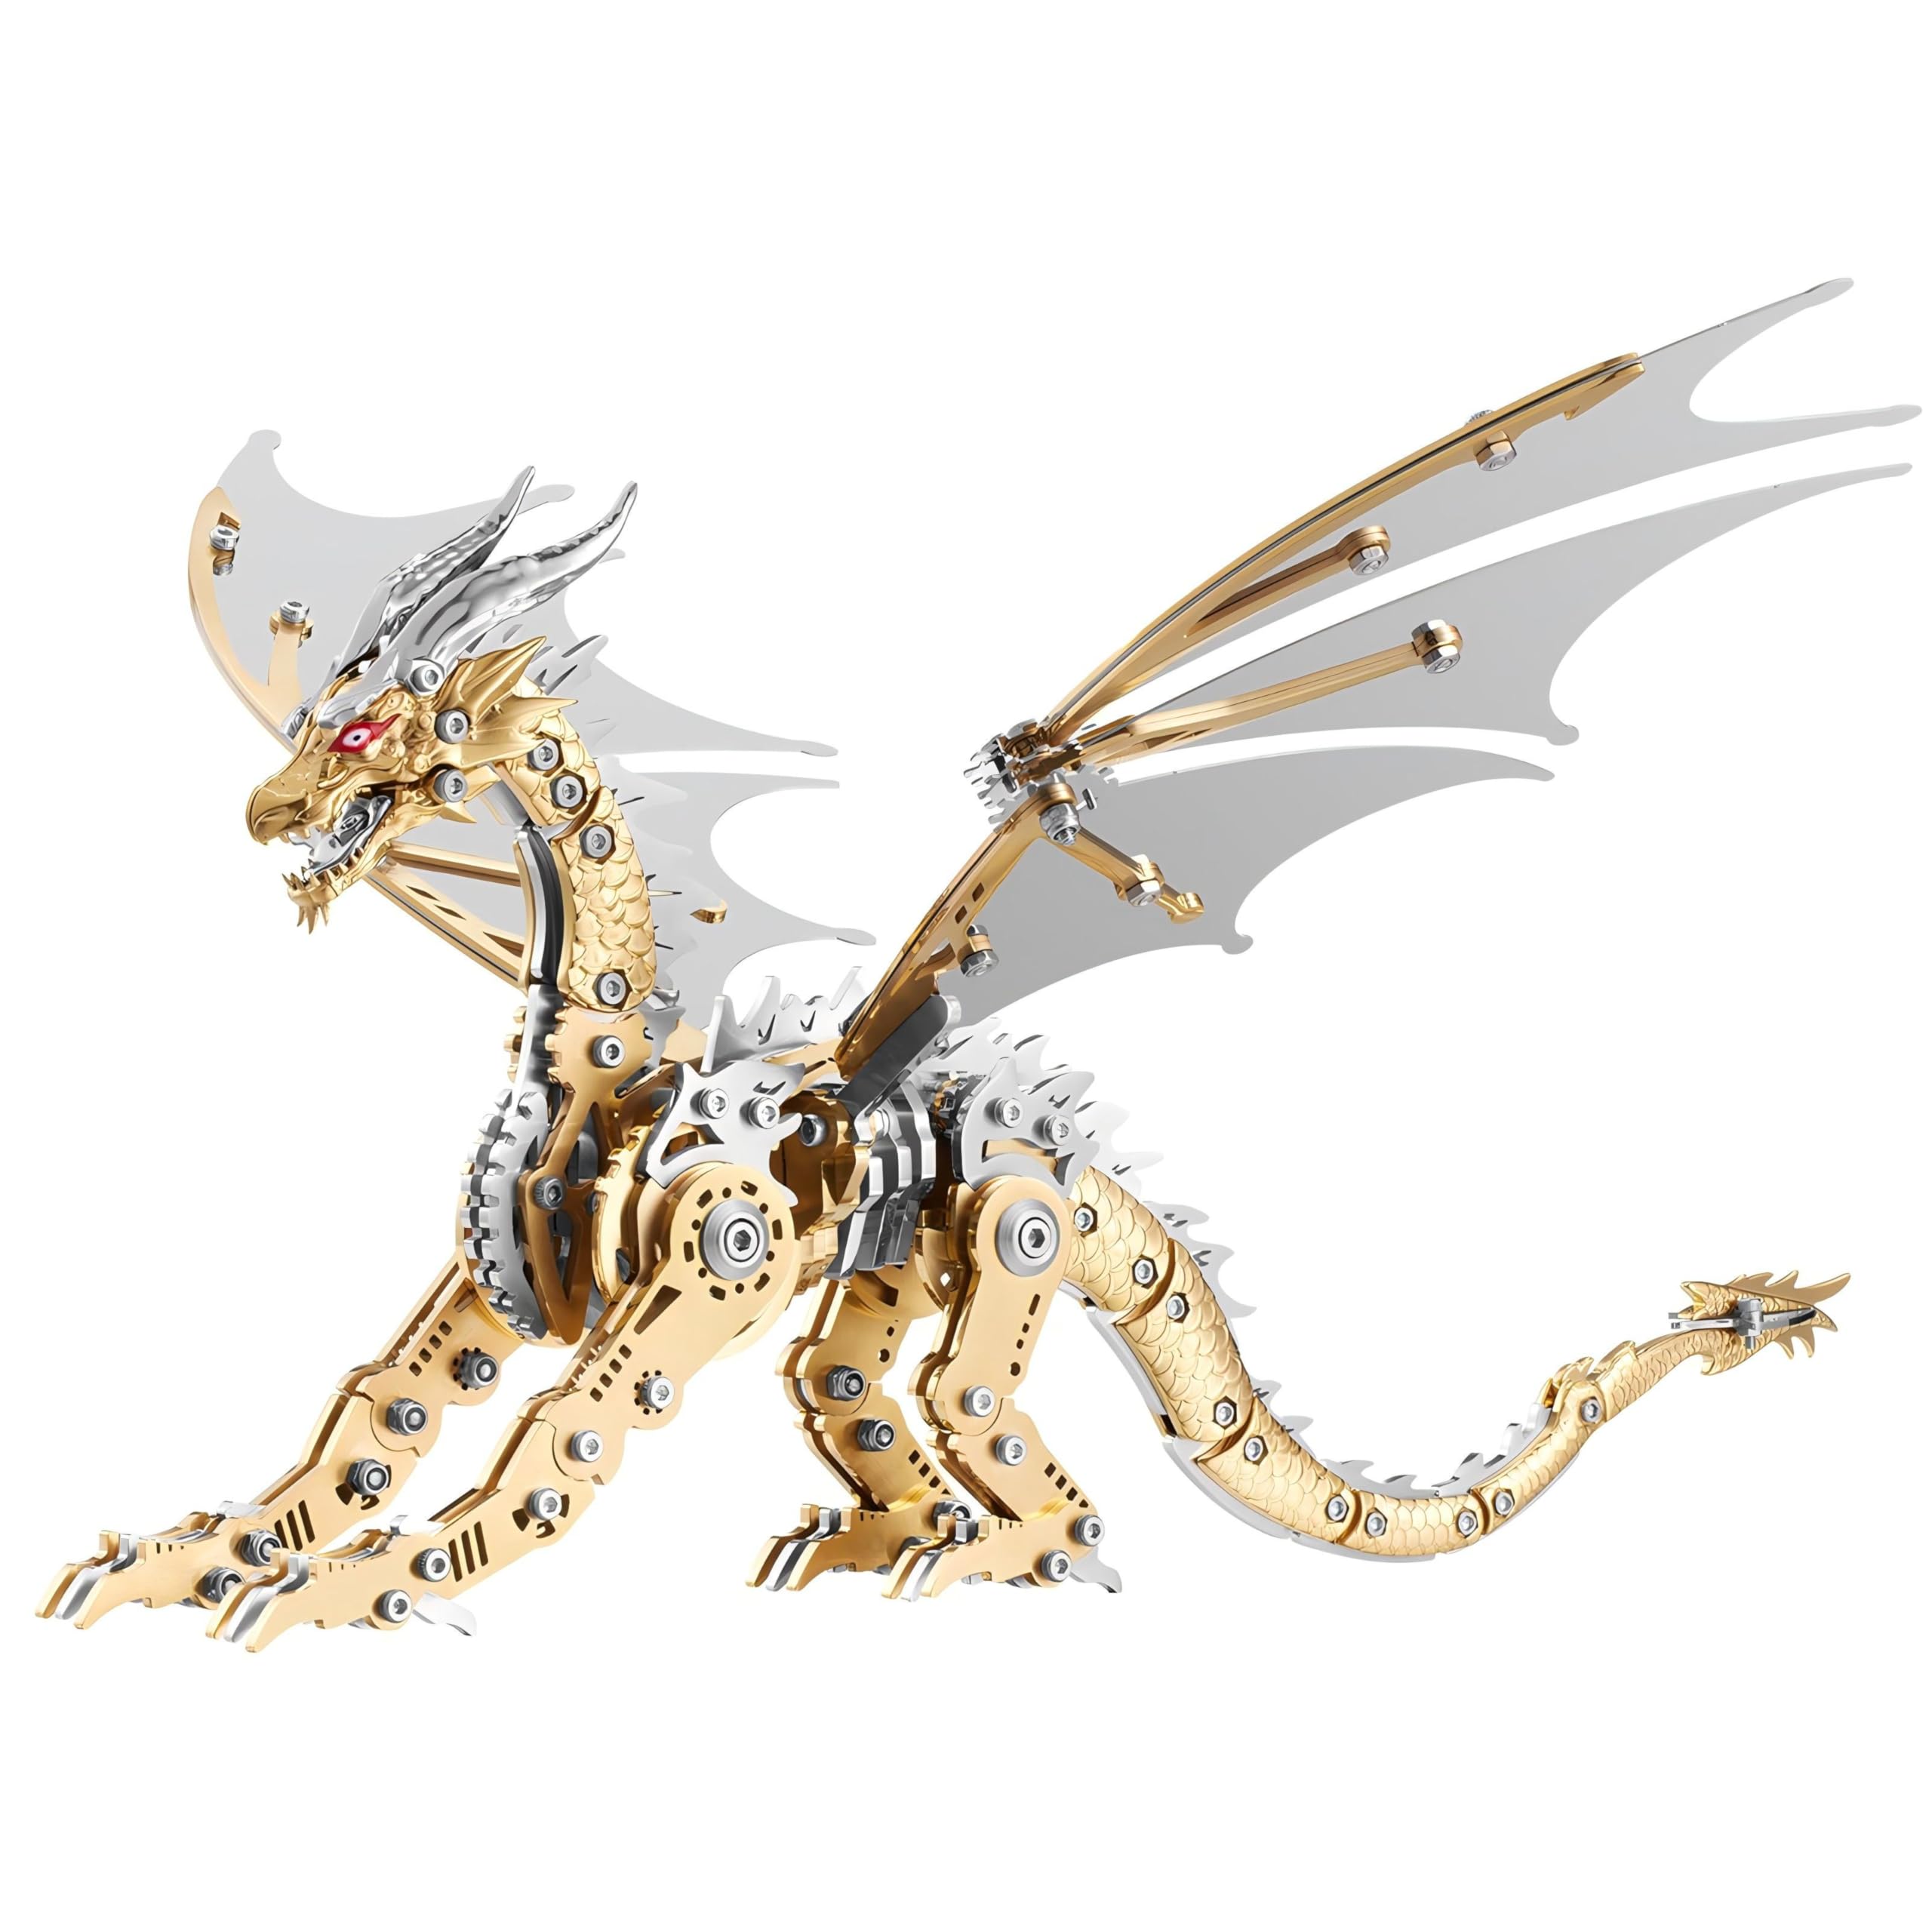
Longpin Mechanical Pterosaur 3D Metal Model Kit
Confirm the current piece count, instruction format and difficulty guidance. See the kit →
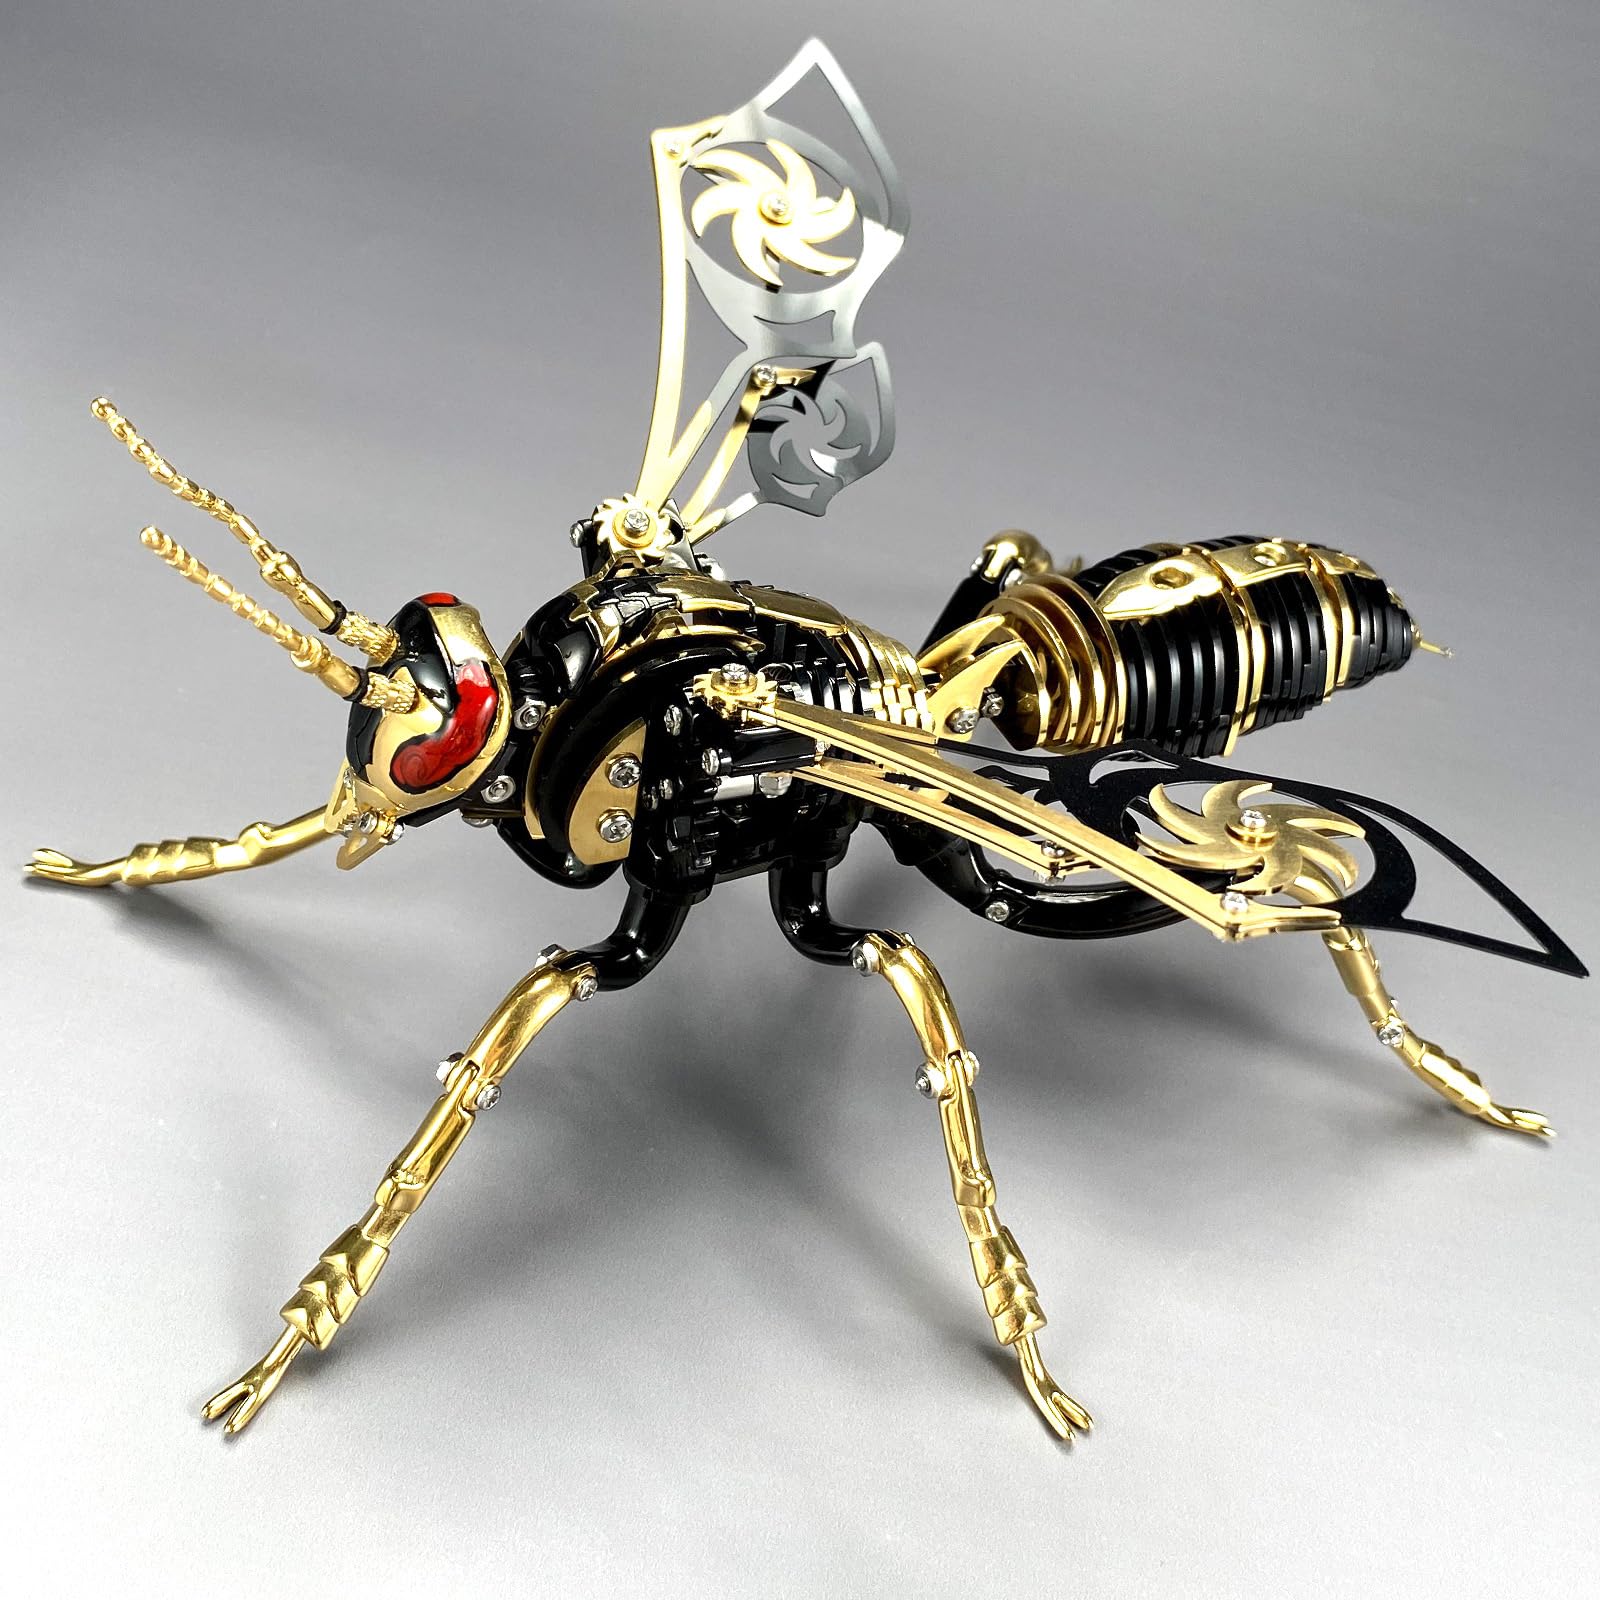
OreilleStar Giant Hornet 3D Metal Model Kit
Check the finish, materials and exterior dimensions against the intended display space. See the kit →
How metal model kits are assembled
Most etched-sheet kits use small tabs that pass through slots and are folded or twisted to lock the structure. Others use screws, rods or pre-made mechanical components. The manual’s symbol for each connection matters: a tab intended to twist may not hold correctly if folded, while repeated bending can fatigue the metal.
Beginner vs advanced metal kits
| Feature | More approachable | More demanding |
|---|---|---|
| Panel shape | Flat or gently curved | Compound curves and enclosed shells |
| Part size | Larger structural pieces | Many tiny layered ornaments |
| Finish | Uncoloured or robust coating | Highly polished or printed surfaces |
| Connections | Visible accessible tabs | Hidden internal tabs |
| Movement | Static display | Gears, joints or motorised features |
Piece count remains useful for comparing revisions of a similar design, but it does not measure the difficulty of shaping curves or reaching internal tabs.
Tools that protect the finish
Fine smooth-jaw pliers, tweezers, flush cutters intended for the sheet and cylindrical forming tools are common. Serrated household pliers can imprint coloured or polished metal. Protect the work surface, follow blade and eye-safety guidance, and keep small cut parts contained.
A reliable build workflow
- Read the connection symbols and identify front/back sheet faces.
- Remove only the parts needed for the current assembly.
- Deburr connection points without changing the outline.
- Pre-form curves gradually around a smooth object.
- Insert tabs fully before locking them in the instructed direction.
- Check symmetry at every layer.
- Attach the most exposed spikes, wings or antennae as late as the sequence permits.
Handling coloured and polished sheets
Work with clean dry hands or suitable gloves if the maker recommends them. Place the visible face on a soft, clean surface and avoid dragging parts. Do not assume a metal polish or solvent is compatible with a printed coating. Test cleaning only on waste frame material.
Common problems
A tab broke
Stop and assess whether it is structural. Do not keep flexing nearby tabs. Contact the manufacturer for repair guidance; an improvised adhesive may stain the finish or fail under tension.
A curved panel has flat spots
Re-form it gradually over progressively smaller smooth cylinders rather than pinching one point with pliers.
Two halves do not align
Check the earlier internal layers and confirm every tab is fully seated. Forcing the outer shell can distort both halves.
Safety and suitability
Metal kits can create sharp edges and very small parts. Use eye protection and the tools specified by the maker, keep the workspace clear and follow the age guidance. They are generally not toys after assembly unless explicitly sold and certified for that use.
Display and care
Support the model from its base, not a wing or decorative point. Choose a dry stable location and minimise handling. A cover protects intricate surfaces from dust, but verify internal dimensions. Read the display guide and compare display cases.
Keep exploring
My Cutebee may earn an Amazon commission from links on this page, at no cost to you.
Browse our hand-picked metal models
Every kit is shortlisted for build quality and shelf appeal. You check out on Amazon, where the current seller, delivery estimate and return terms are shown before you buy.