


Article: “Create a Charming Chinese Street View with Cutebee Chinese Street View DIY Book Nook Kit
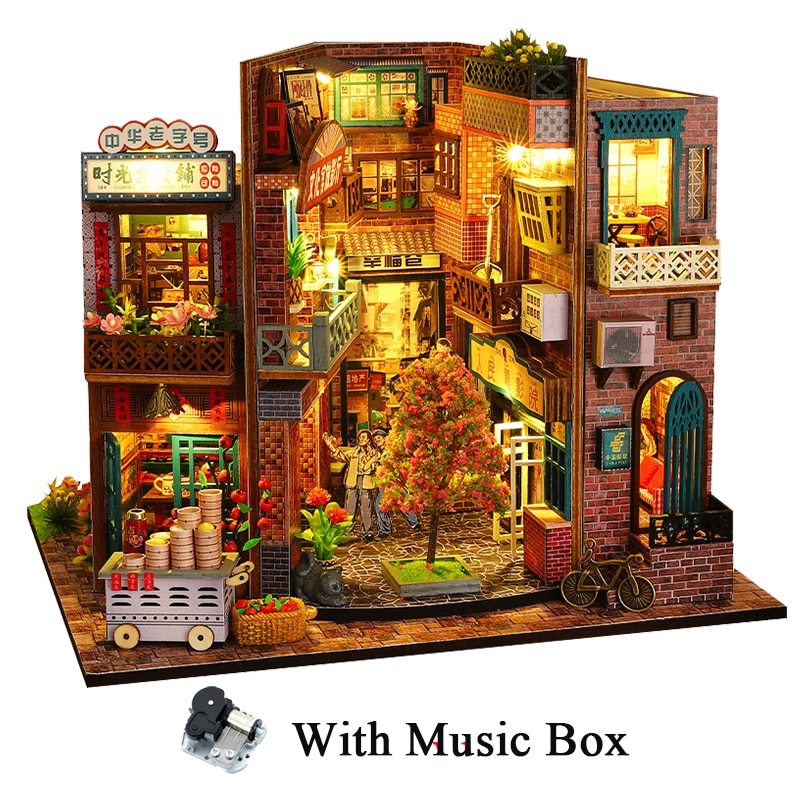
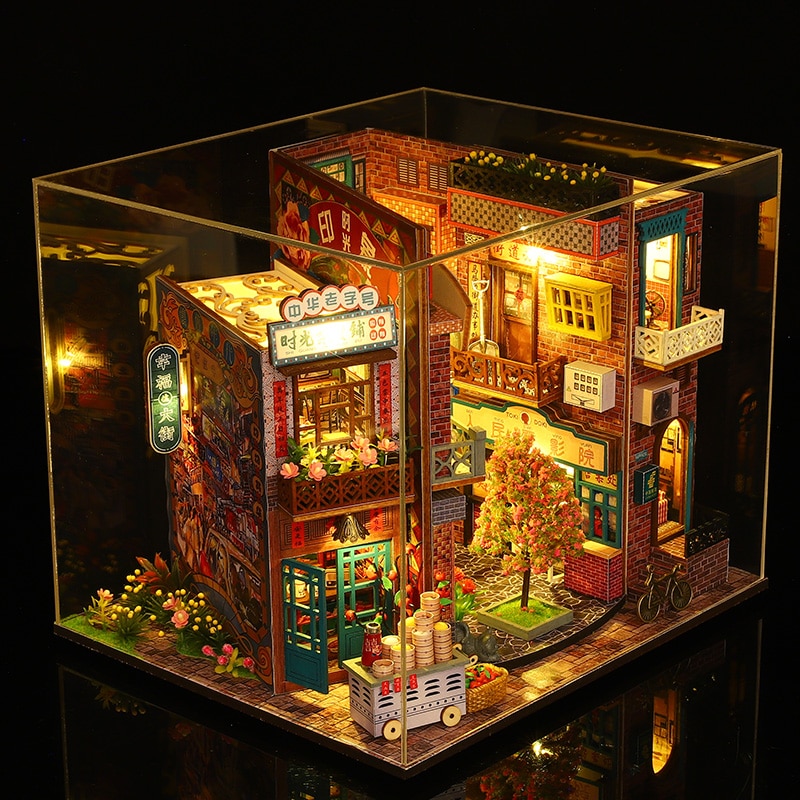
The Cutebee Chinese Street View DIY Book Nook Kit offers a delightful way to create a miniature world within the confines of a bookcase. This kit is perfect for craft enthusiasts who enjoy building intricate and detailed models. Not only does it serve as a creative outlet, but it also results in a stunning decorative piece for your home or office. In this article, we will explore the features of the Cutebee Chinese Street View DIY Book Nook Kit, provide a step-by-step guide to assembling it, and offer tips to enhance your crafting experience.
Why Choose the Cutebee Chinese Street View DIY Book Nook Kit?
Cutebee’s DIY kits are known for their high quality and attention to detail. The Cutebee Chinese Street View DIY Book Nook kit is no exception. Here are a few reasons why this kit stands out:
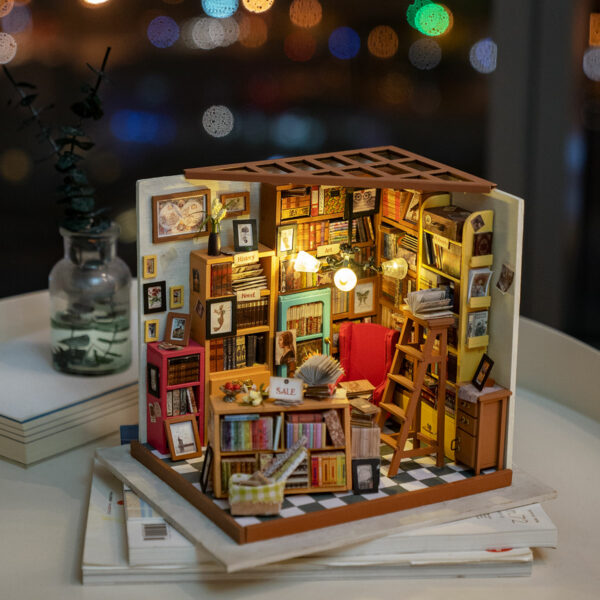
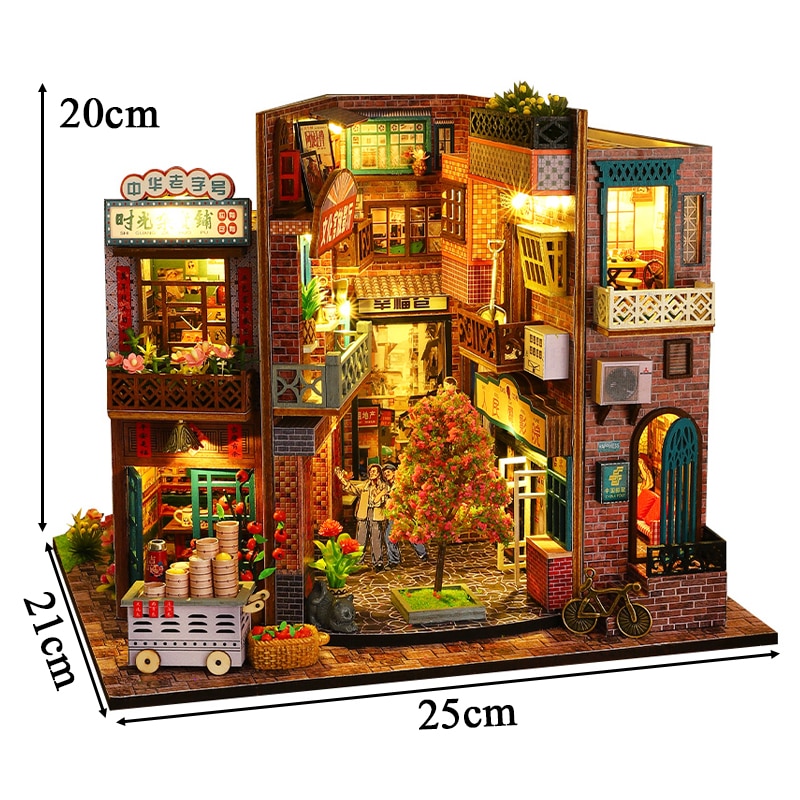
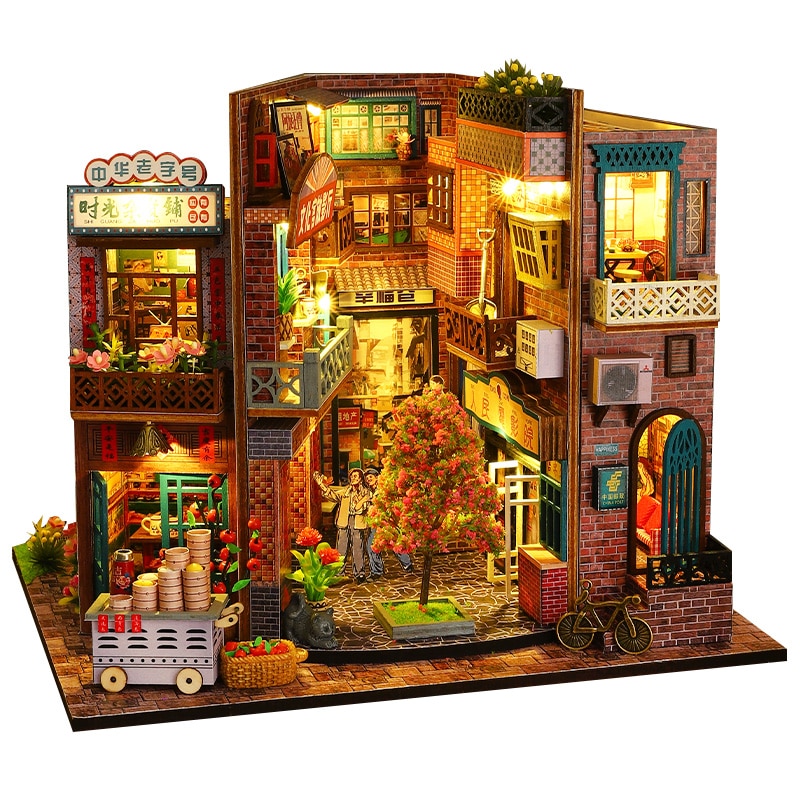
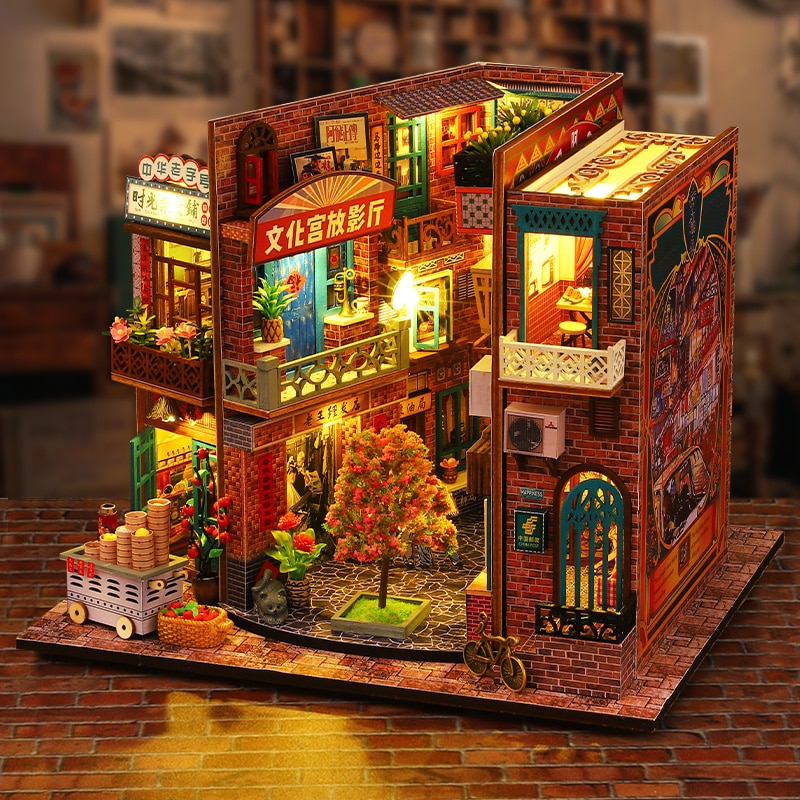
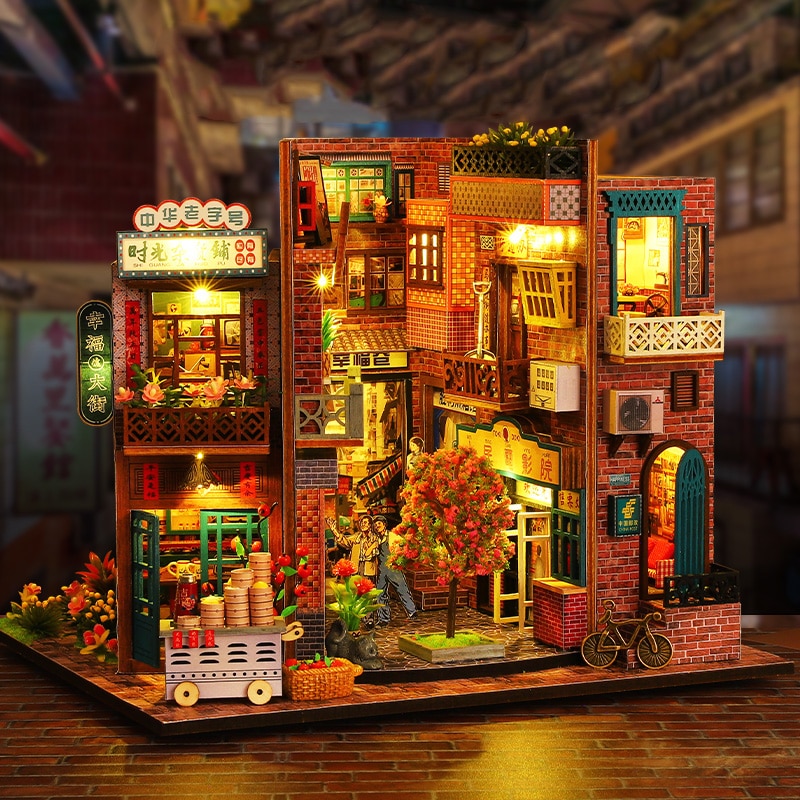
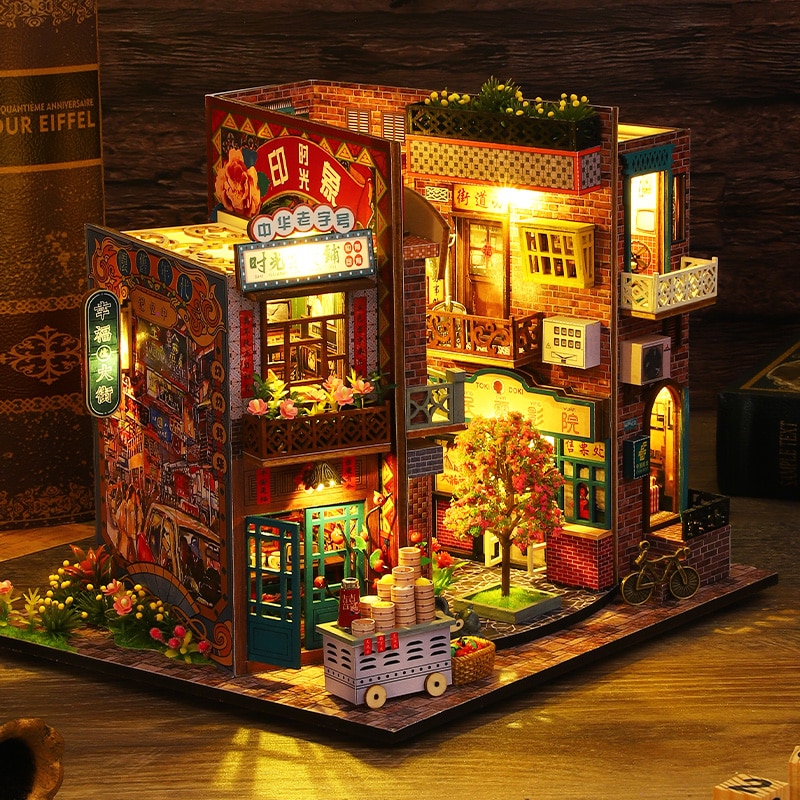
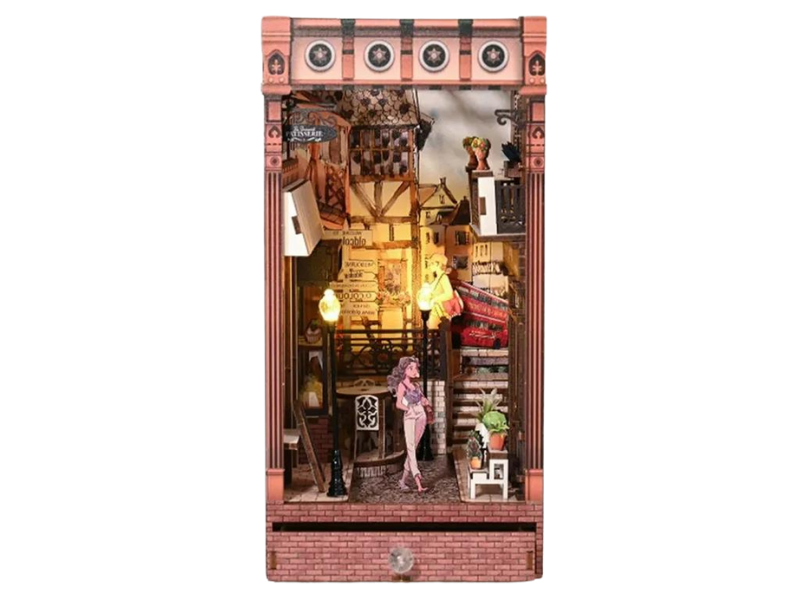
- Intricate Design: The kit replicates a charming Chinese street scene with impressive accuracy and detail.
- High-Quality Materials: Made from wood, fabric, paper, resin, plastic, and metal, the components ensure durability and a realistic finish.
- Comprehensive Manual: The colorful manual provides clear, step-by-step instructions, making assembly easy and enjoyable.

Specifications and Technical Details
Before diving into the assembly process, let’s take a look at the kit’s specifications:
🛠️ Materials:
- Wood
- Fabric
- Paper
- Resin
- Plastic
- Metal
📐 Dimensions:
- Finished Size (LWH): Refer to the product images for detailed dimensions
📦 Package Includes:
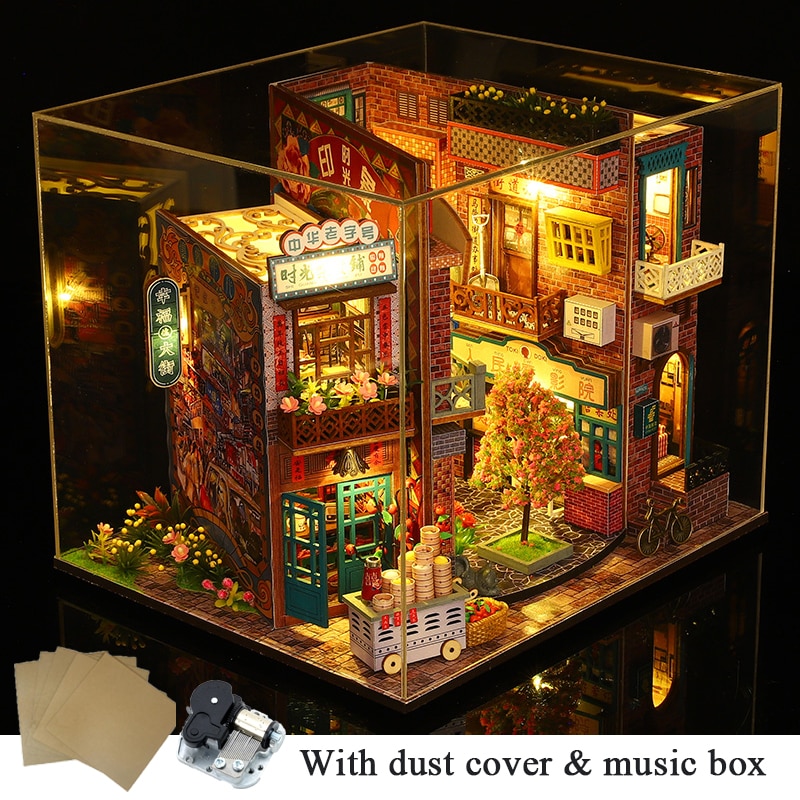
- All furniture and accessories displayed in the images
- Colorful manual

🔋 Important Notes:
- Glue, battery, and tools are not included.
- Batteries, alcohol, pigment, and glue are prohibited for international shipping. These items will be removed from the package if included.
Step-by-Step Guide to Building Your Cutebee Chinese Street View DIY Book Nook Kit
Now, let’s walk through the process of assembling your DIY book nook. Follow these steps for a smooth and enjoyable crafting experience:
Step 1: Organize Your Materials
Before you begin, organize all the materials and tools you will need. This includes the pieces, fabric, paper, resin components, and any other accessories included in the kit.
🛠️ Tools Needed:
- Glue (recommended type: wood glue or strong adhesive)
- Craft knife
- Ruler
- Pencil
- Sandpaper
- Paint (optional for additional customization)
Step 2: Assemble the Structure
Start by assembling the main structure of the book nook. This involves fitting together the pre-cut wooden pieces to form the walls, floor, and roof.
🏠 Assembly Tips:
- Dry Fit: Before applying glue, dry fit the pieces to ensure they fit together correctly.
- Glue: Apply glue to the edges and press the pieces together. Hold them in place until the glue sets.
- Clamp or Tape: Use clamps or tape to hold the pieces together while the glue dries.
Step 3: Decorate the Interior
Once the structure is assembled, it’s time to decorate the interior. This includes adding wallpaper, flooring, and other decorative elements.
🎨 Decoration Tips:
- Wallpaper: Cut the provided paper to fit the walls and glue it in place.
- Flooring: Use fabric or paper for flooring, securing it with glue.
- Painting: If desired, paint the walls and other components to add a personal touch.
Step 4: Assemble and Place Furniture
The kit includes various pieces of miniature furniture and accessories. Assemble these items according to the instructions and place them inside the book nook.
🛋️ Furniture Tips:
- Precision: Use a craft knife for precise cuts and a steady hand for assembly.
- Arrangement: Plan the placement of furniture before securing it to ensure a cohesive look.
- Details: Add small details like cushions, books, and decorative items to enhance realism.
Step 5: Add Final Touches
The final touches bring your book nook to life. This includes adding lighting (if available), plants, and other small accessories.
✨ Final Touches:
- Lighting: Install miniature LED lights to illuminate the scene.
- Accessories: Add small plants, signs, and other decorative items to complete the look.
- Personalization: Customize your book nook with unique touches that reflect your style.

Tips for a Successful DIY Experience
To ensure a smooth and enjoyable crafting experience, keep these tips in mind:
✔️ Tips:
- Patience: Take your time with each step to ensure accuracy and quality.
- Organization: Keep your workspace organized to avoid losing small pieces.
- Reference: Refer to the manual frequently to stay on track.
- Experiment: Don’t be afraid to try new techniques and materials for customization.
Conclusion
The Cutebee Chinese Street View DIY Book Nook kit offers a rewarding crafting experience that results in a beautiful and intricate decorative piece. From assembling the structure to adding the final touches, each step provides an opportunity to express your creativity and craftsmanship. Whether you’re a seasoned DIY enthusiast or a beginner, this kit is a delightful way to create a miniature world that captures the charm of a Chinese street scene.
Embark on your DIY adventure today and discover the joy of building your own Cutebee Chinese Street View Book Nook!
Product Short Description
“Explore the Cutebee Chinese Street View DIY Book Nook Kit, featuring high-quality materials and detailed instructions. Perfect for craft enthusiasts, this kit allows you to create a charming miniature street scene. Glue, battery, and tools not included.”